2007 – 2011
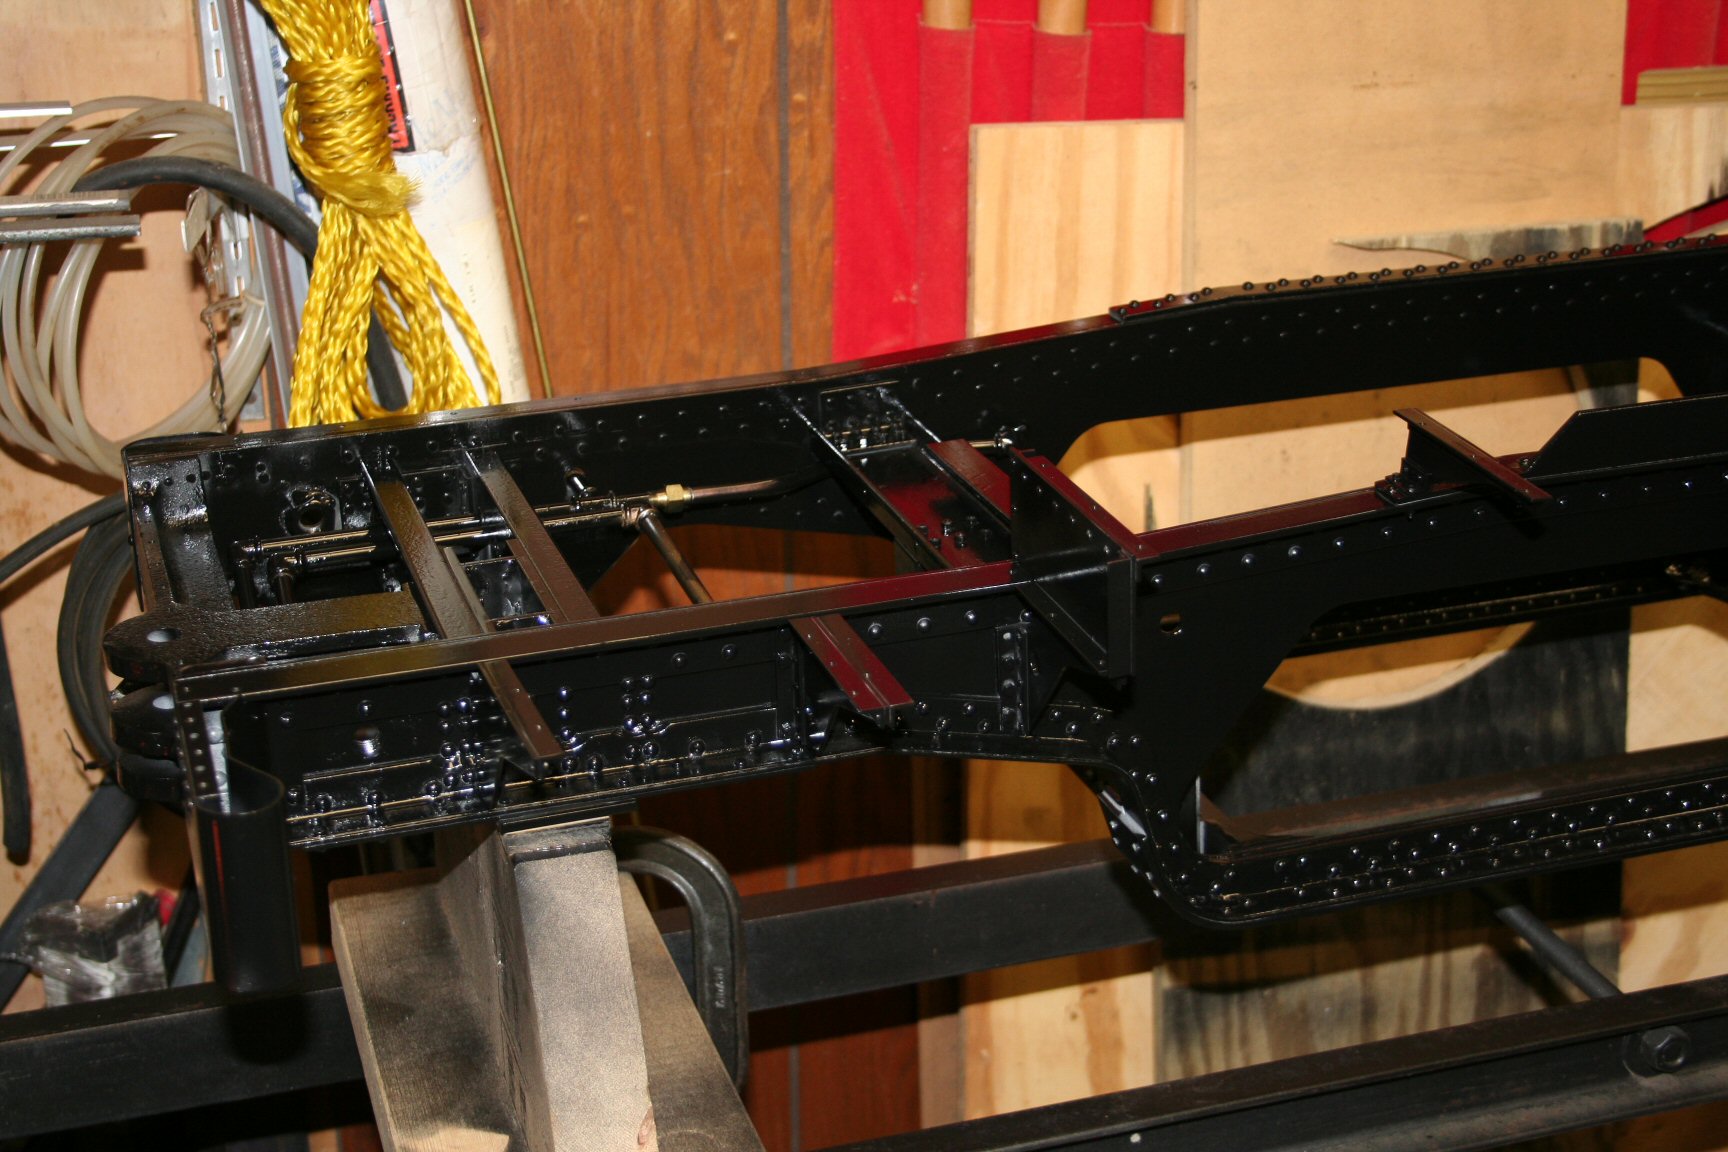
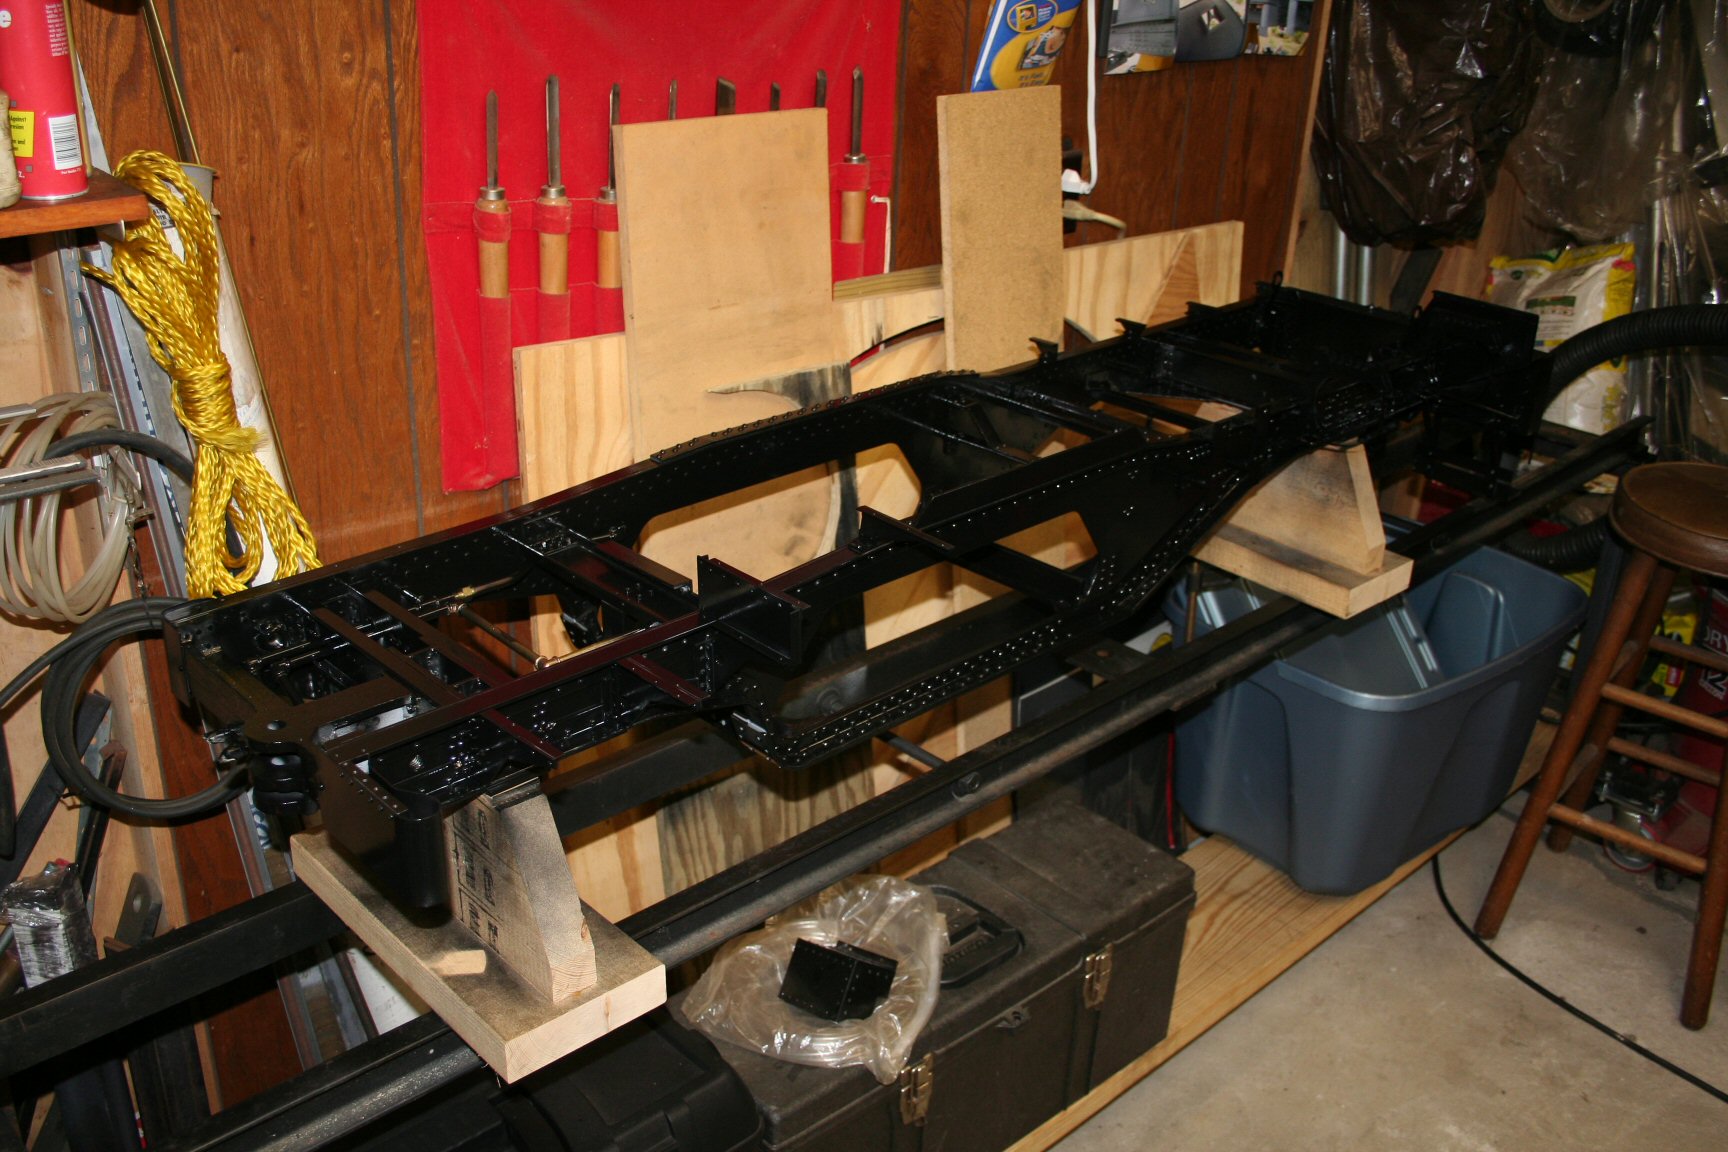
Frame Gets Paint! (1/15/2007)
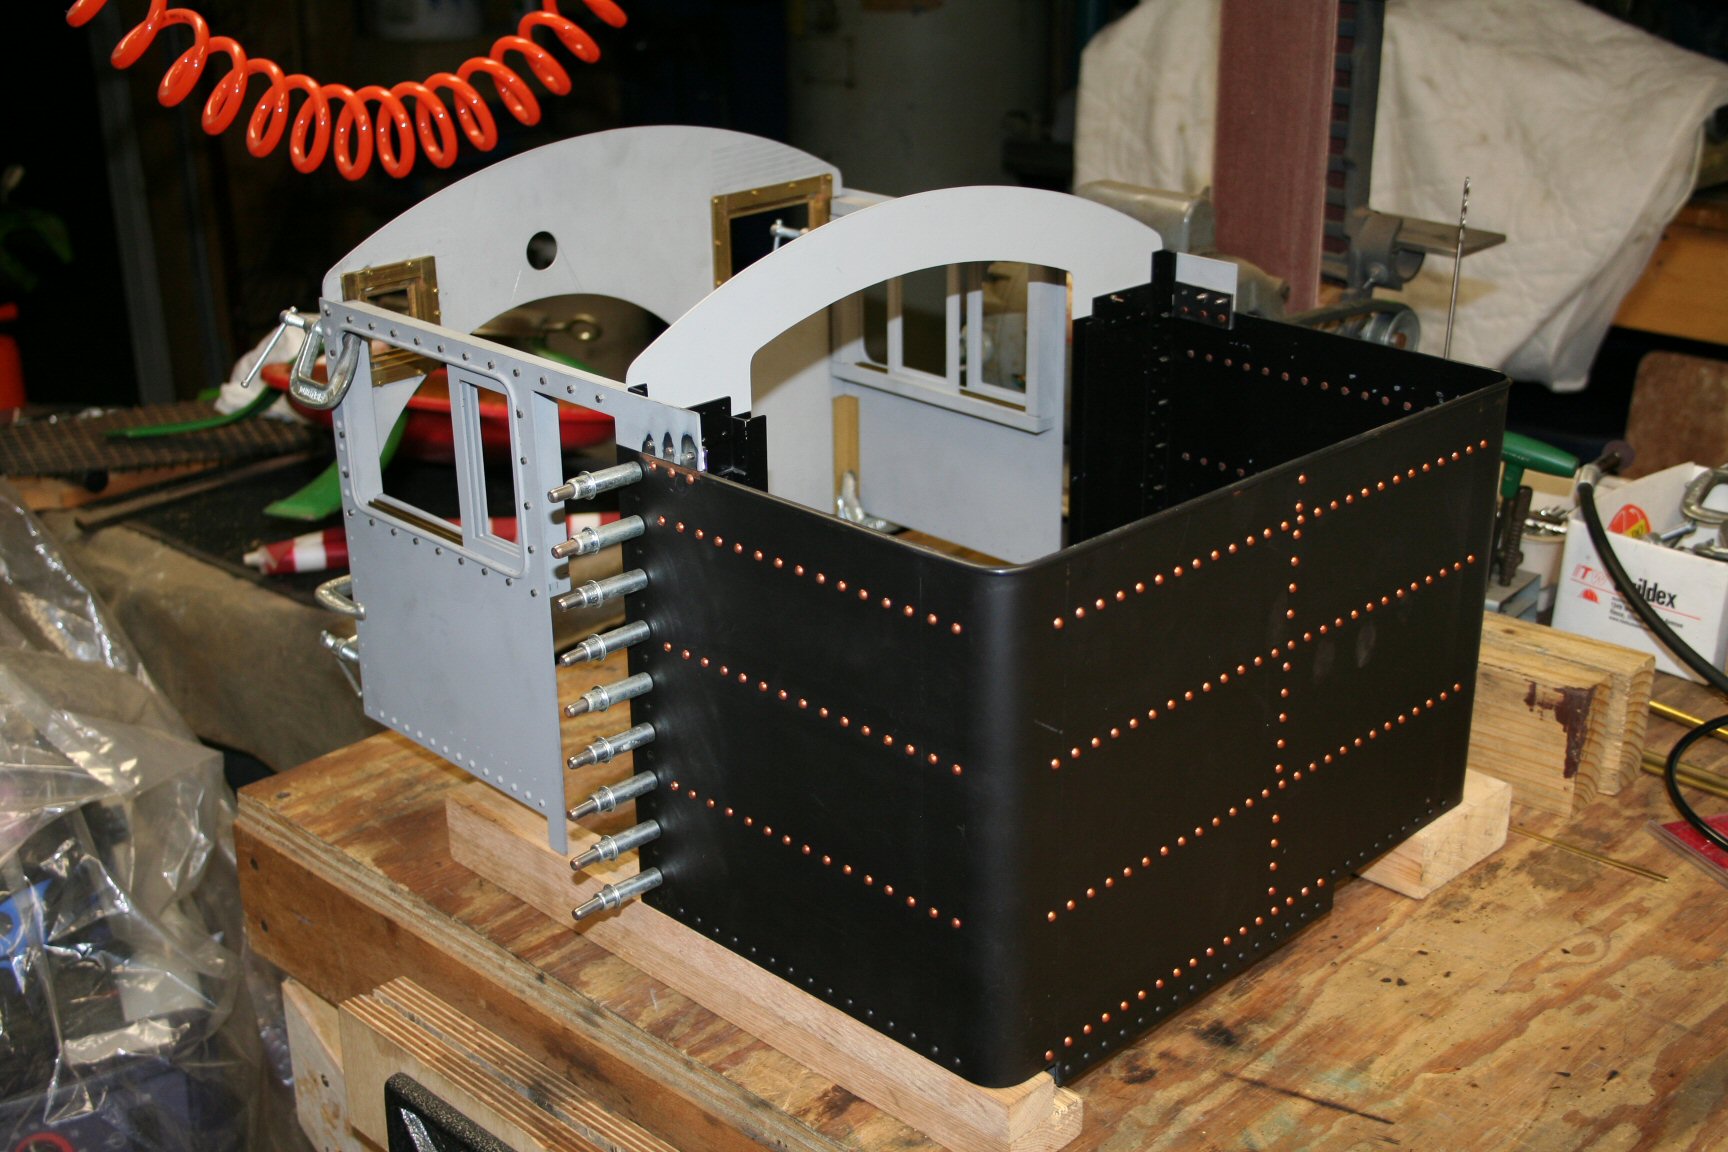
The main engine frame has been painted. Work also continues on assembling the cab.

Painted frame 
Painted frame 
Cab and fuel bunker 
Frame with mock boiler
Cab Work Continues and Eccentrics (3/27/2007)
Work continues on assembling the cab. As you can see, the doors are getting mounted. Also, I’ve rough cut the blanks for the motor eccentrics. They should be easy to machine once I free up the mill from its current work.
Work continues on assembling the cab. As you can see, the doors are getting mounted. Also, I’ve rough cut the blanks for the motor eccentrics. They should be easy to machine once I free up the mill from its current work.
Cab door 
Rough eccentric blanks


Wheel Castings are all turned!! (03/24/2008)
All I can say is that it’s about time!! It seems like a huge weight has been removed from my shoulders! Turning all the wheels on my slightly too-small lathe was a real chore. But, after only 18 months of total elapsed time from the first one I did to now, it is finally done. There is a little story about the now infamous ‘wheel’ to be told however. As I would complete the front-side of each wheel, I would stamp a serial number in it to know the sequence they were turned. For some reason in this process, I missed wheel #9 so, when I got to wheel #12 I thought I was done. When I started turning them over to do the back-sides of everything I discovered that #9 was missing. After some searching I realized that I had an extra casting left. Needless to say it didn’t exactly make my day! Oh well…#9 is done now! The next step will be to mount each one on a rotary table and drill/tap all the holes each one needs (10 blind holes drilled and tapped and 10 thru holes…that 240 holes all together…aaaauuugggghhh!)
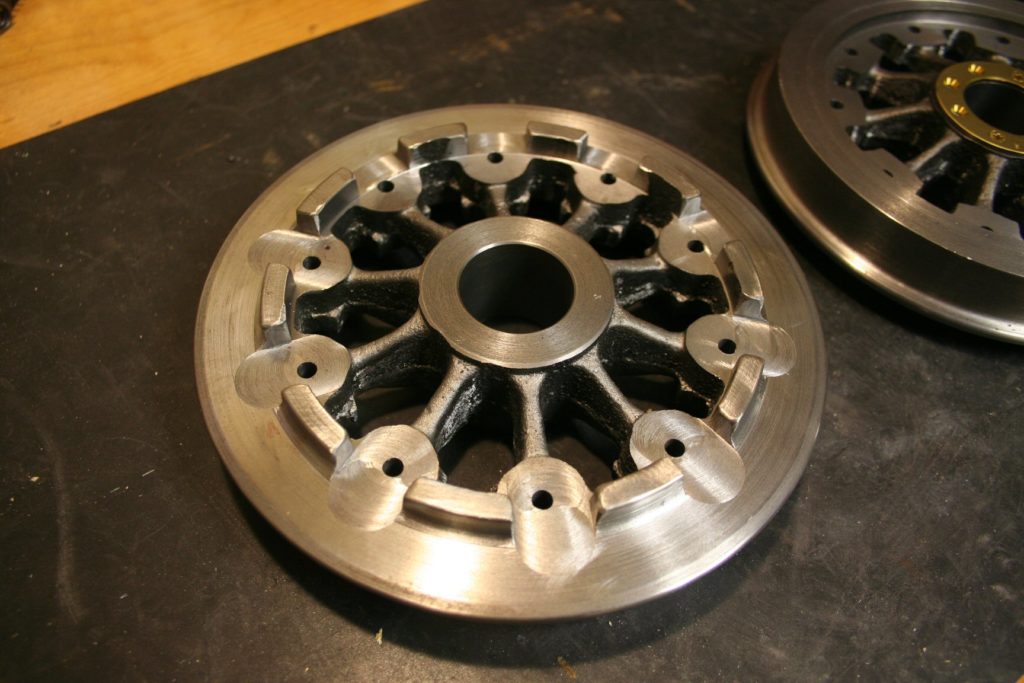
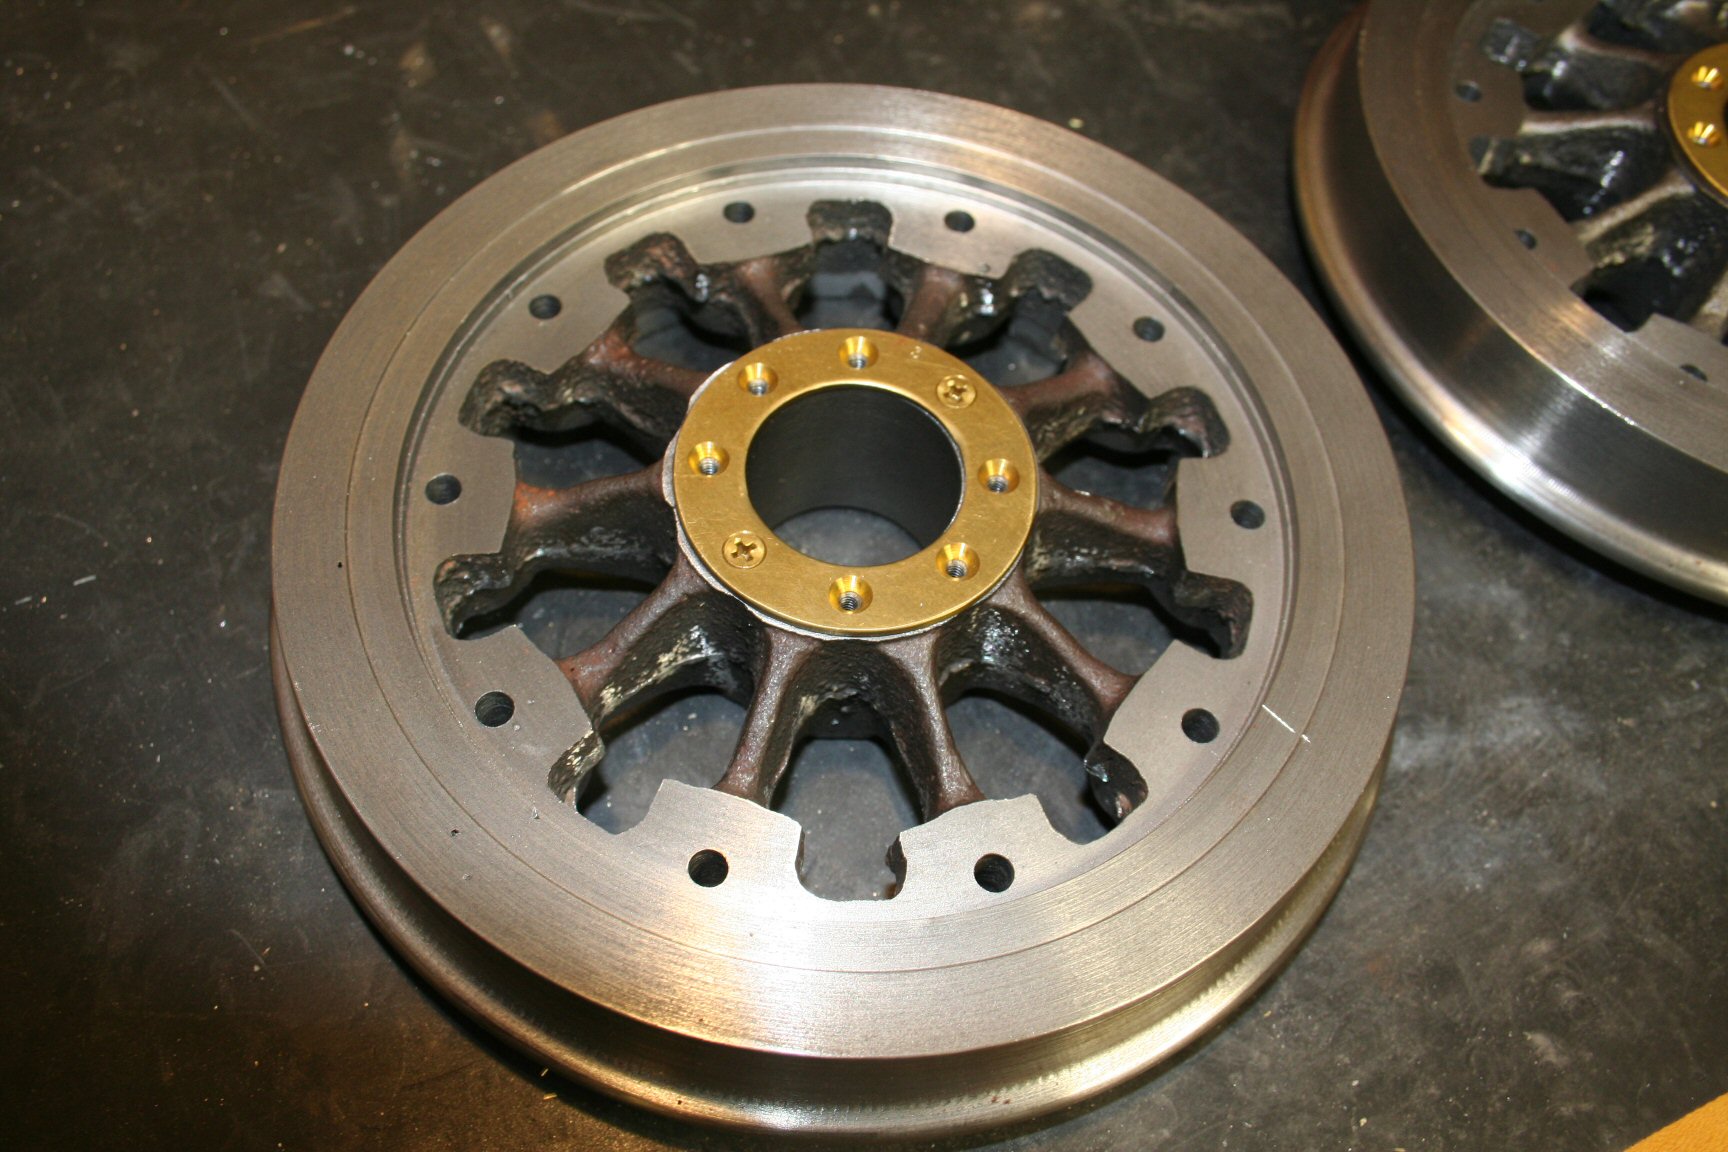
Wheels Tapped and Ready (5/27/2008)
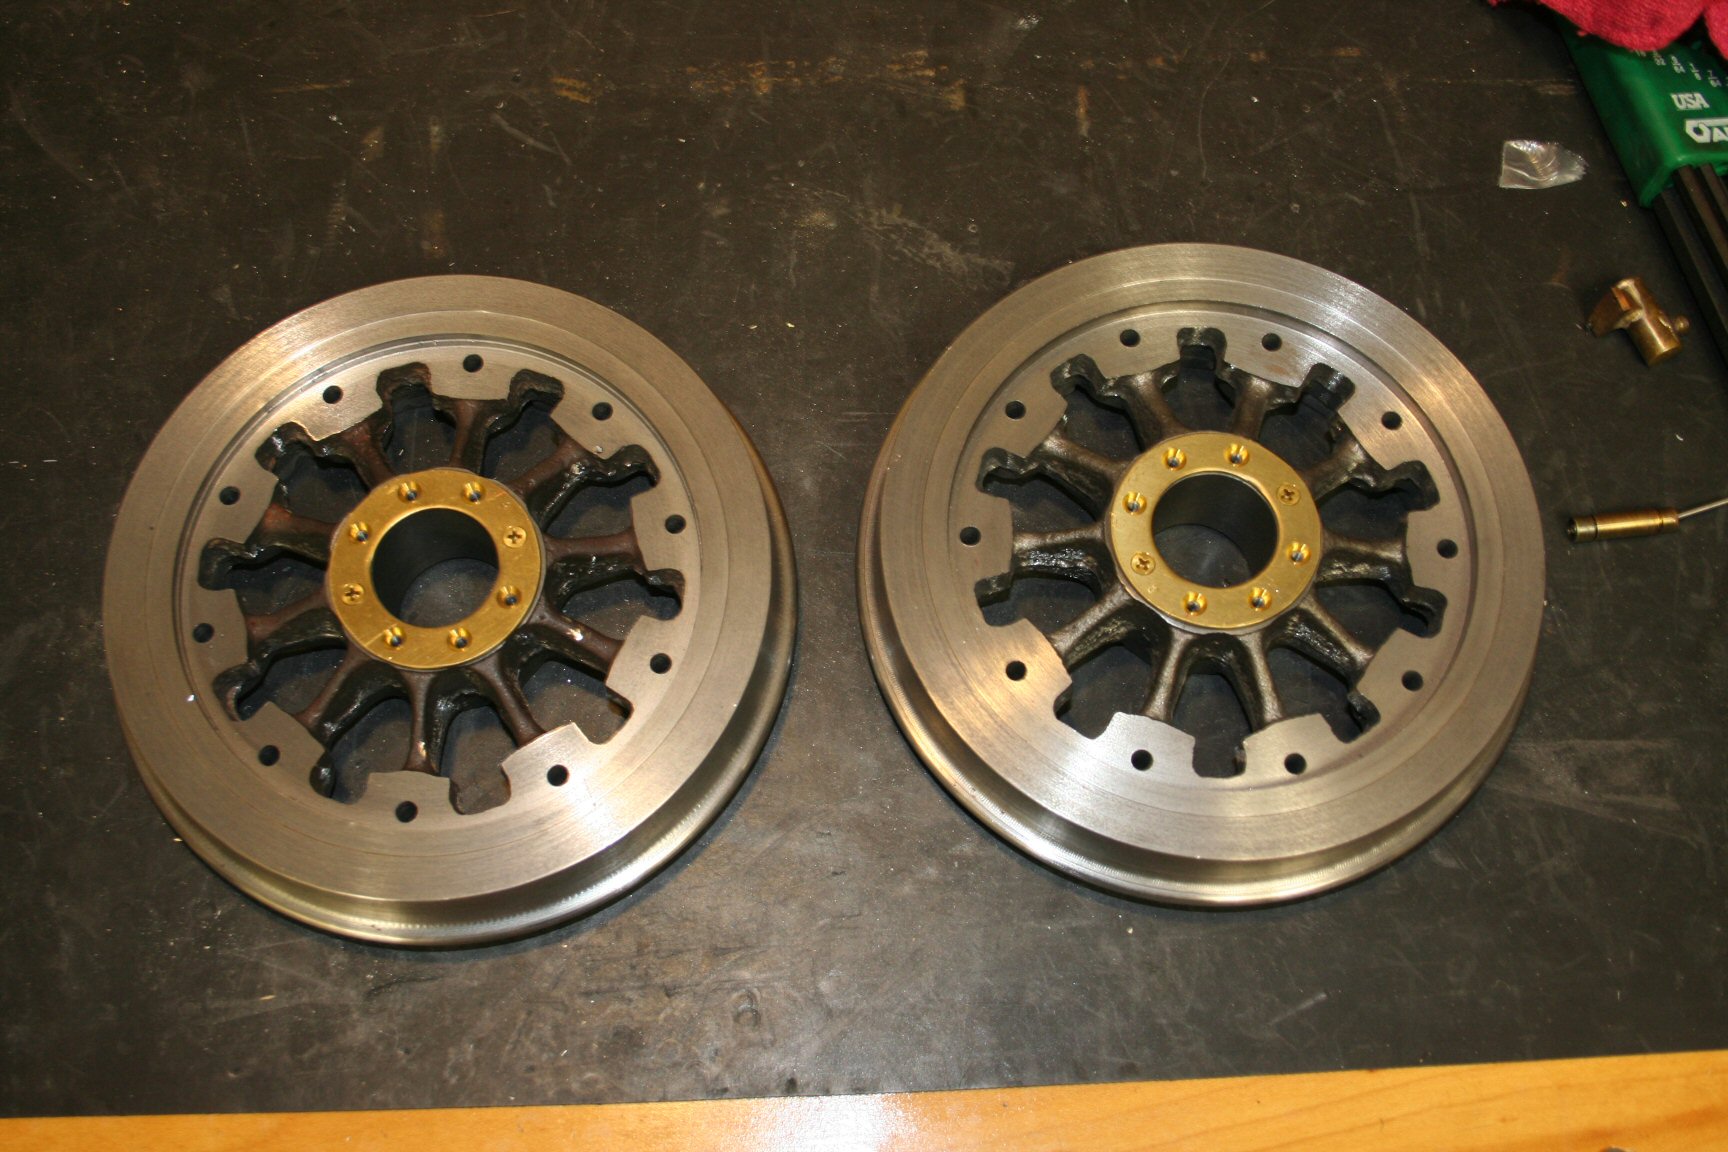
I think I have finished the wheels. As you can see, all the holes are drilled or drilled and tapped. I have also made the brass bearing plate that attaches to each hub. Now I can set them aside and get on to other things.

Wheel with frass bearing plate 
More wheels 
Another angle


Left Truck Pedestals (01/09/2009)
The six pedestals that hold the left-end of each axle have been machined. There are a few holes to drill yet but I’ll wait on those until I have the covers machined. These were the ‘easy’ ones as compared to the right-side journal boxes.

Left side truck pedestal 
Pedestal 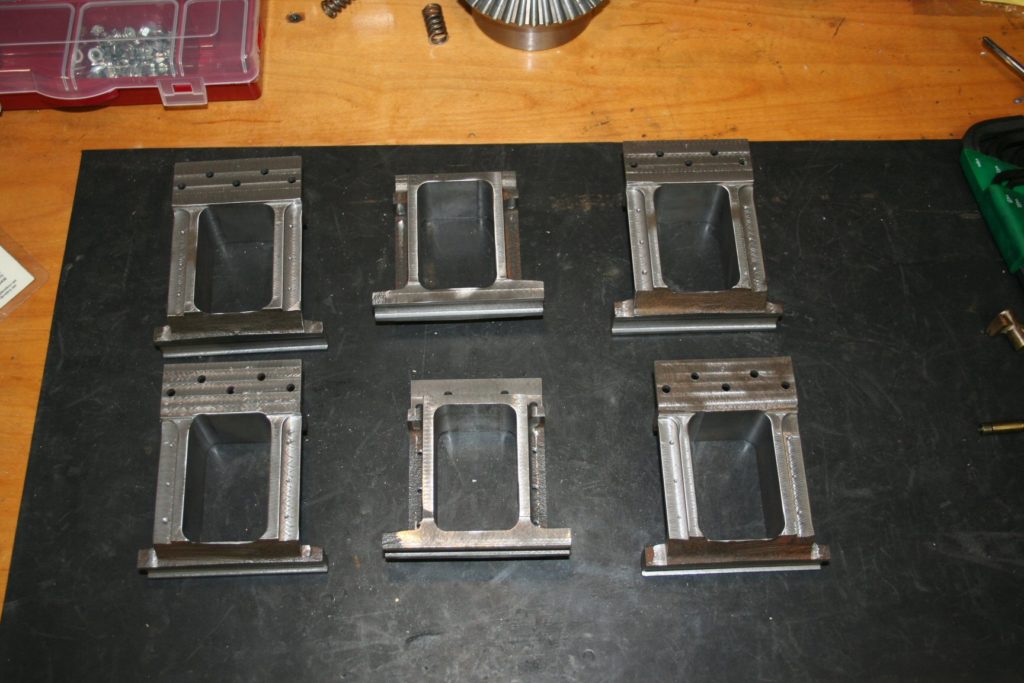
Pedestals – six of them

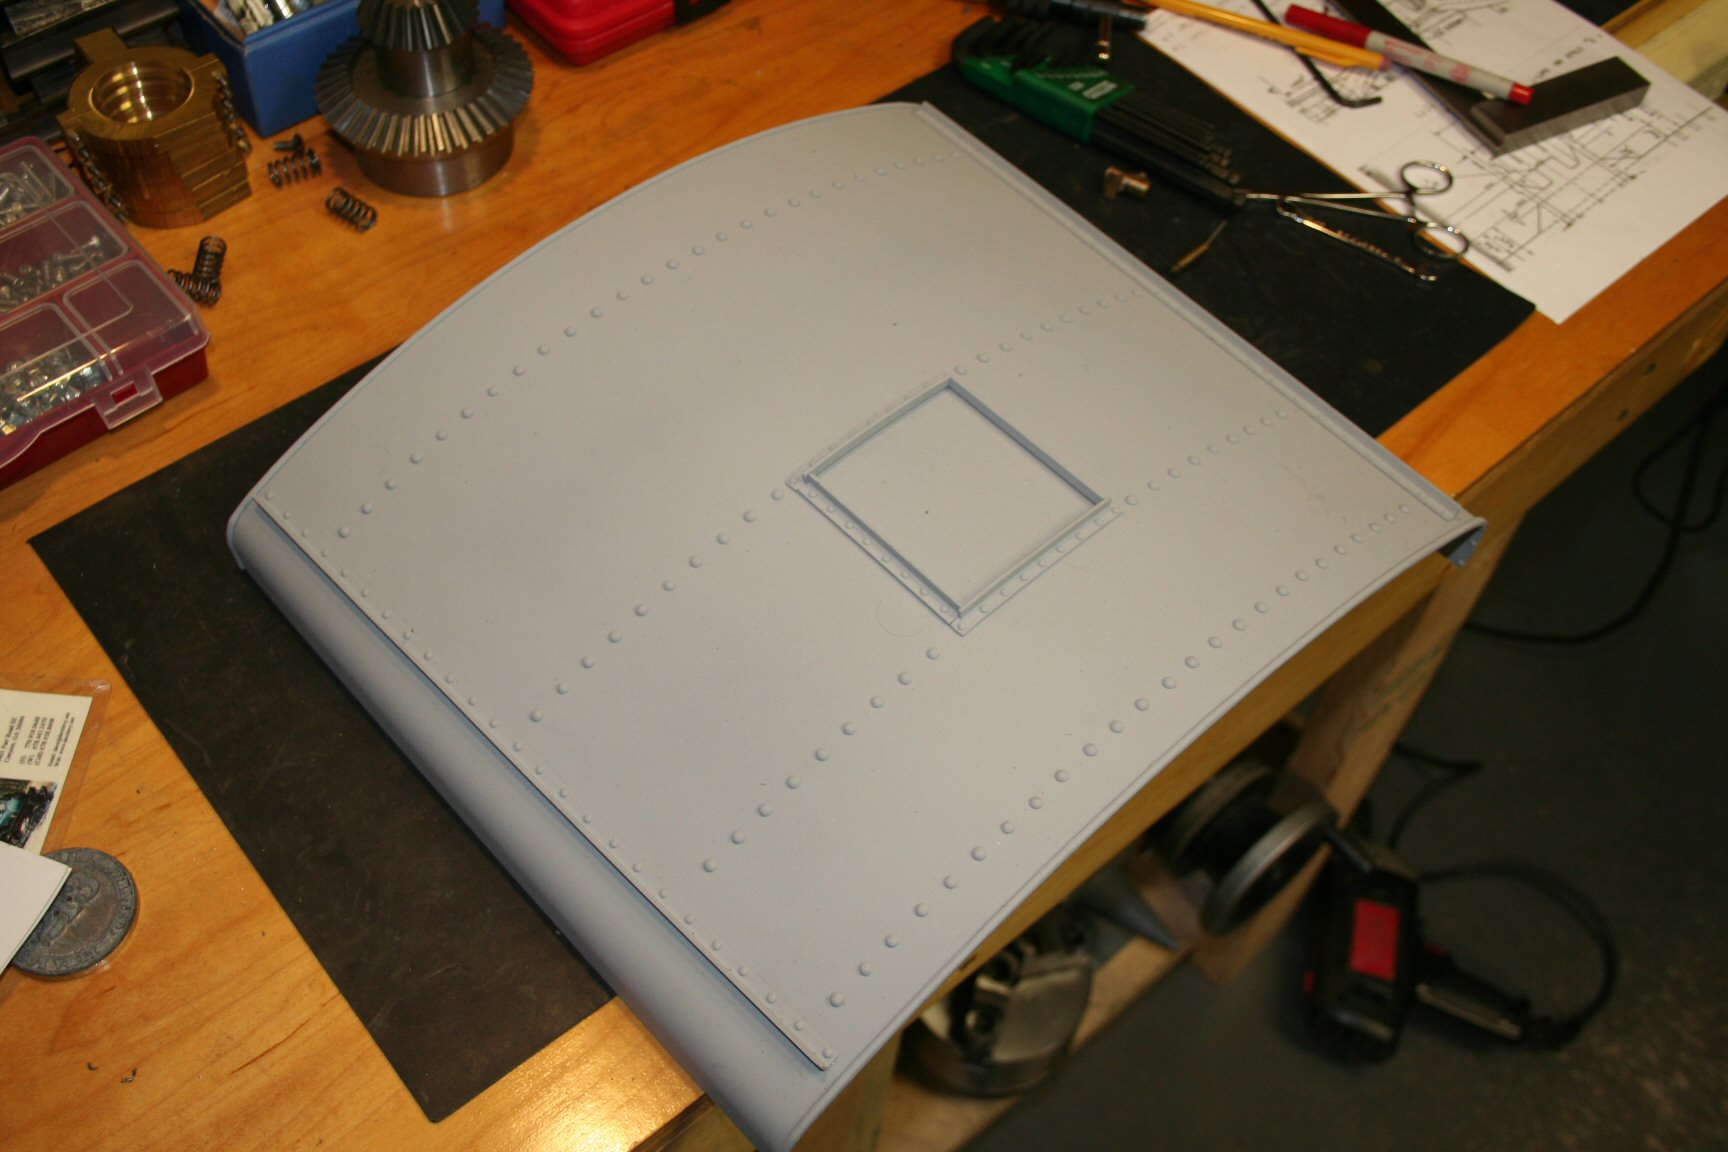
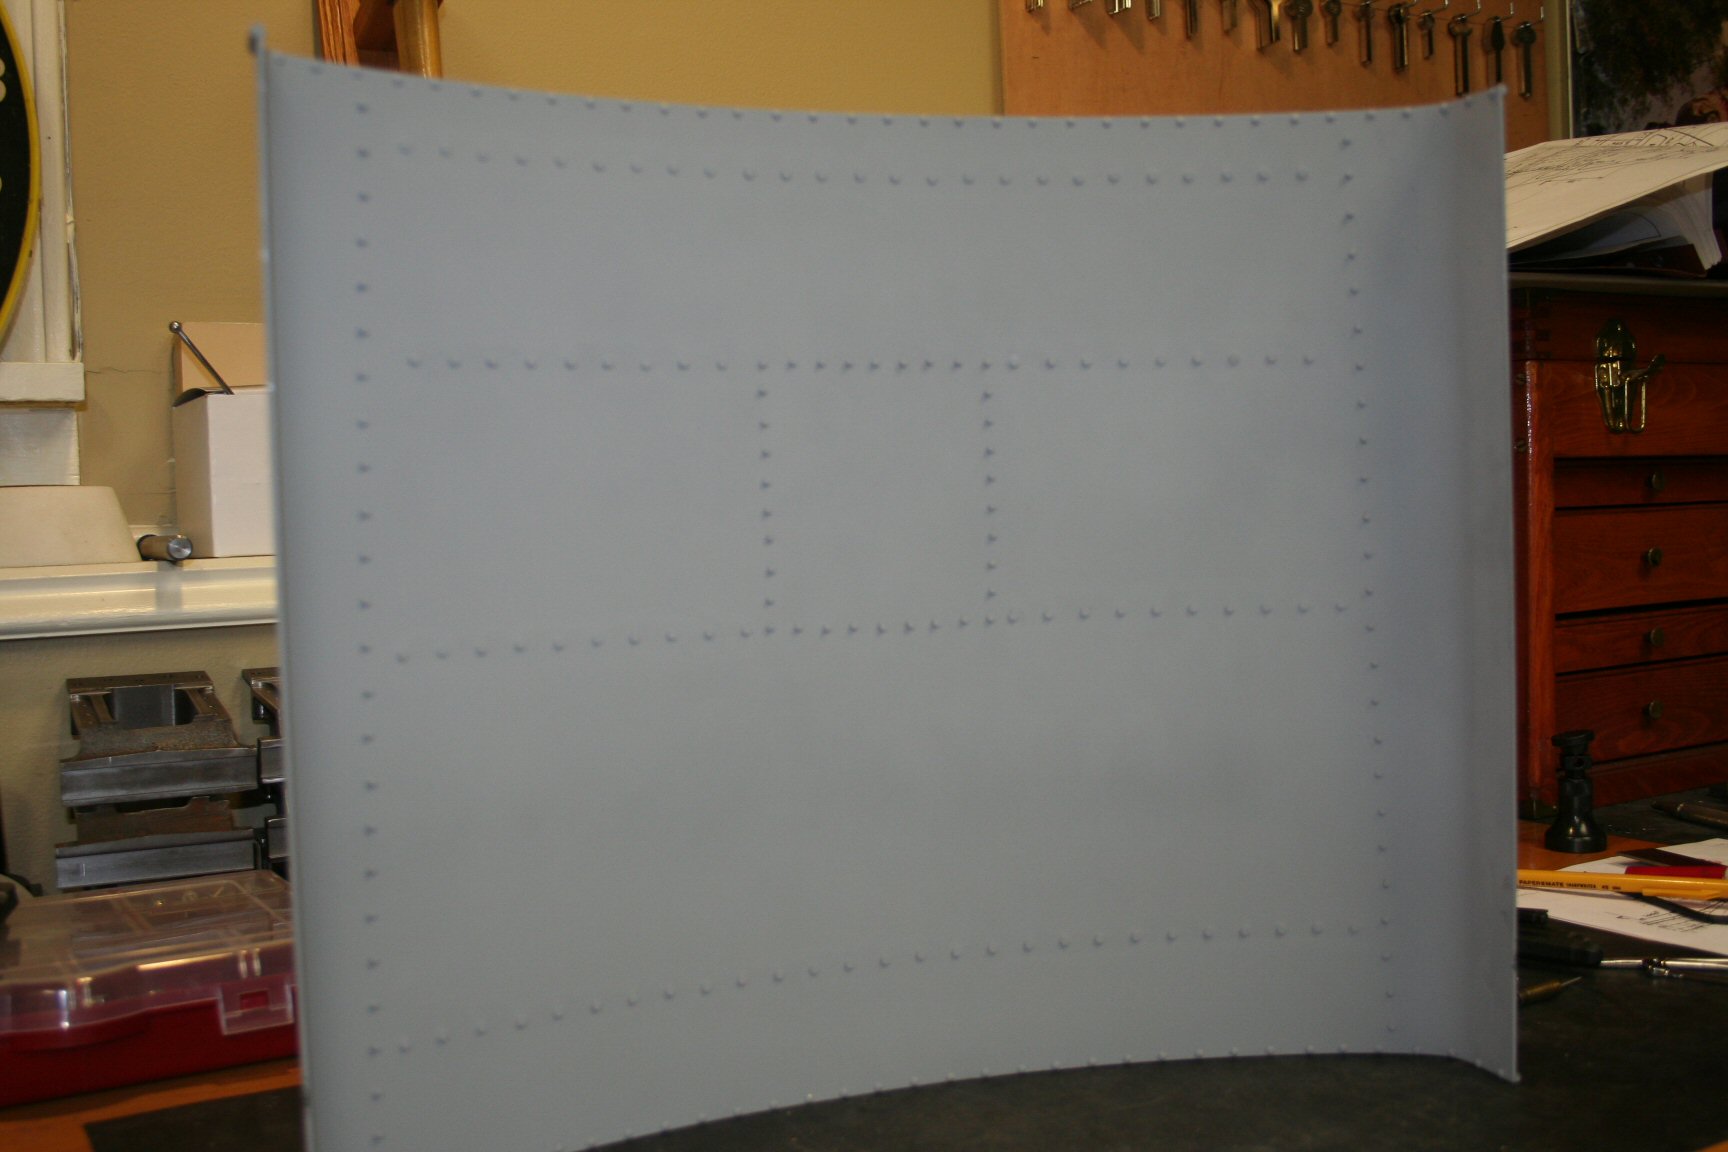
Cab Roof (02/21/2009)
I’ve finally gotten the cab roof put together. It’s not entirely completed however. I need to form the cab vent cover and attach it and also mount the hinges that will allow the cab to open for access when running. It is, however, closer to done than it is to starting it.

Cab roof with primer paint 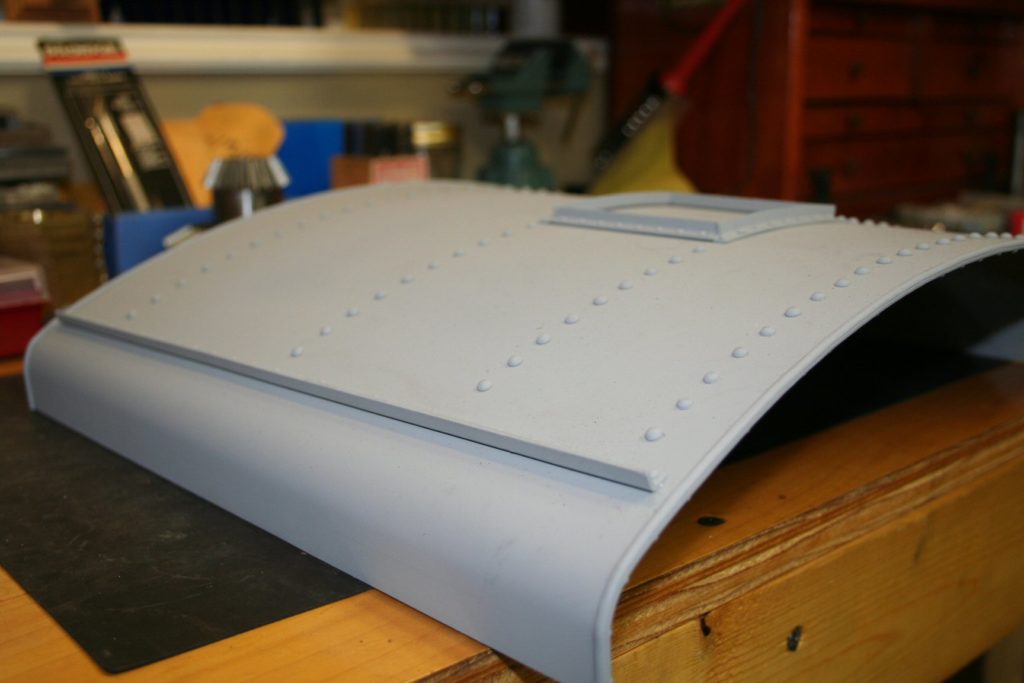
Cab roof 
Cab roof detail

Eccentrics (03/10/2009)
Some of the machining has been done to the 6 eccentrics that drive the valve gear. As seen in the photo, the center hole has been machined. Next they need to be mounted to my rotary table on the mill and have the outside edges machined and the tab that mounts the ‘push rod’ to the valve piston. Unfortunately, the mill is tied up with machining the truck side frames so it will have to wait a while.
Valve eccentrics 
Eccentrics
Upper Spring Planks (Bolsters) (03/23/2009)
Here are some pictures of the upper spring planks for the trucks. I have the center pivots mounted (covered with tape) and they are ready for paint. The trucks are starting to take shape (finally).
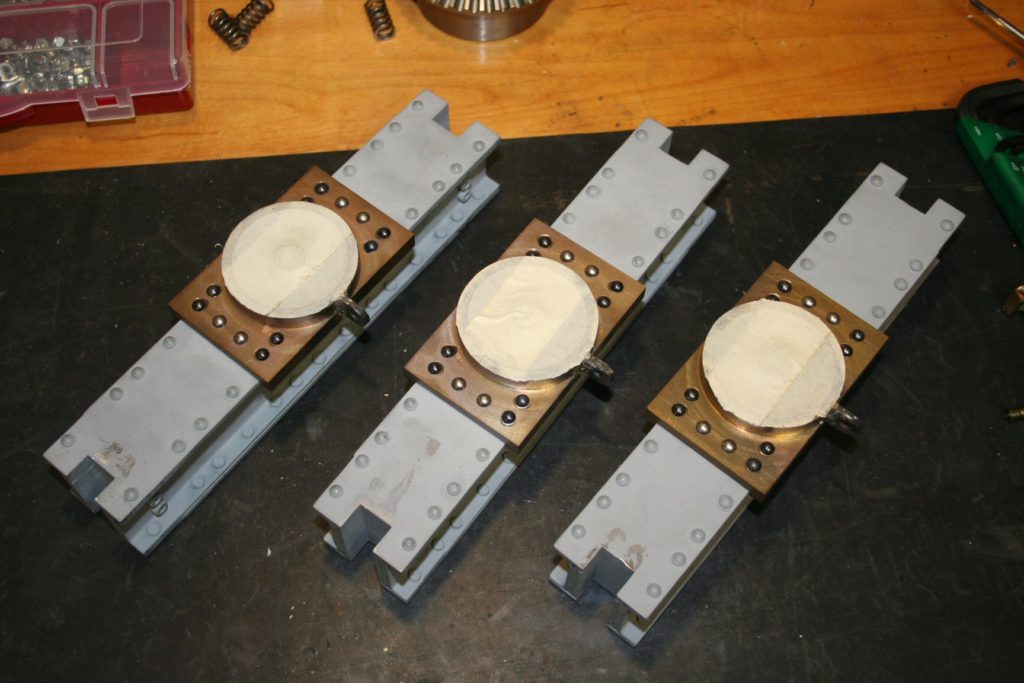
Upper srping planks (a.k.a. truck bolster) 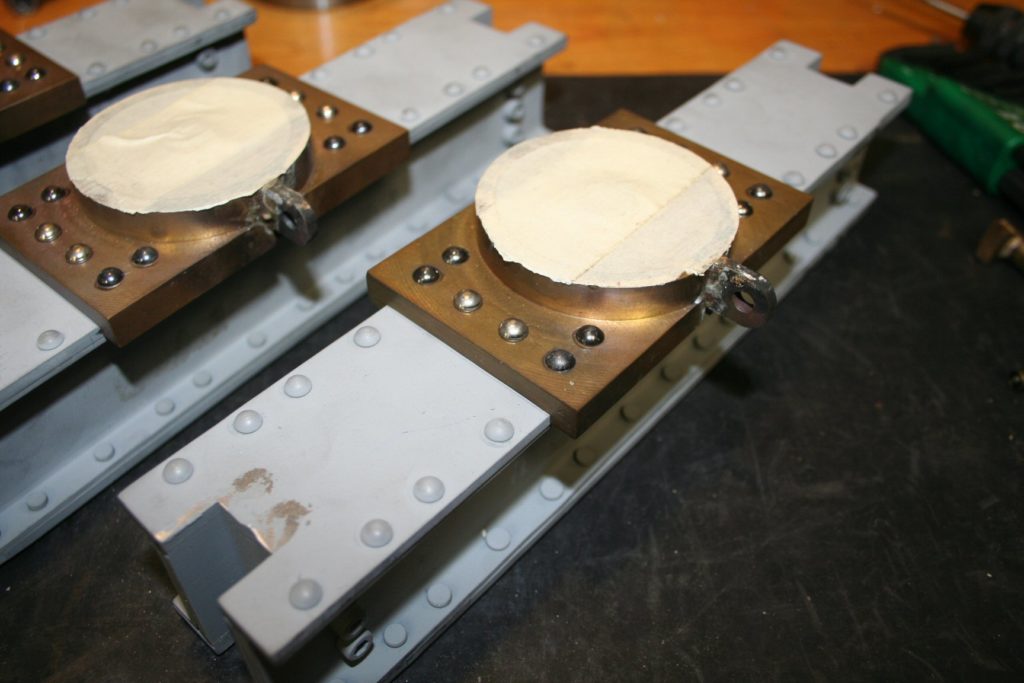
Spring plank detail


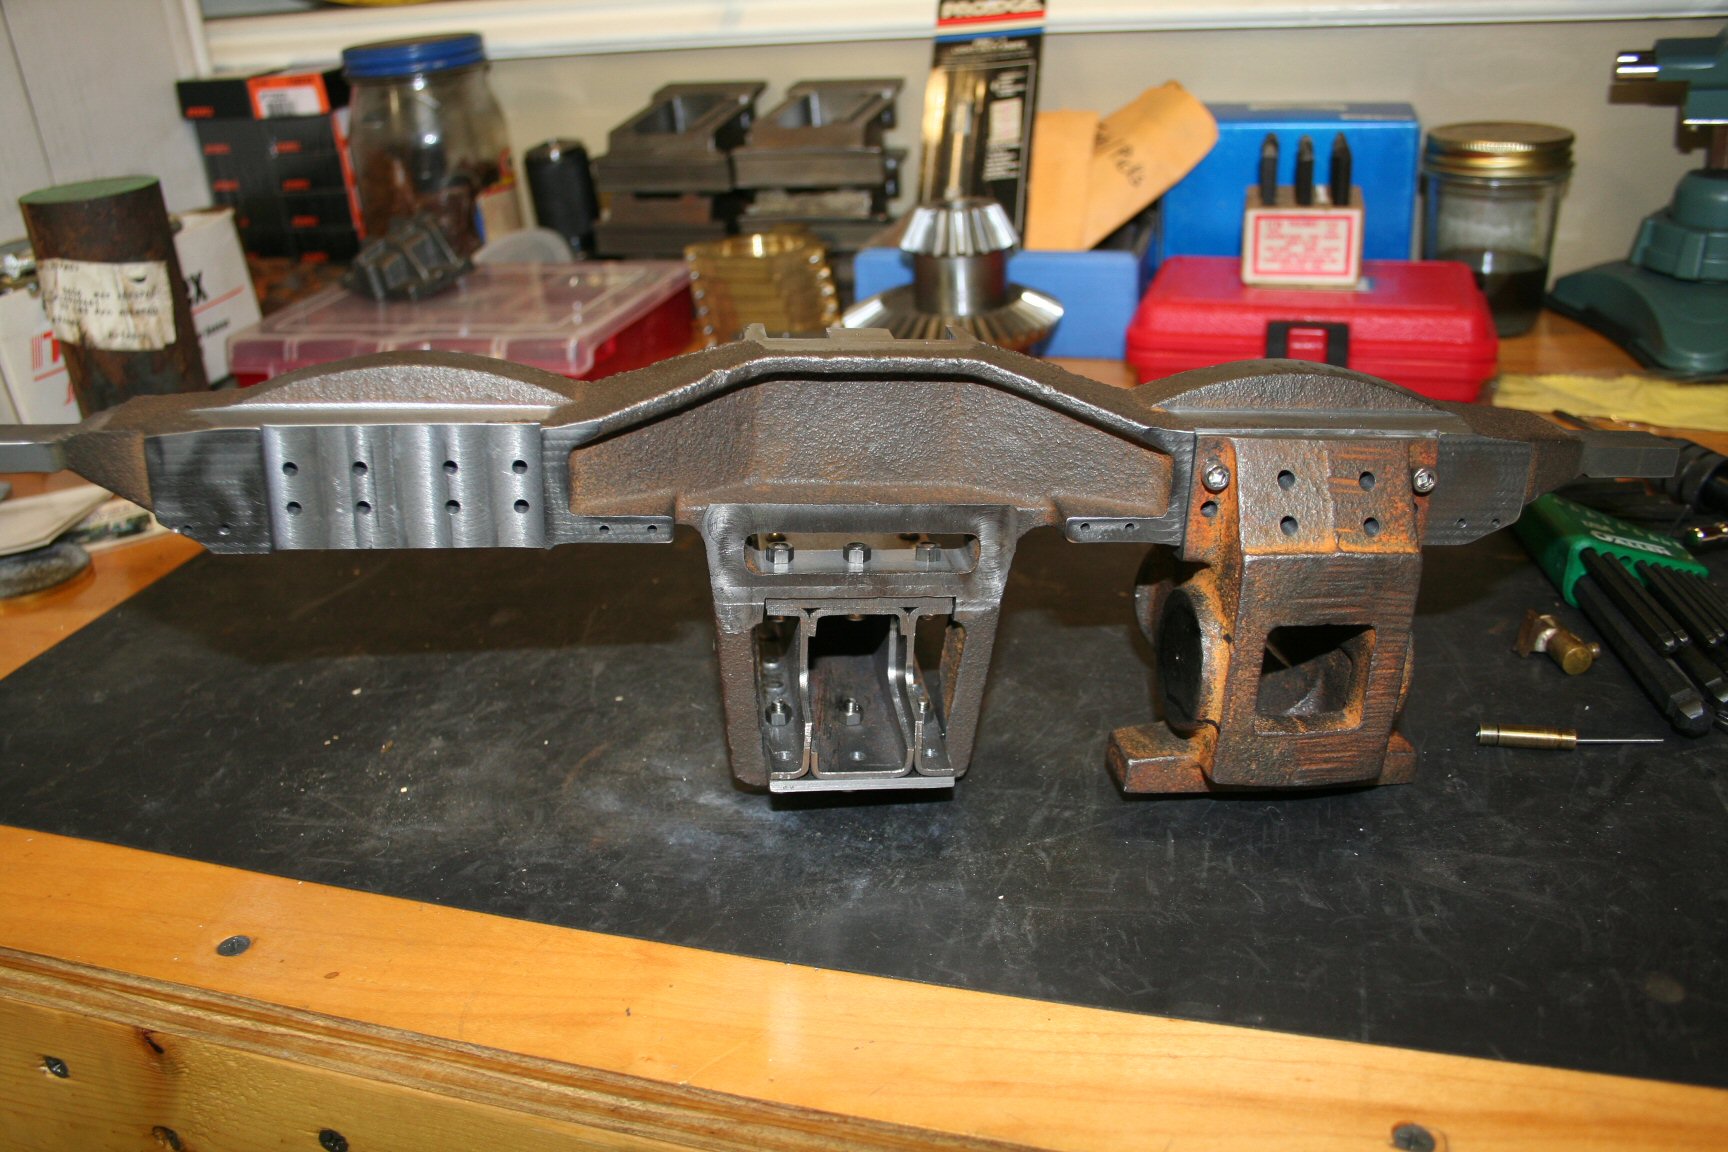
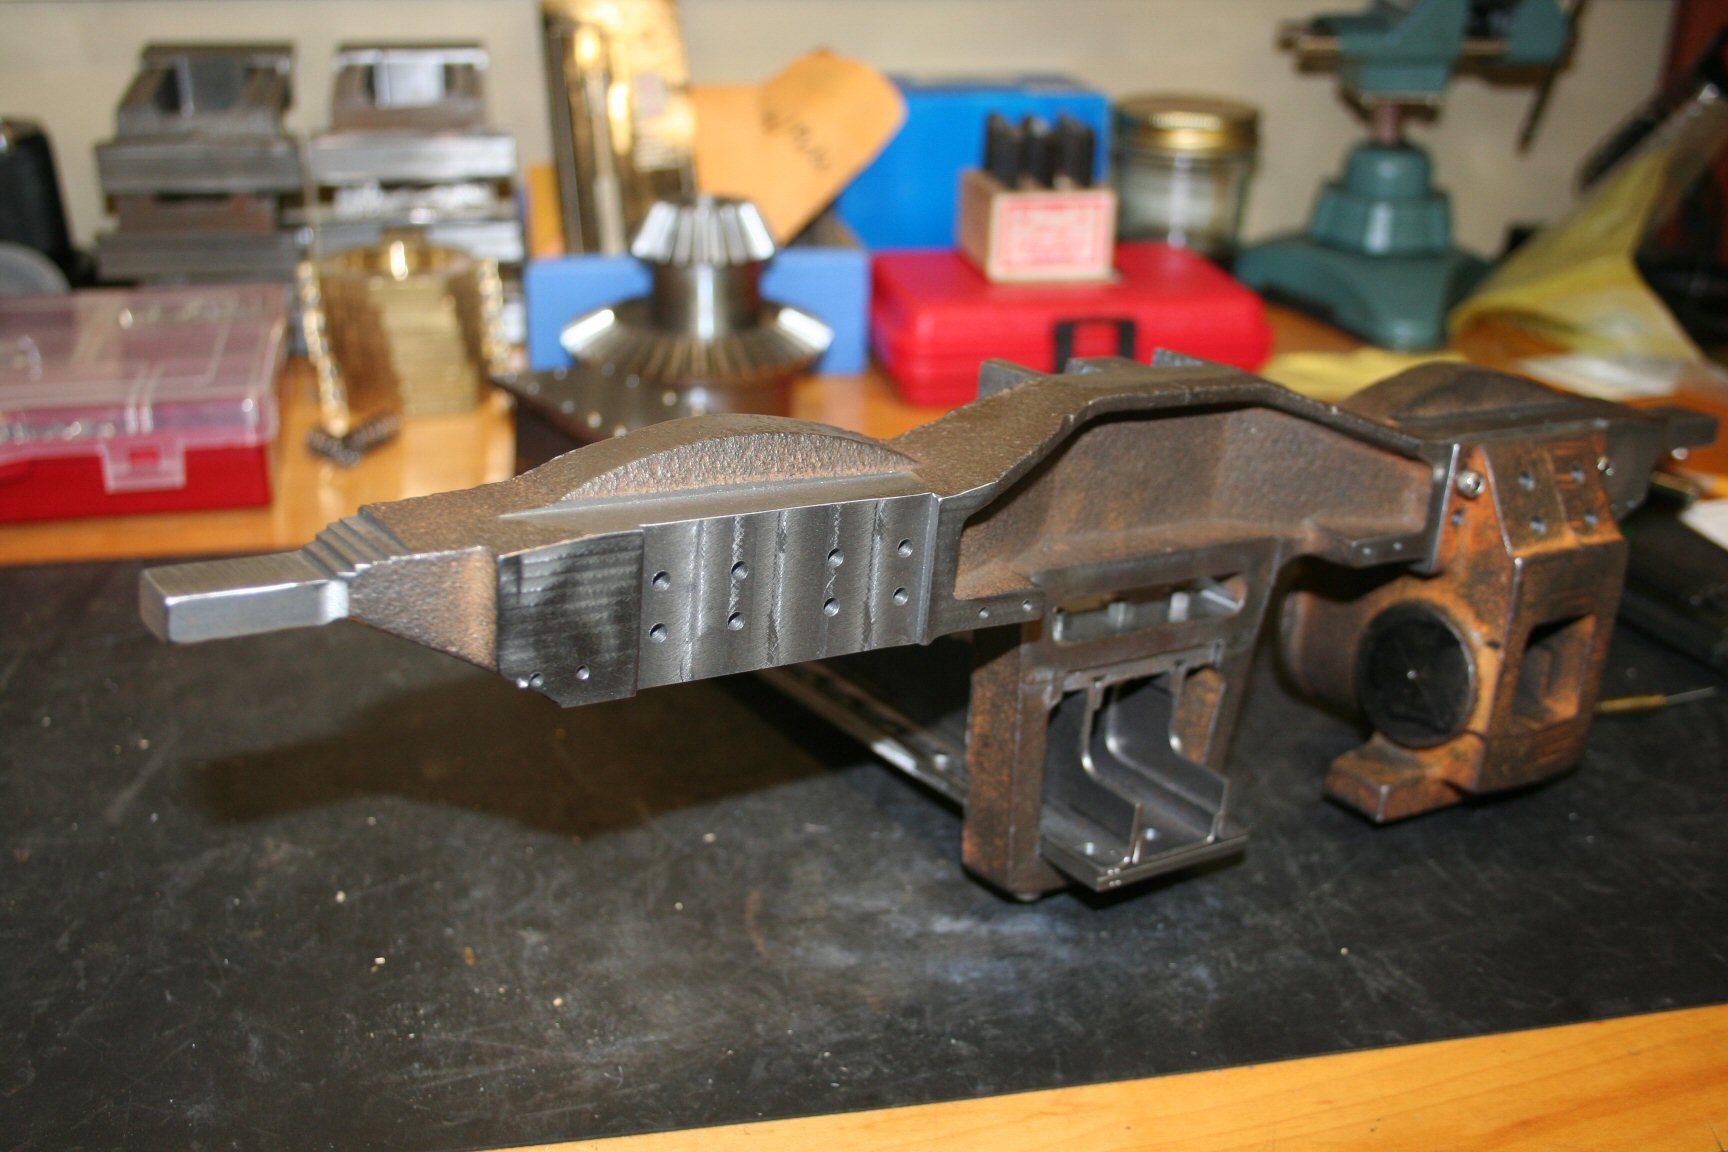
Right-side Truck Frame (04/07/2009)
I have one of the 3 right-side truck mostly machined. By that I mean all the critical machining is done. There is a fair amount of metal removal that still needs to be done to form the curvature on the back side of the arms. I haven’t decided exactly how I want to do that just yet. While I’m thinking about it, I want to do one of the left-side truck frames so I can develop the machining instructions/sequence and then be able to actually assemble one truck to see what I’ve messed up!

Right side truck frame 
Right side truck frame
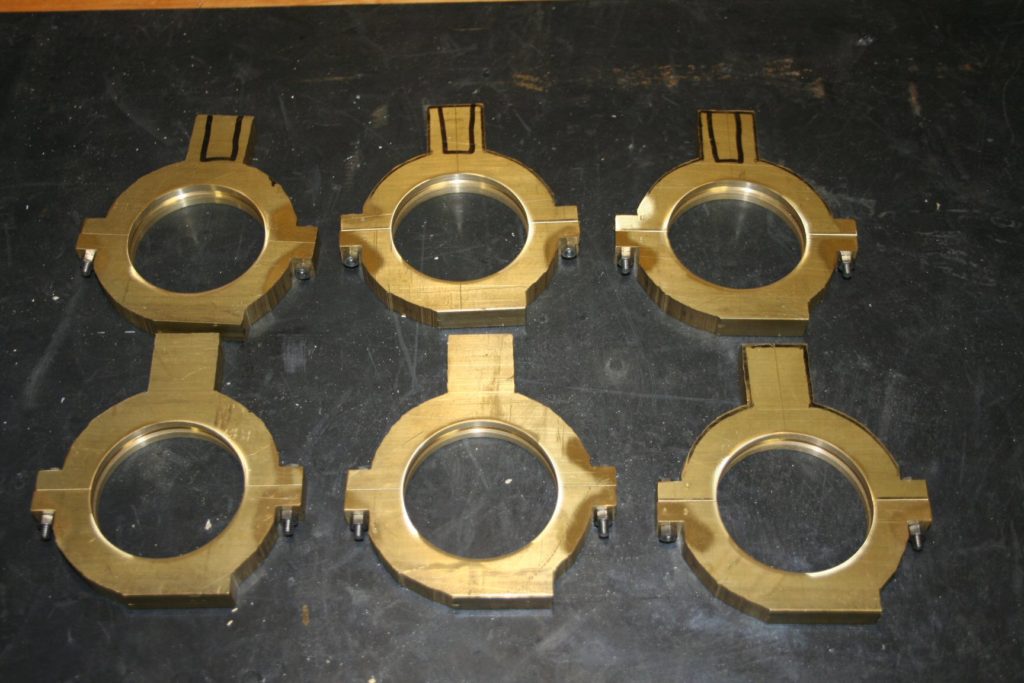
Coupling Rings (10/2010)
After numerous delays and procrastinations I am finally back to work on WM6 again. I decided to do the coupling rings. These are the rings that make up the universal joints that are at each end of the drive shaft that spans between the trucks. Six of them are needed in total. They are not completely finished but are well on their way!

Rough ring detail 
Rough ring with capture plate castings 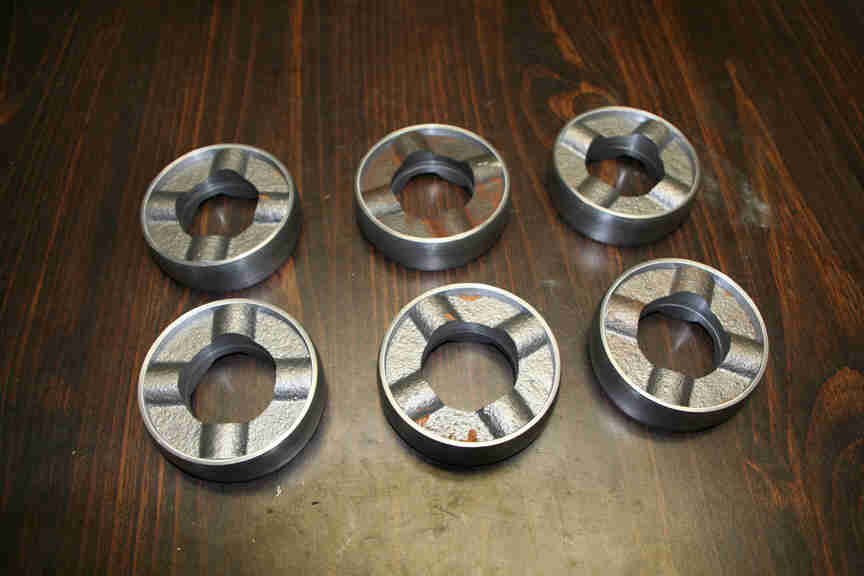
Coupling ring mockups

Left-side Truck Frame (12/2010)
I finally got around to machining the first of the left-side truck side frames. It has been mounted in the mill for several months and I finally needed the mill so bad that I had no choice but to actually machine it. It took about 4.5 hours but came out pretty nice. Now I have a “2-sided” truck frame to play with. Only 2 more of them to do!
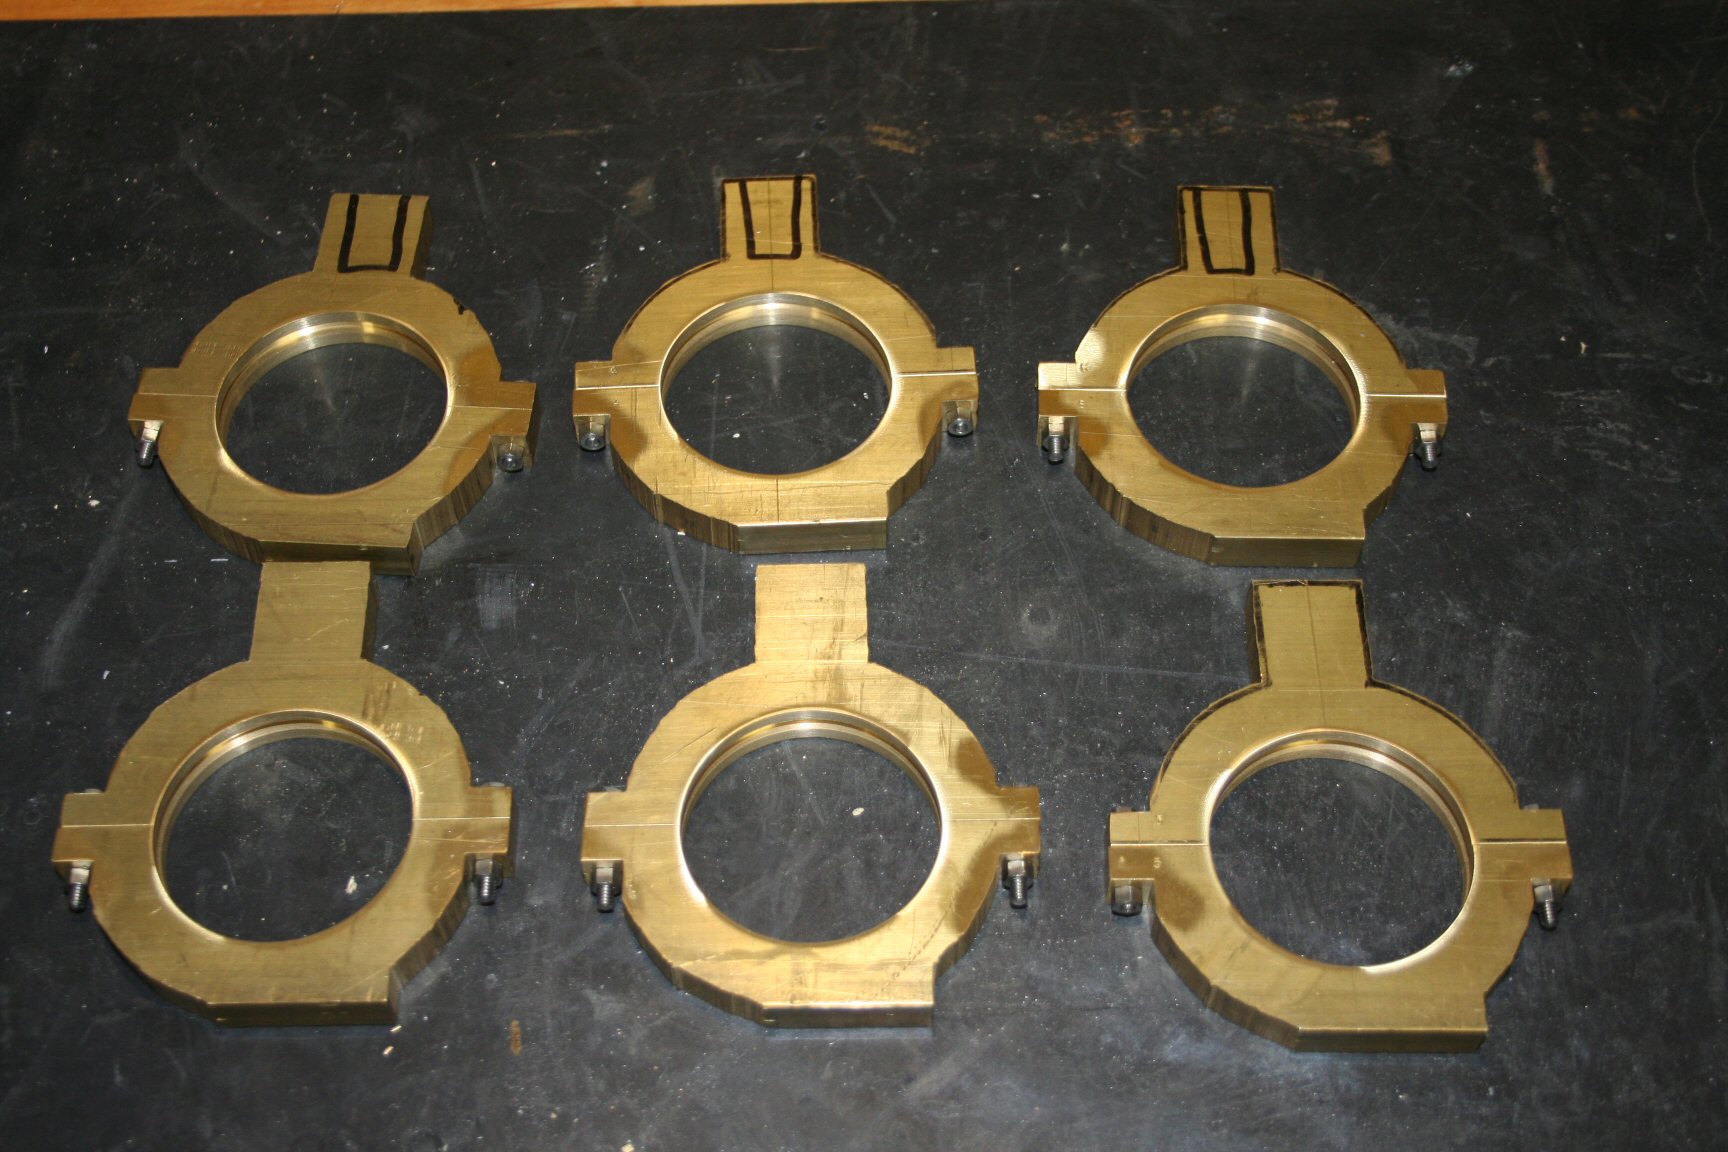
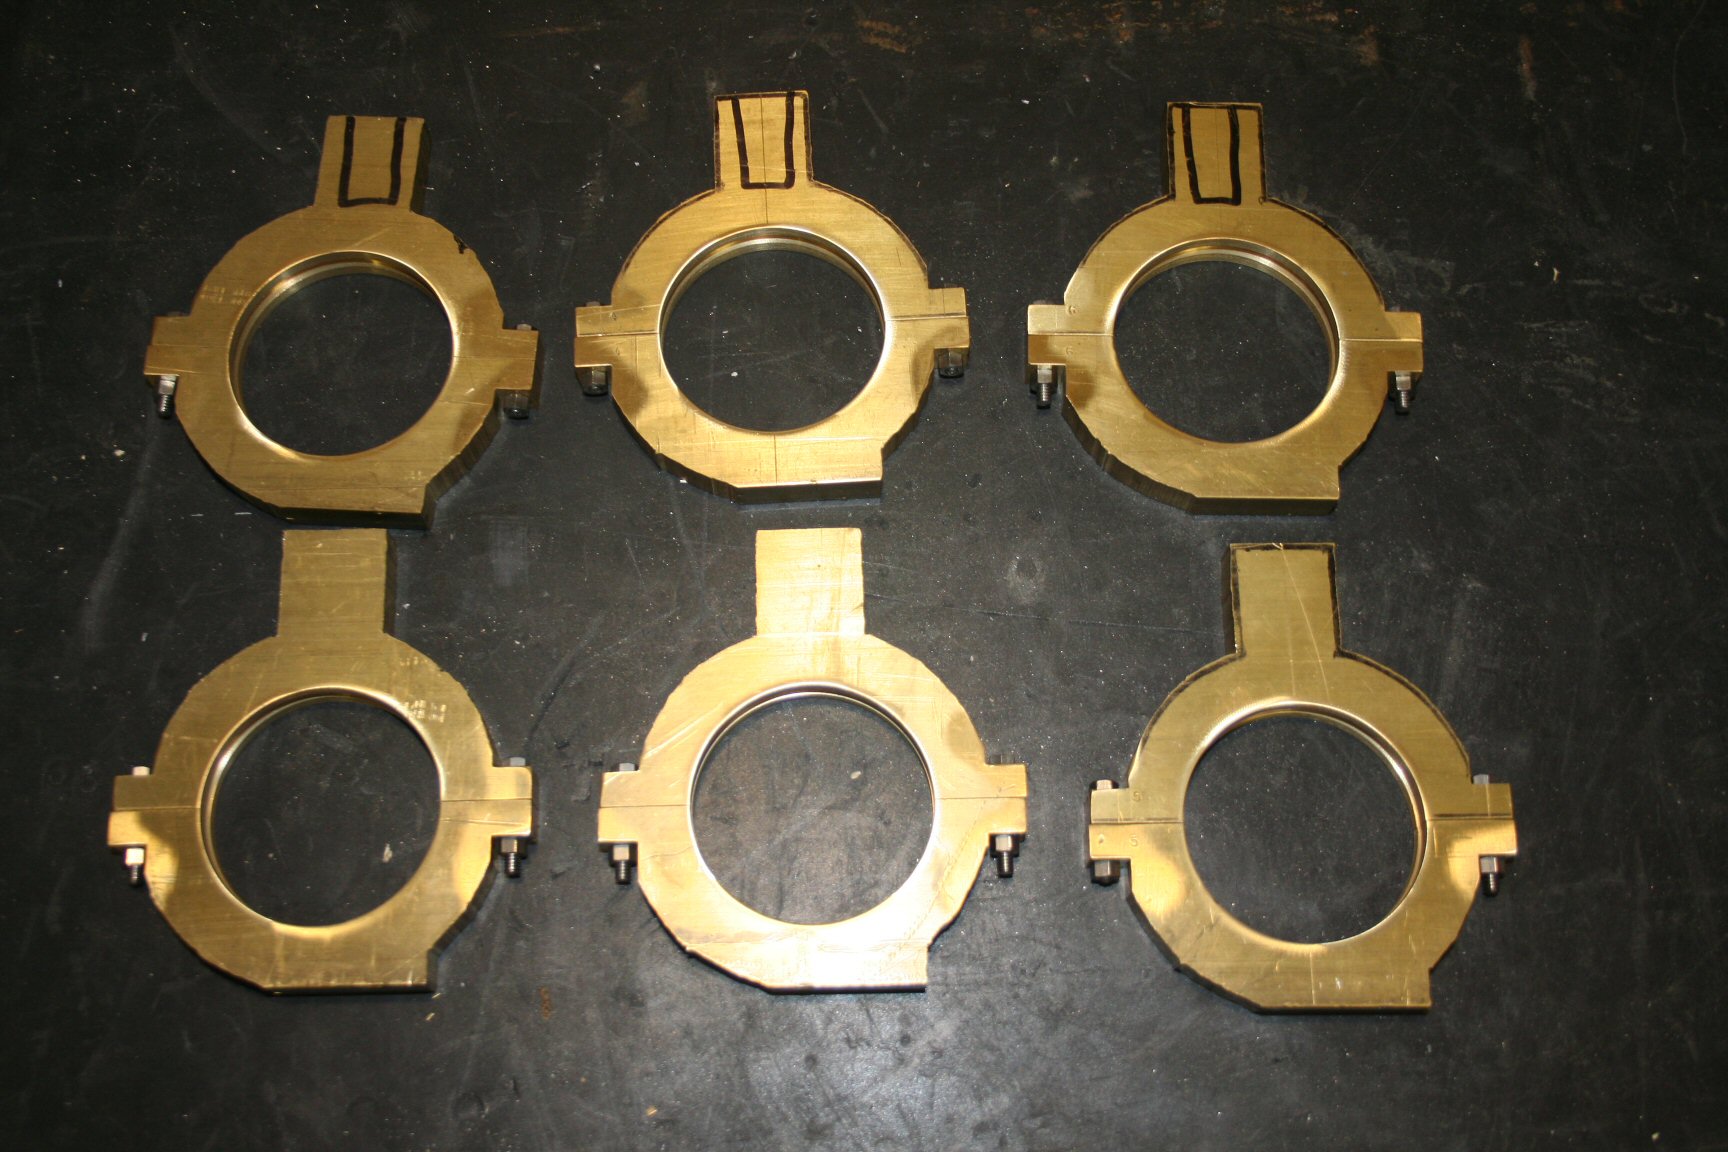
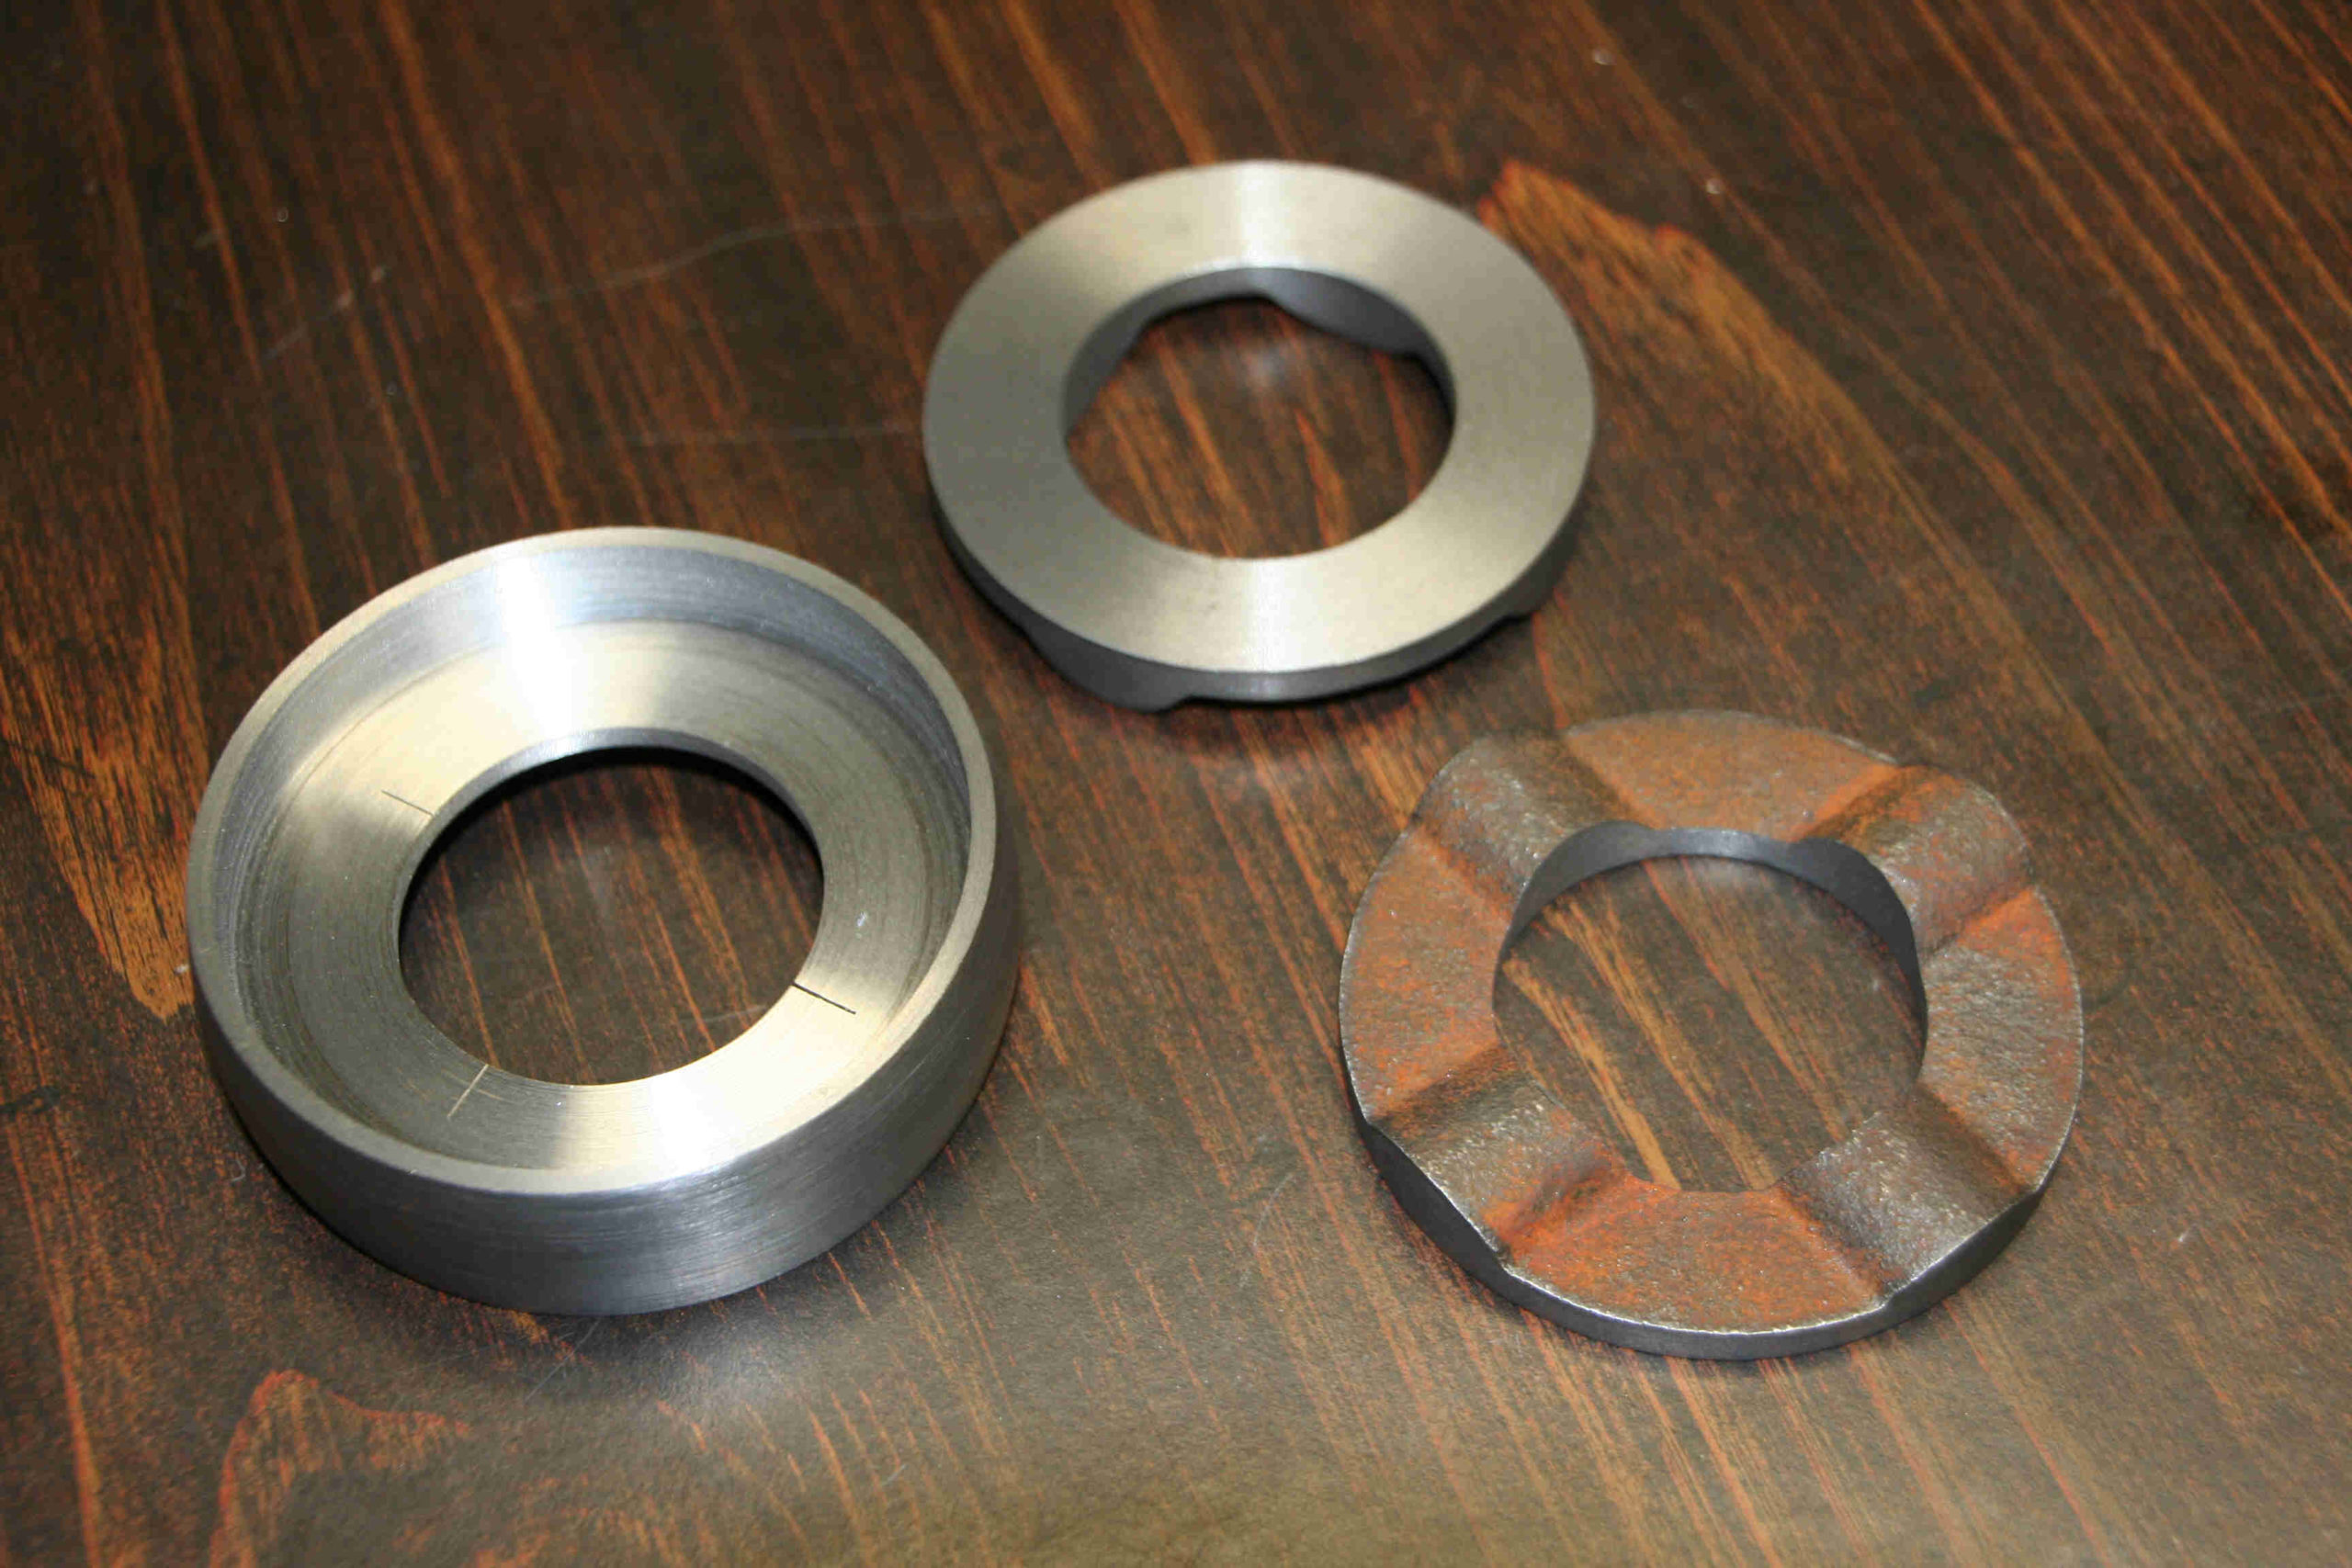
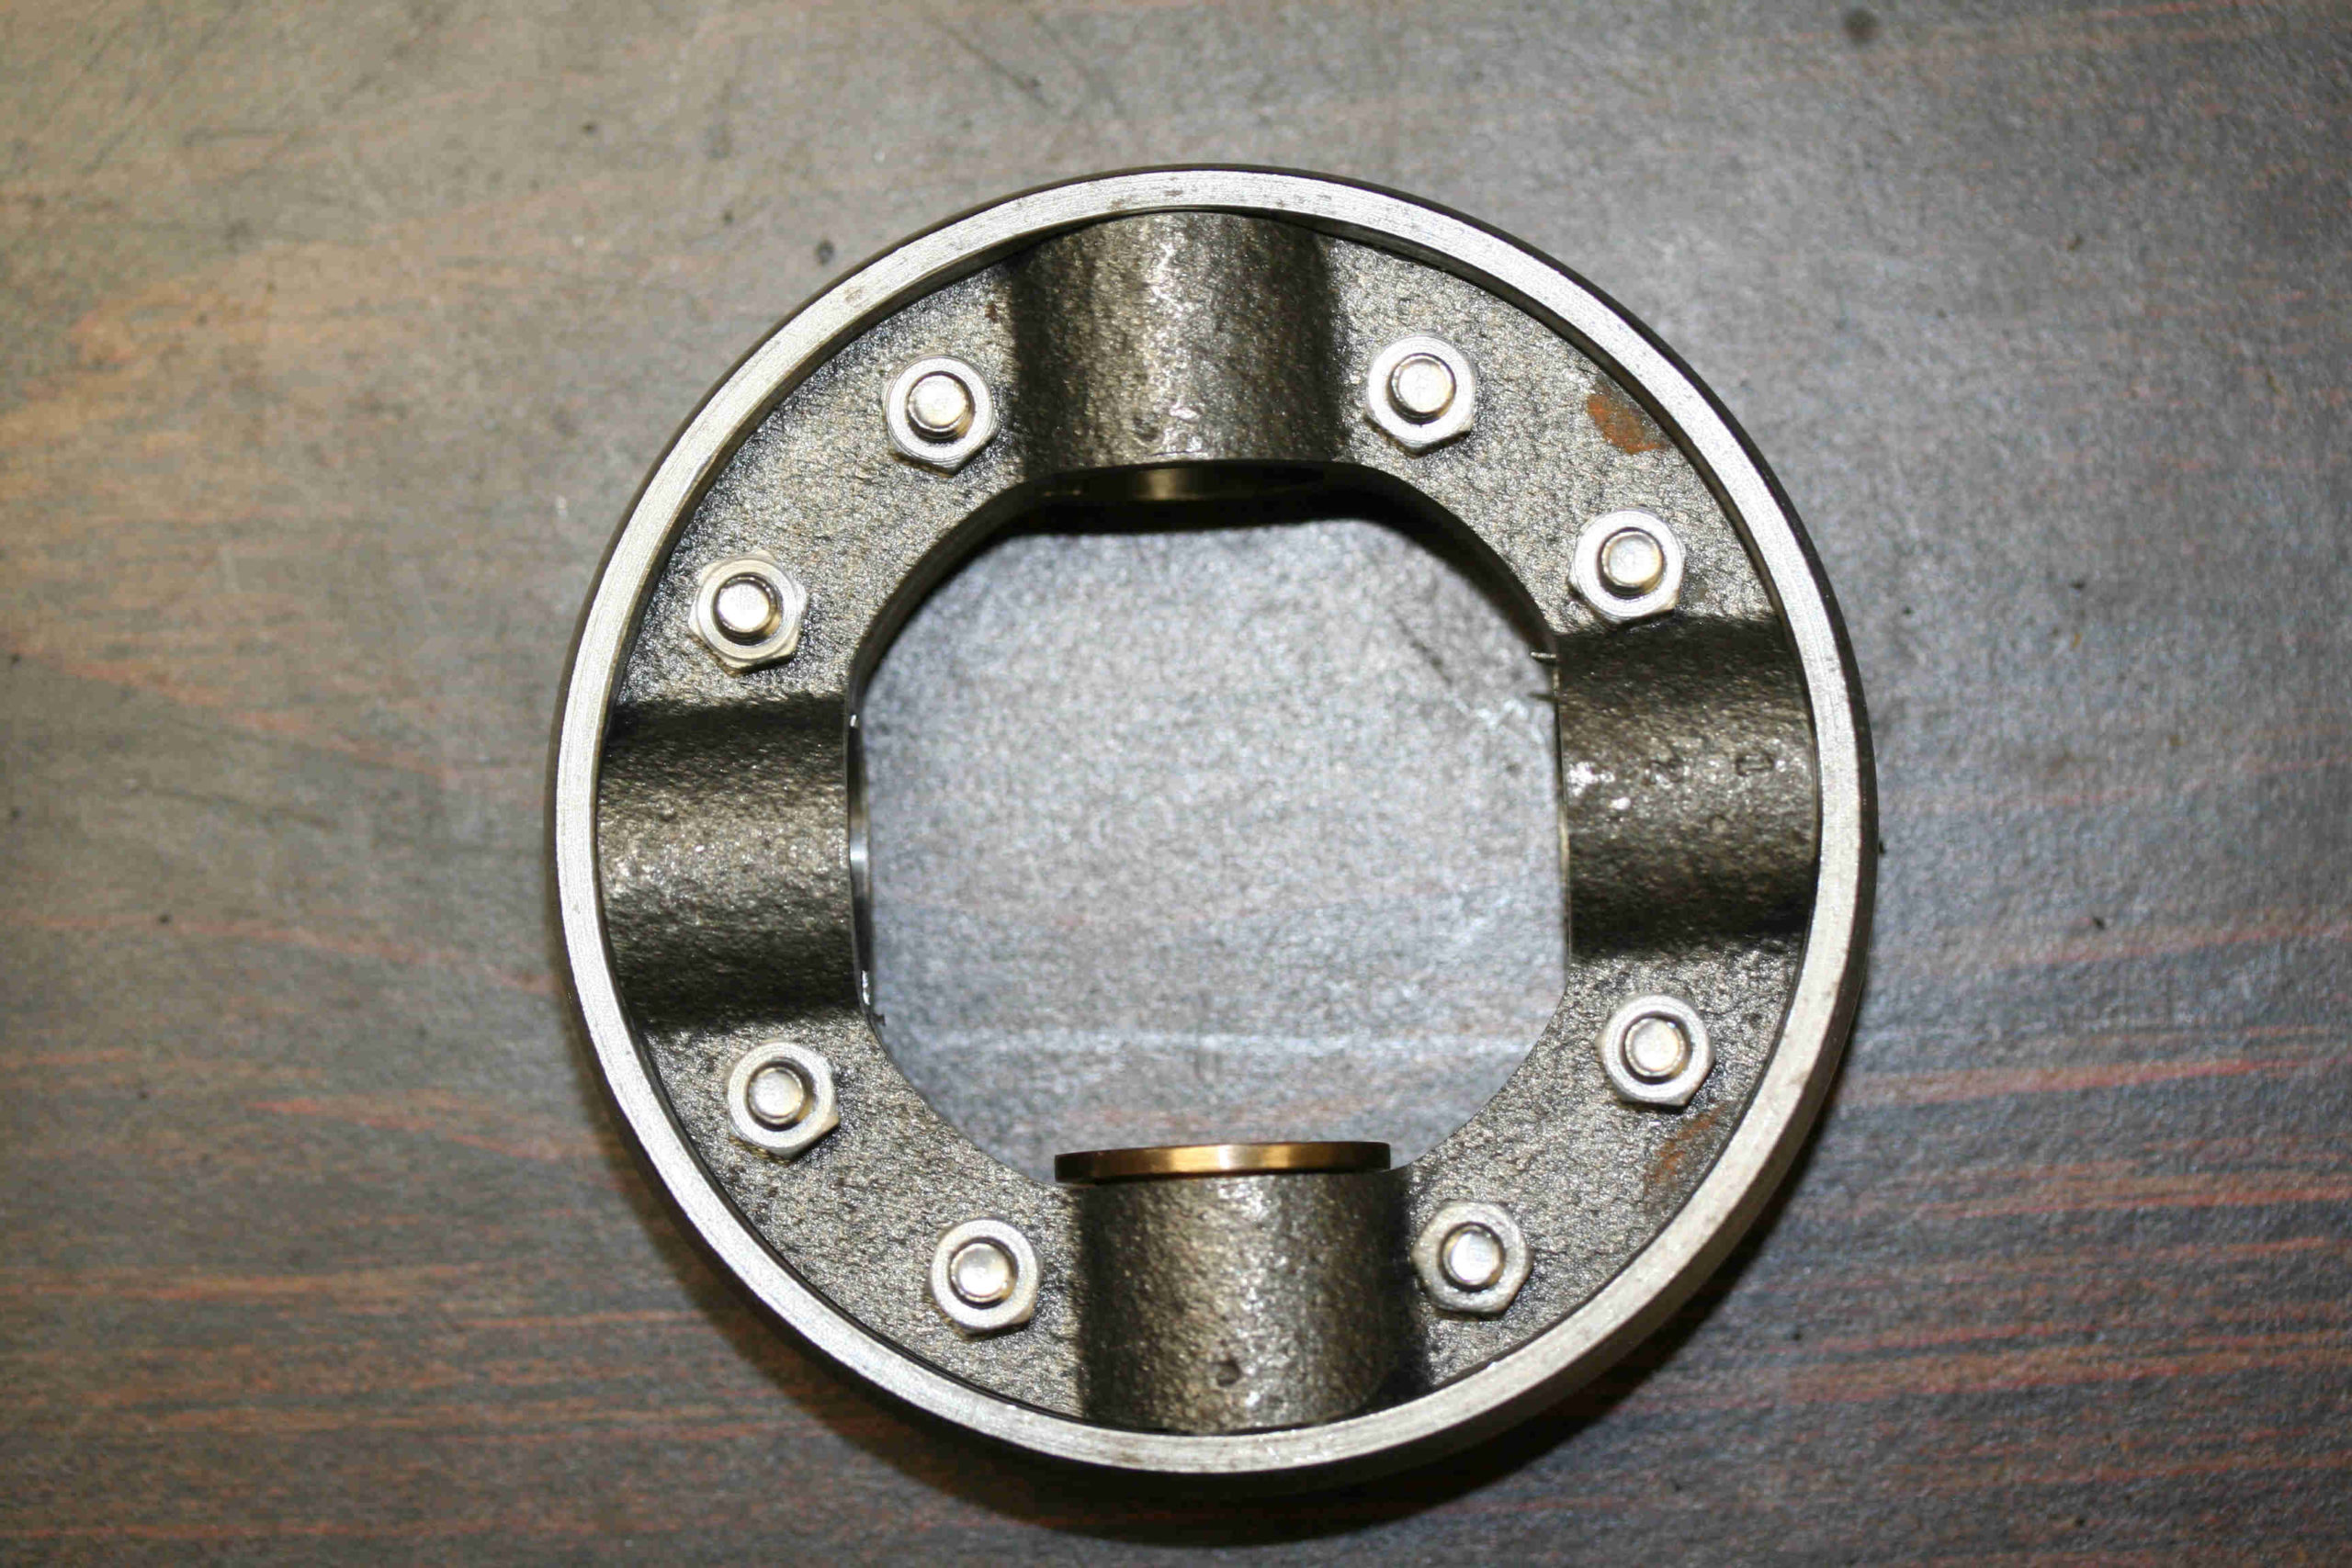
Coupling Rings (4/13/2011)
For quite some time now I have been working ever so slowly on completing the coupling rings (see notes above from October 2010). I am finally getting close. I used the Hurco tonight to CNC the pattern on the inside of the rings where the bushing collars will ride. It was a bit nerve-racking at first watching the CNC program run and hoping that I had it programmed right. The good news is that it worked. The bad news is that there are five more to do but it should be pretty easy now. The last thing I have to do to the rings is drill/tap for the adjuster plugs in the outer ring then there will be ready for paint.
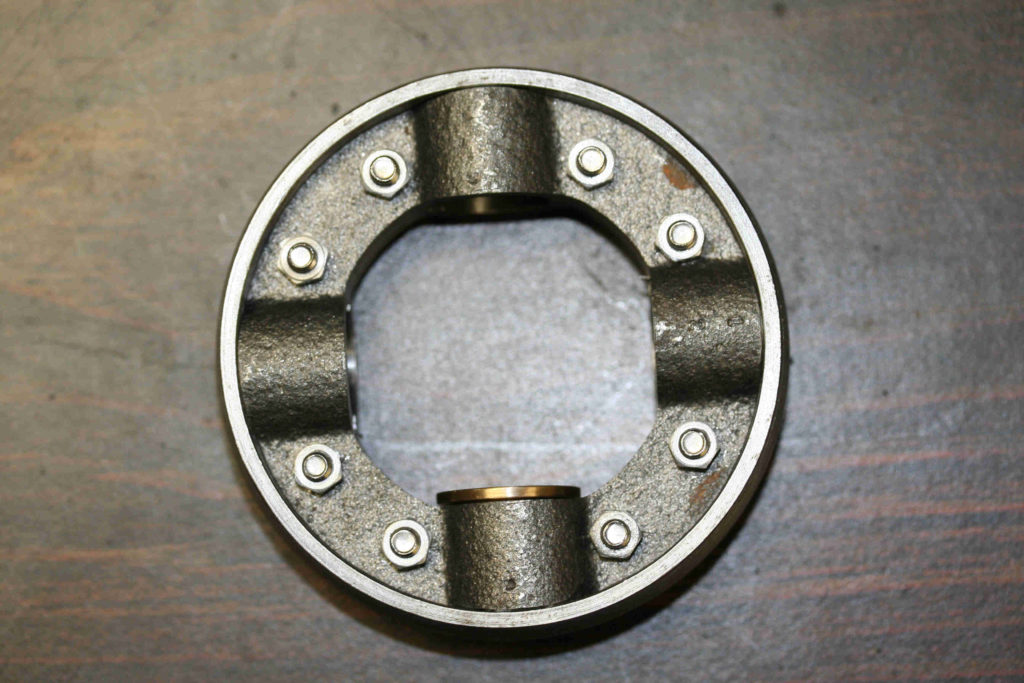
Coupling ring – final assembly 
Coupling ring – second angle

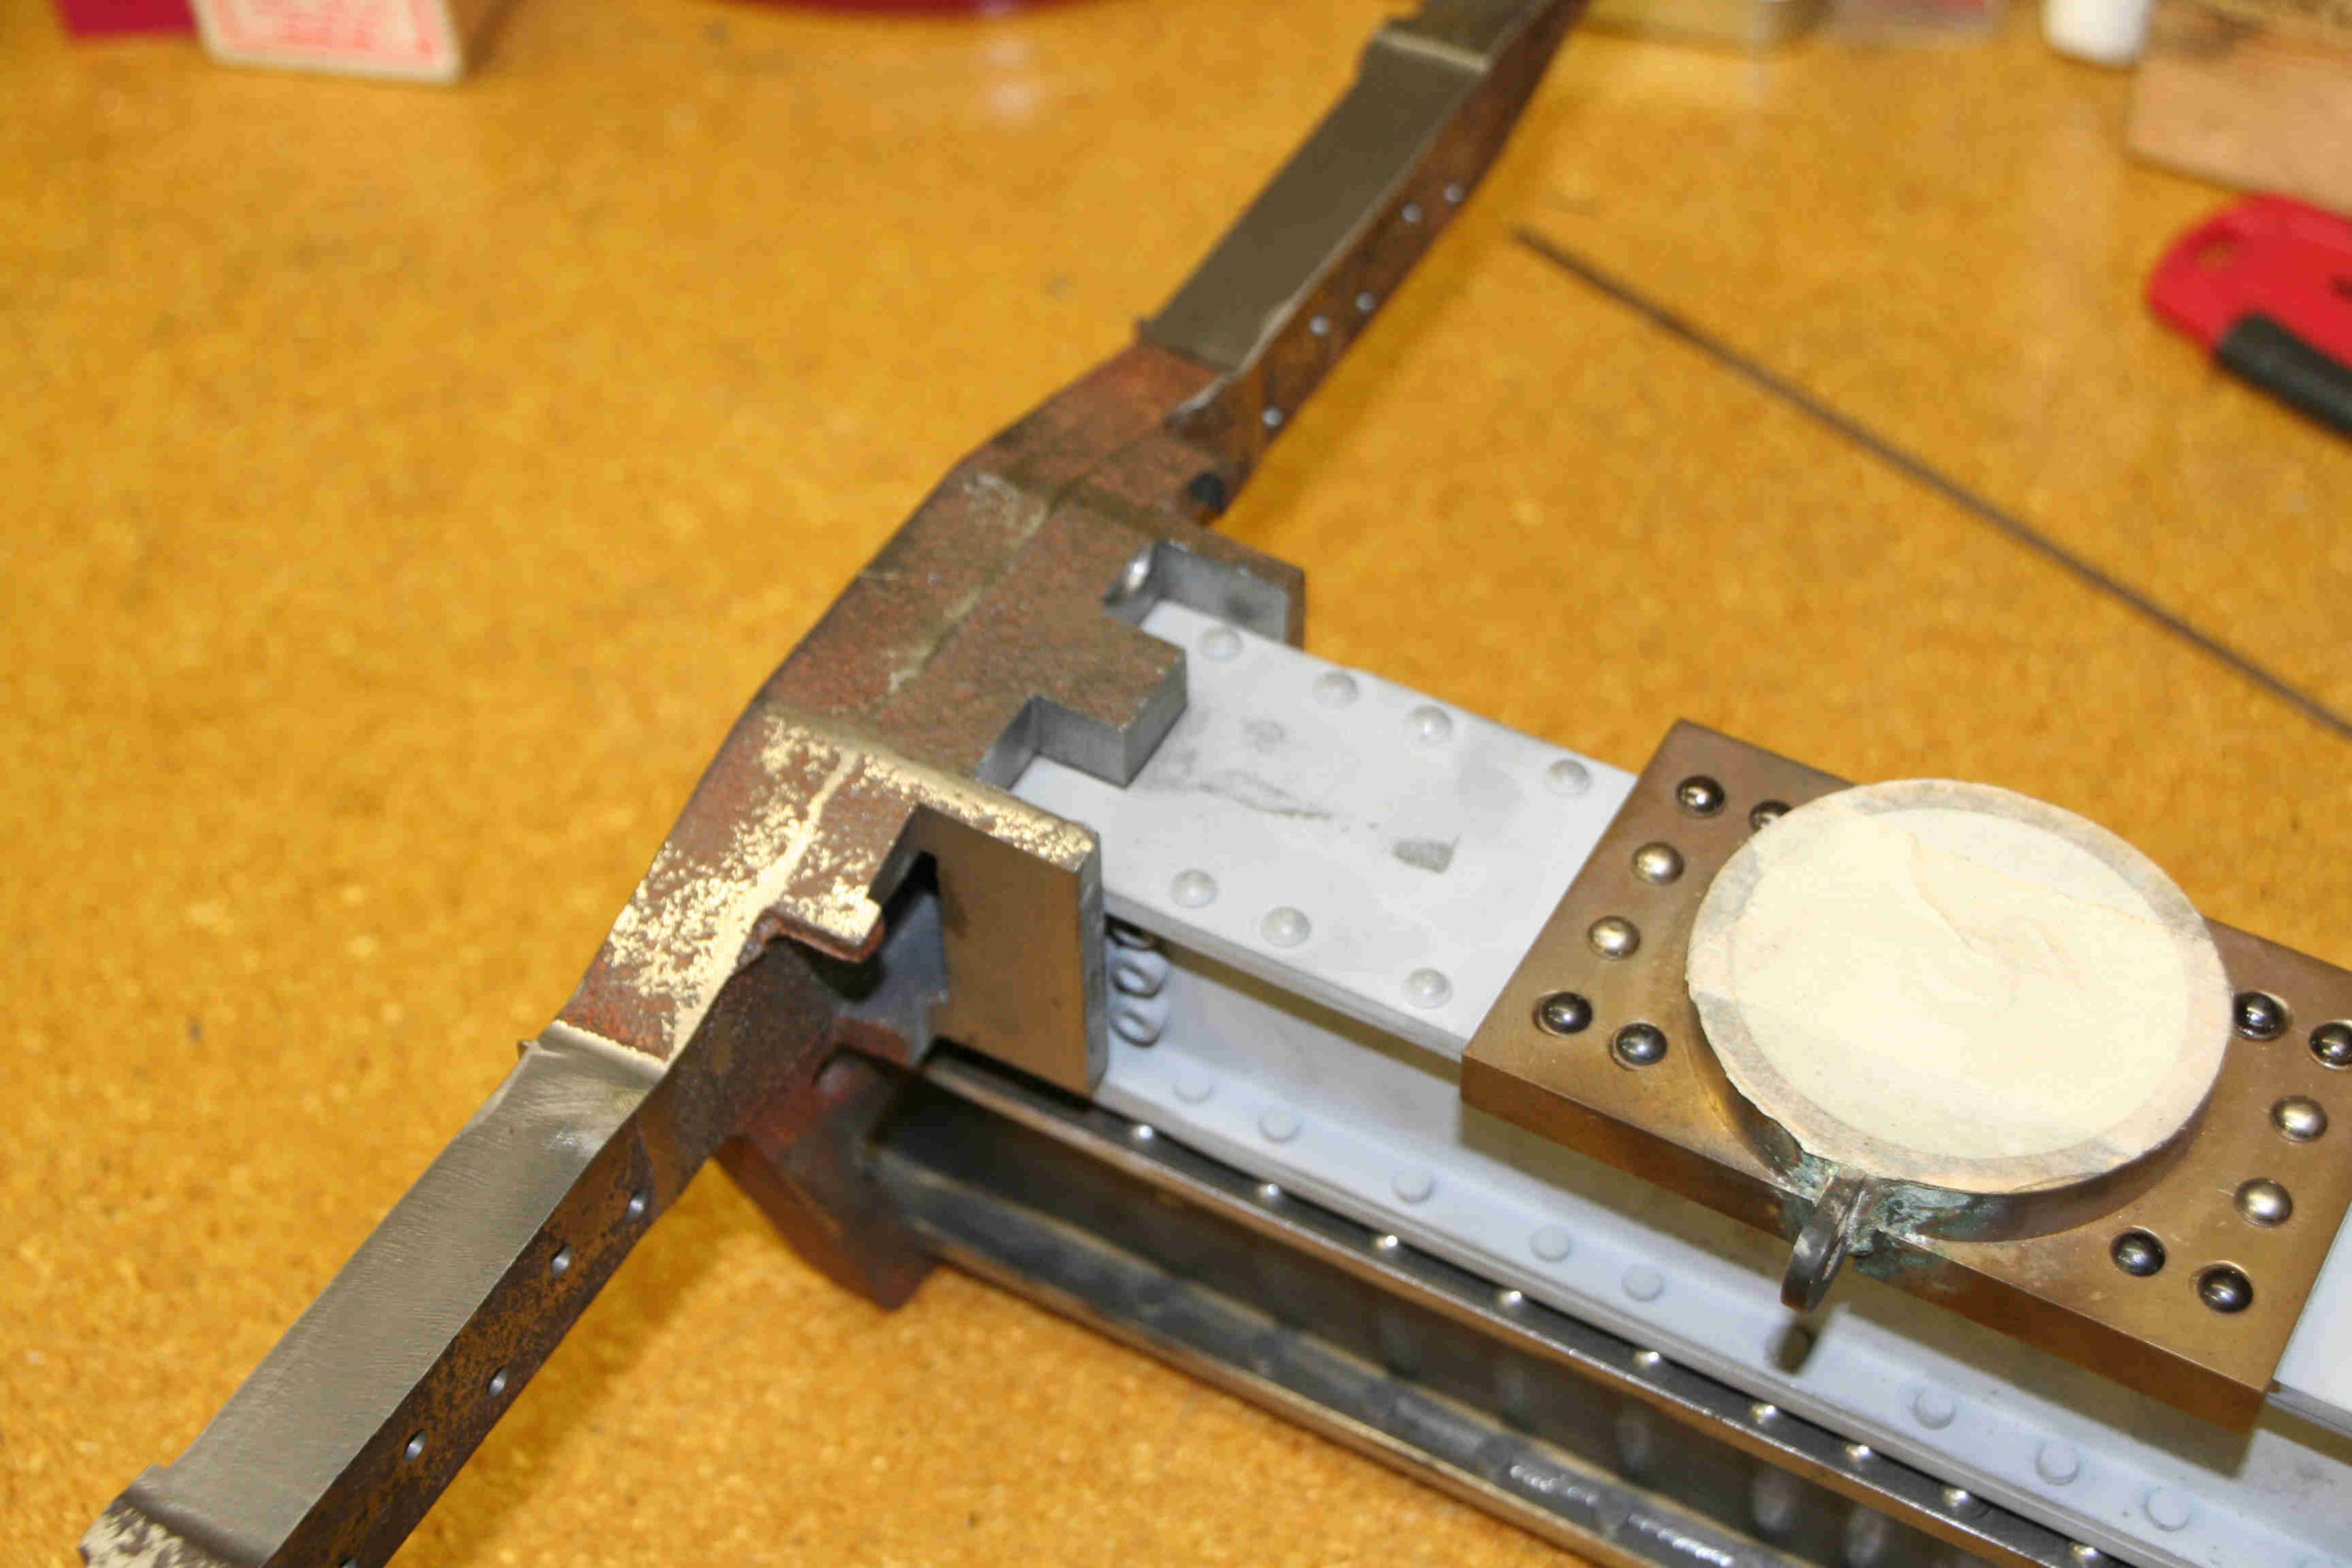
Left-Side Truck Frame (11/2/2011)
Using the Hurco Mill, I have been making more progress lately. Programs for the inner and outer surfaces of the left-side truck frame were put together and tested on 2×4 pine mockup pieces. As expected, a few problems were uncovered in the programs. The conversational programs aren’t too hard to write but sometimes I still get lost in some of the terminology. The one that I almost always get wrong is ‘cutter compensation’ (LEFT or RIGHT) when doing a line cut. It is a mental block thing for me I guess. In any case, I now have all three of the left-side truck frames machined. I still have to drill the holes to mount the spring plank but that will happen later when I fit all the parts together.
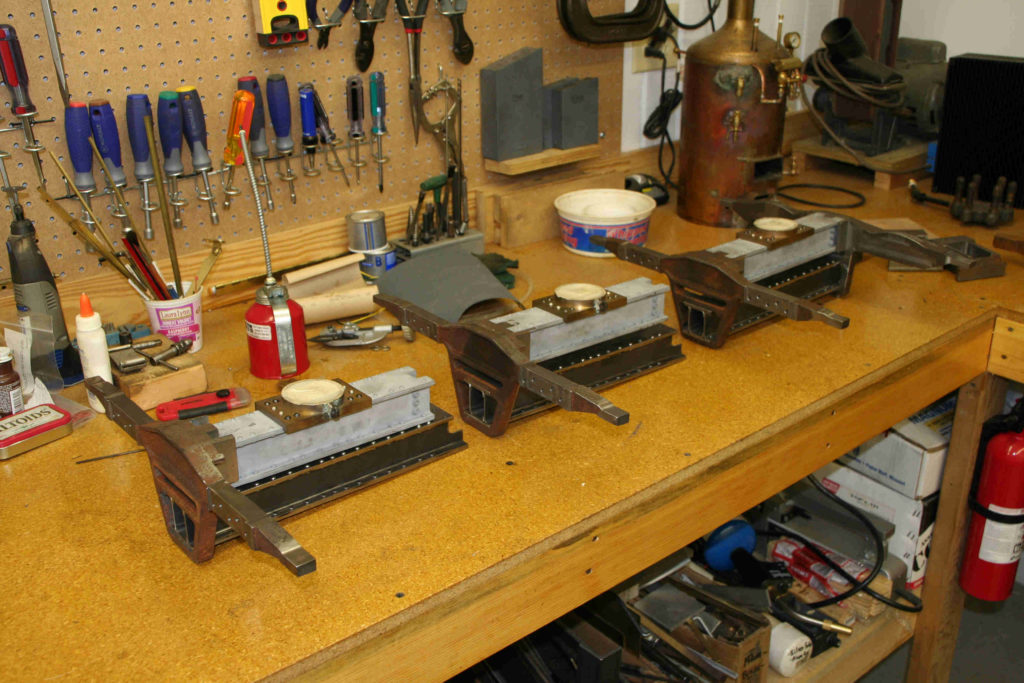
Left side frame with spring planks attached 
Left side frame and planks detail

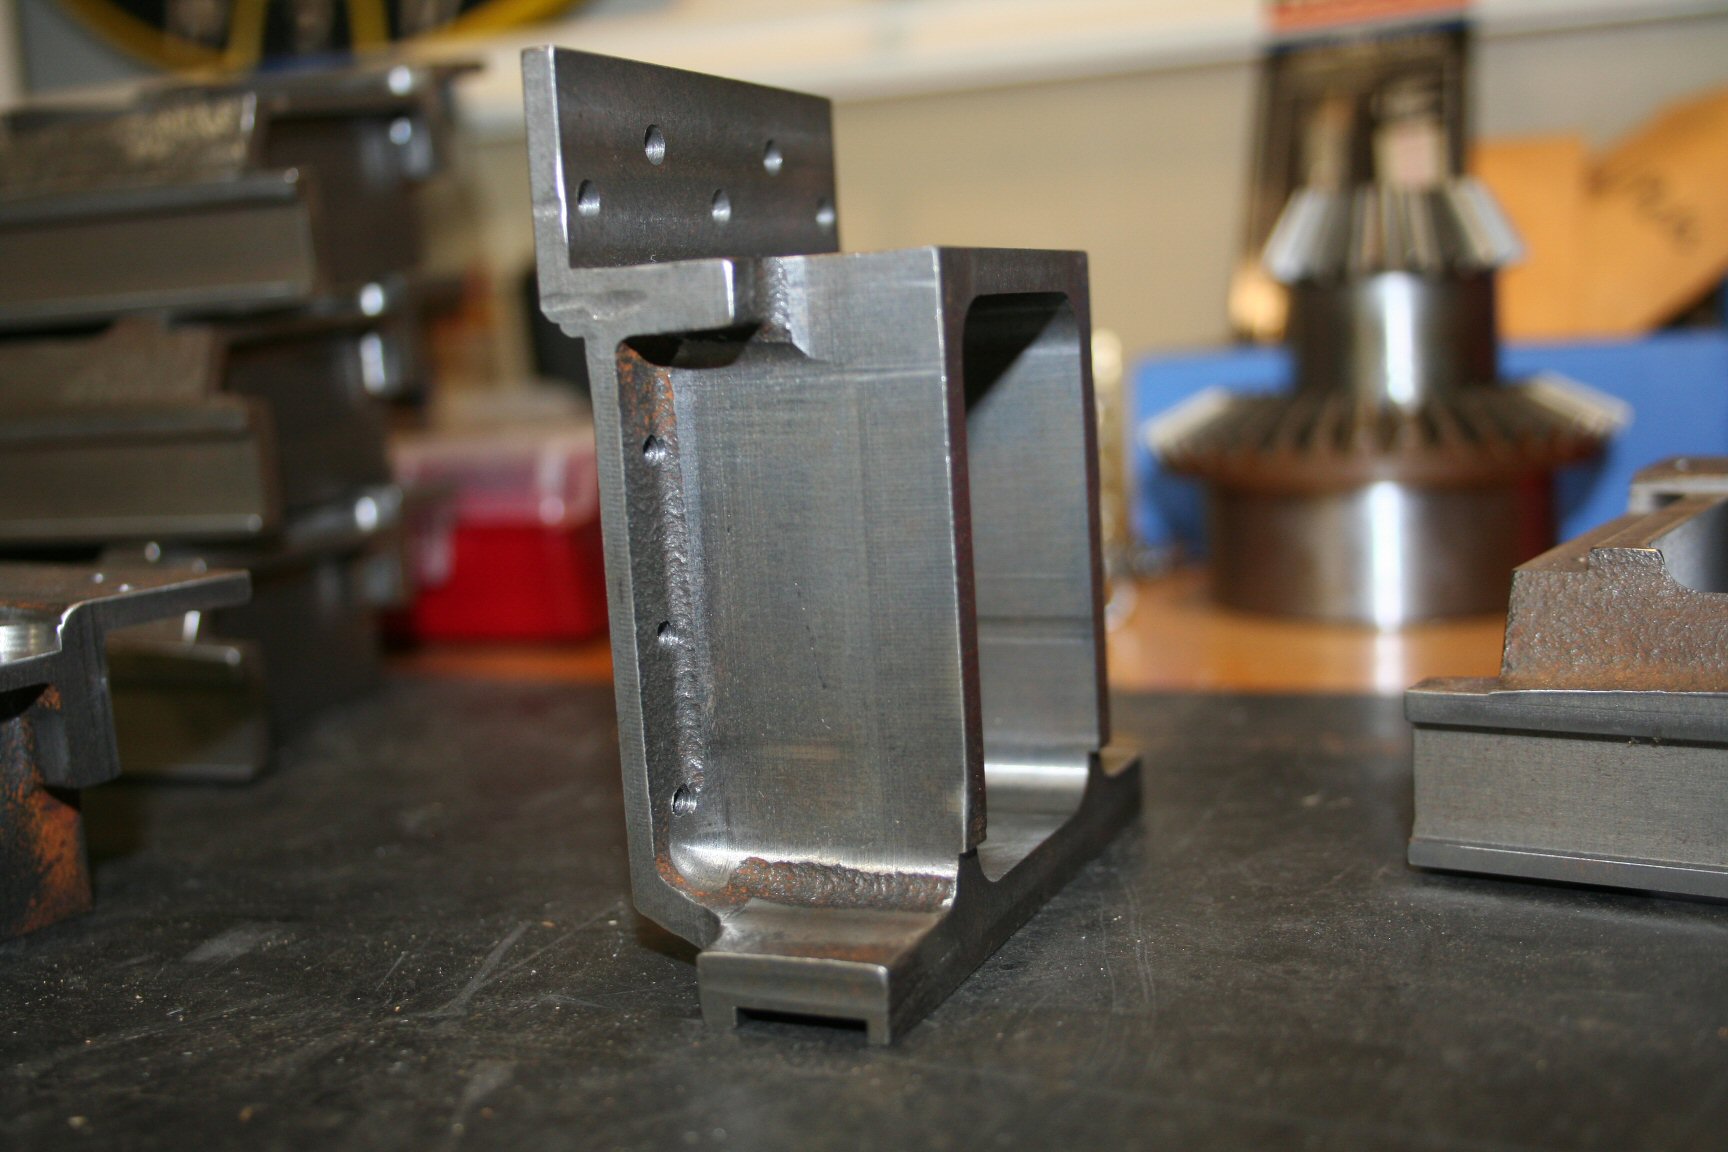
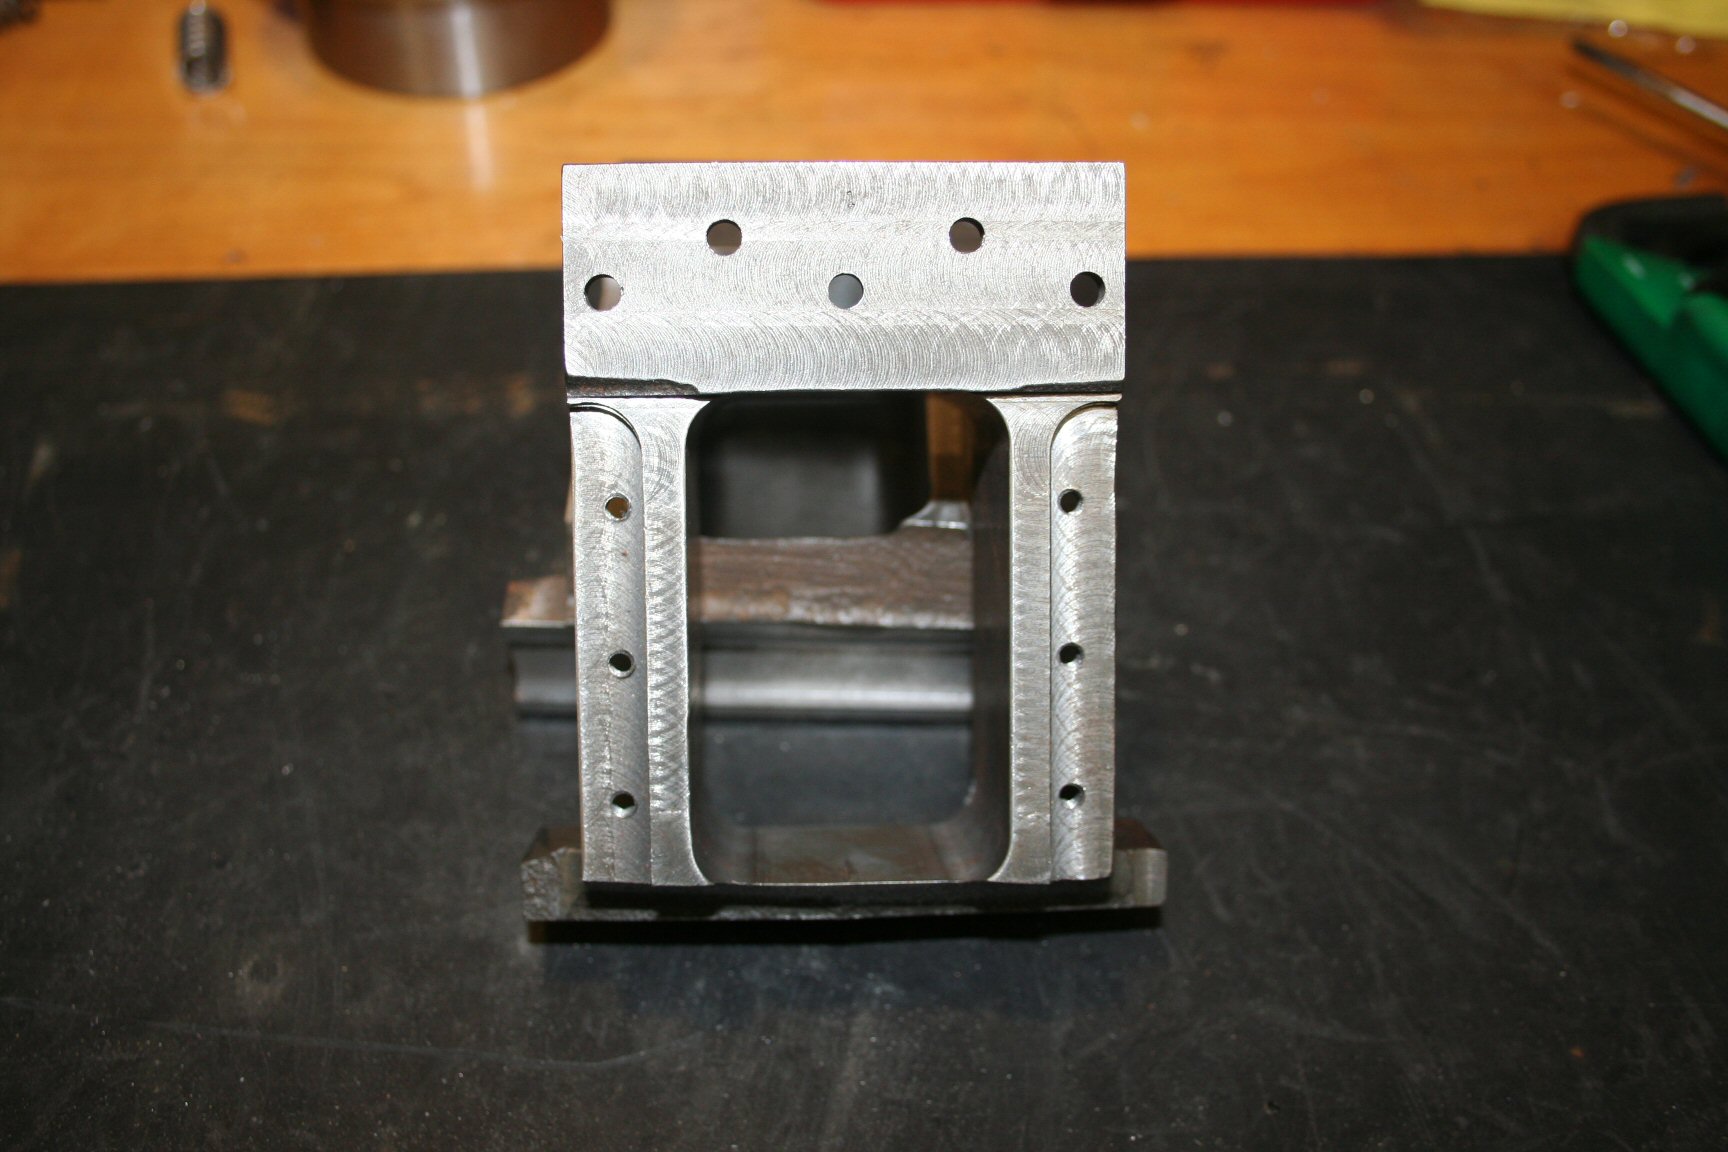
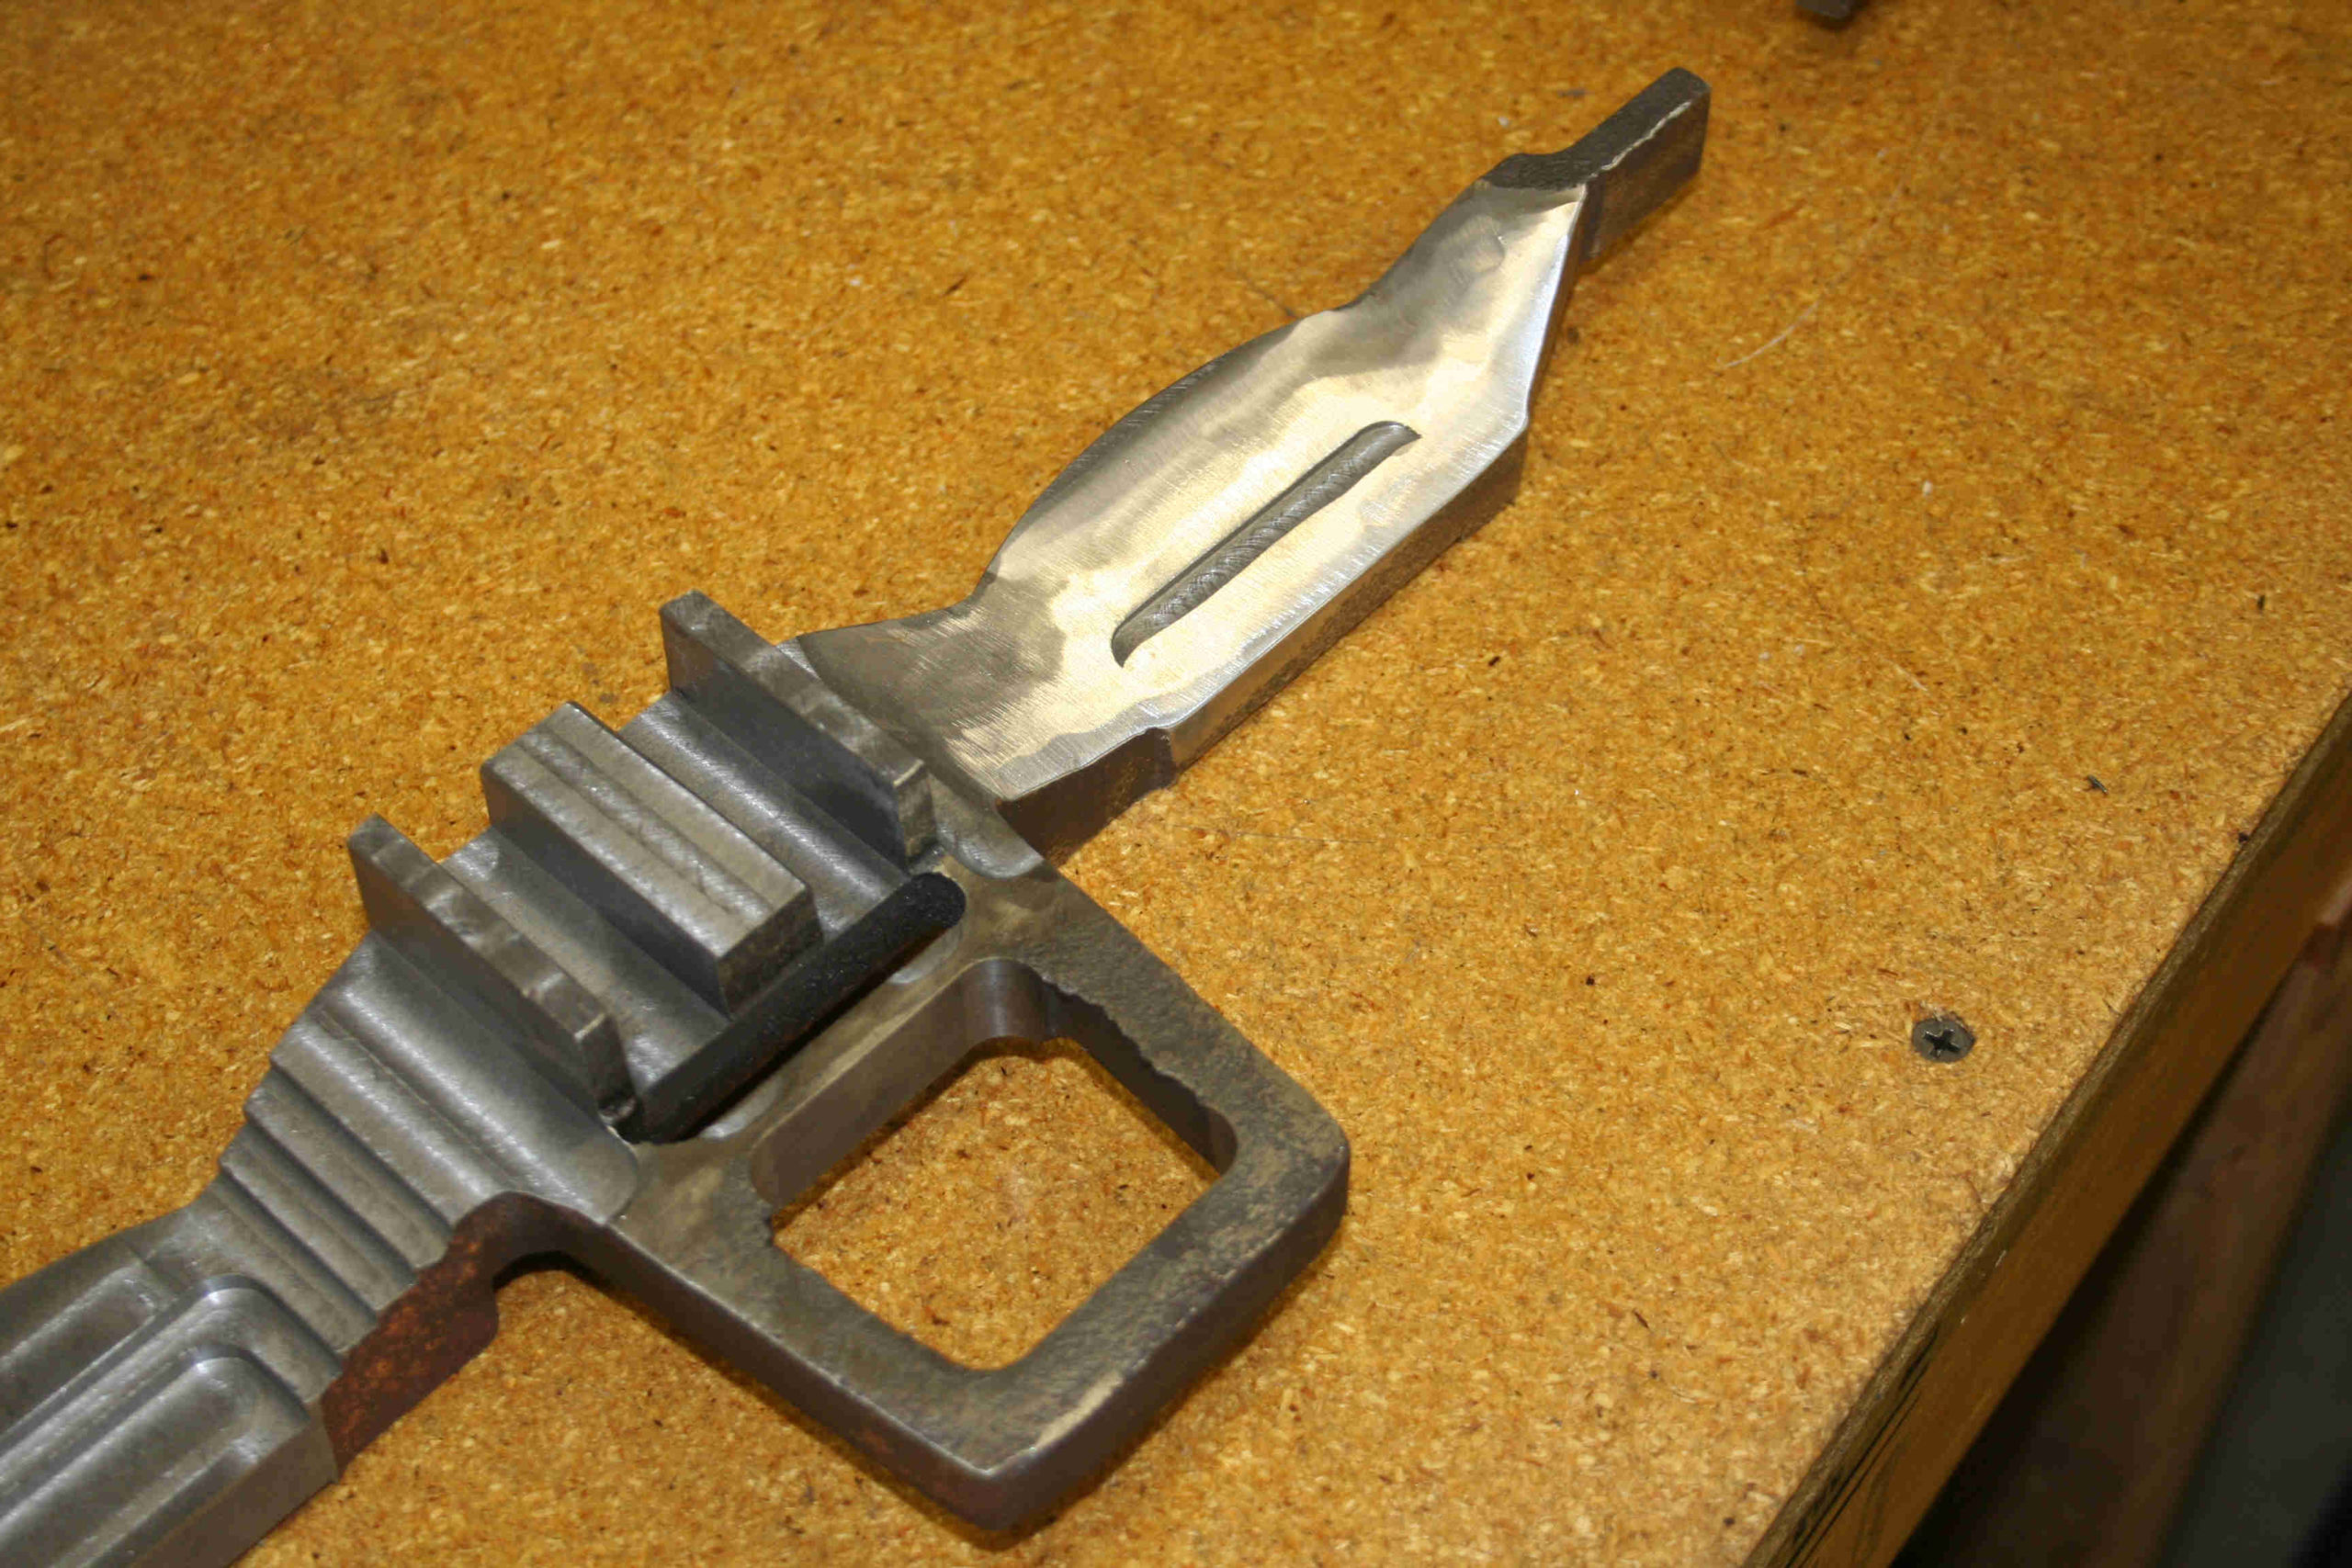
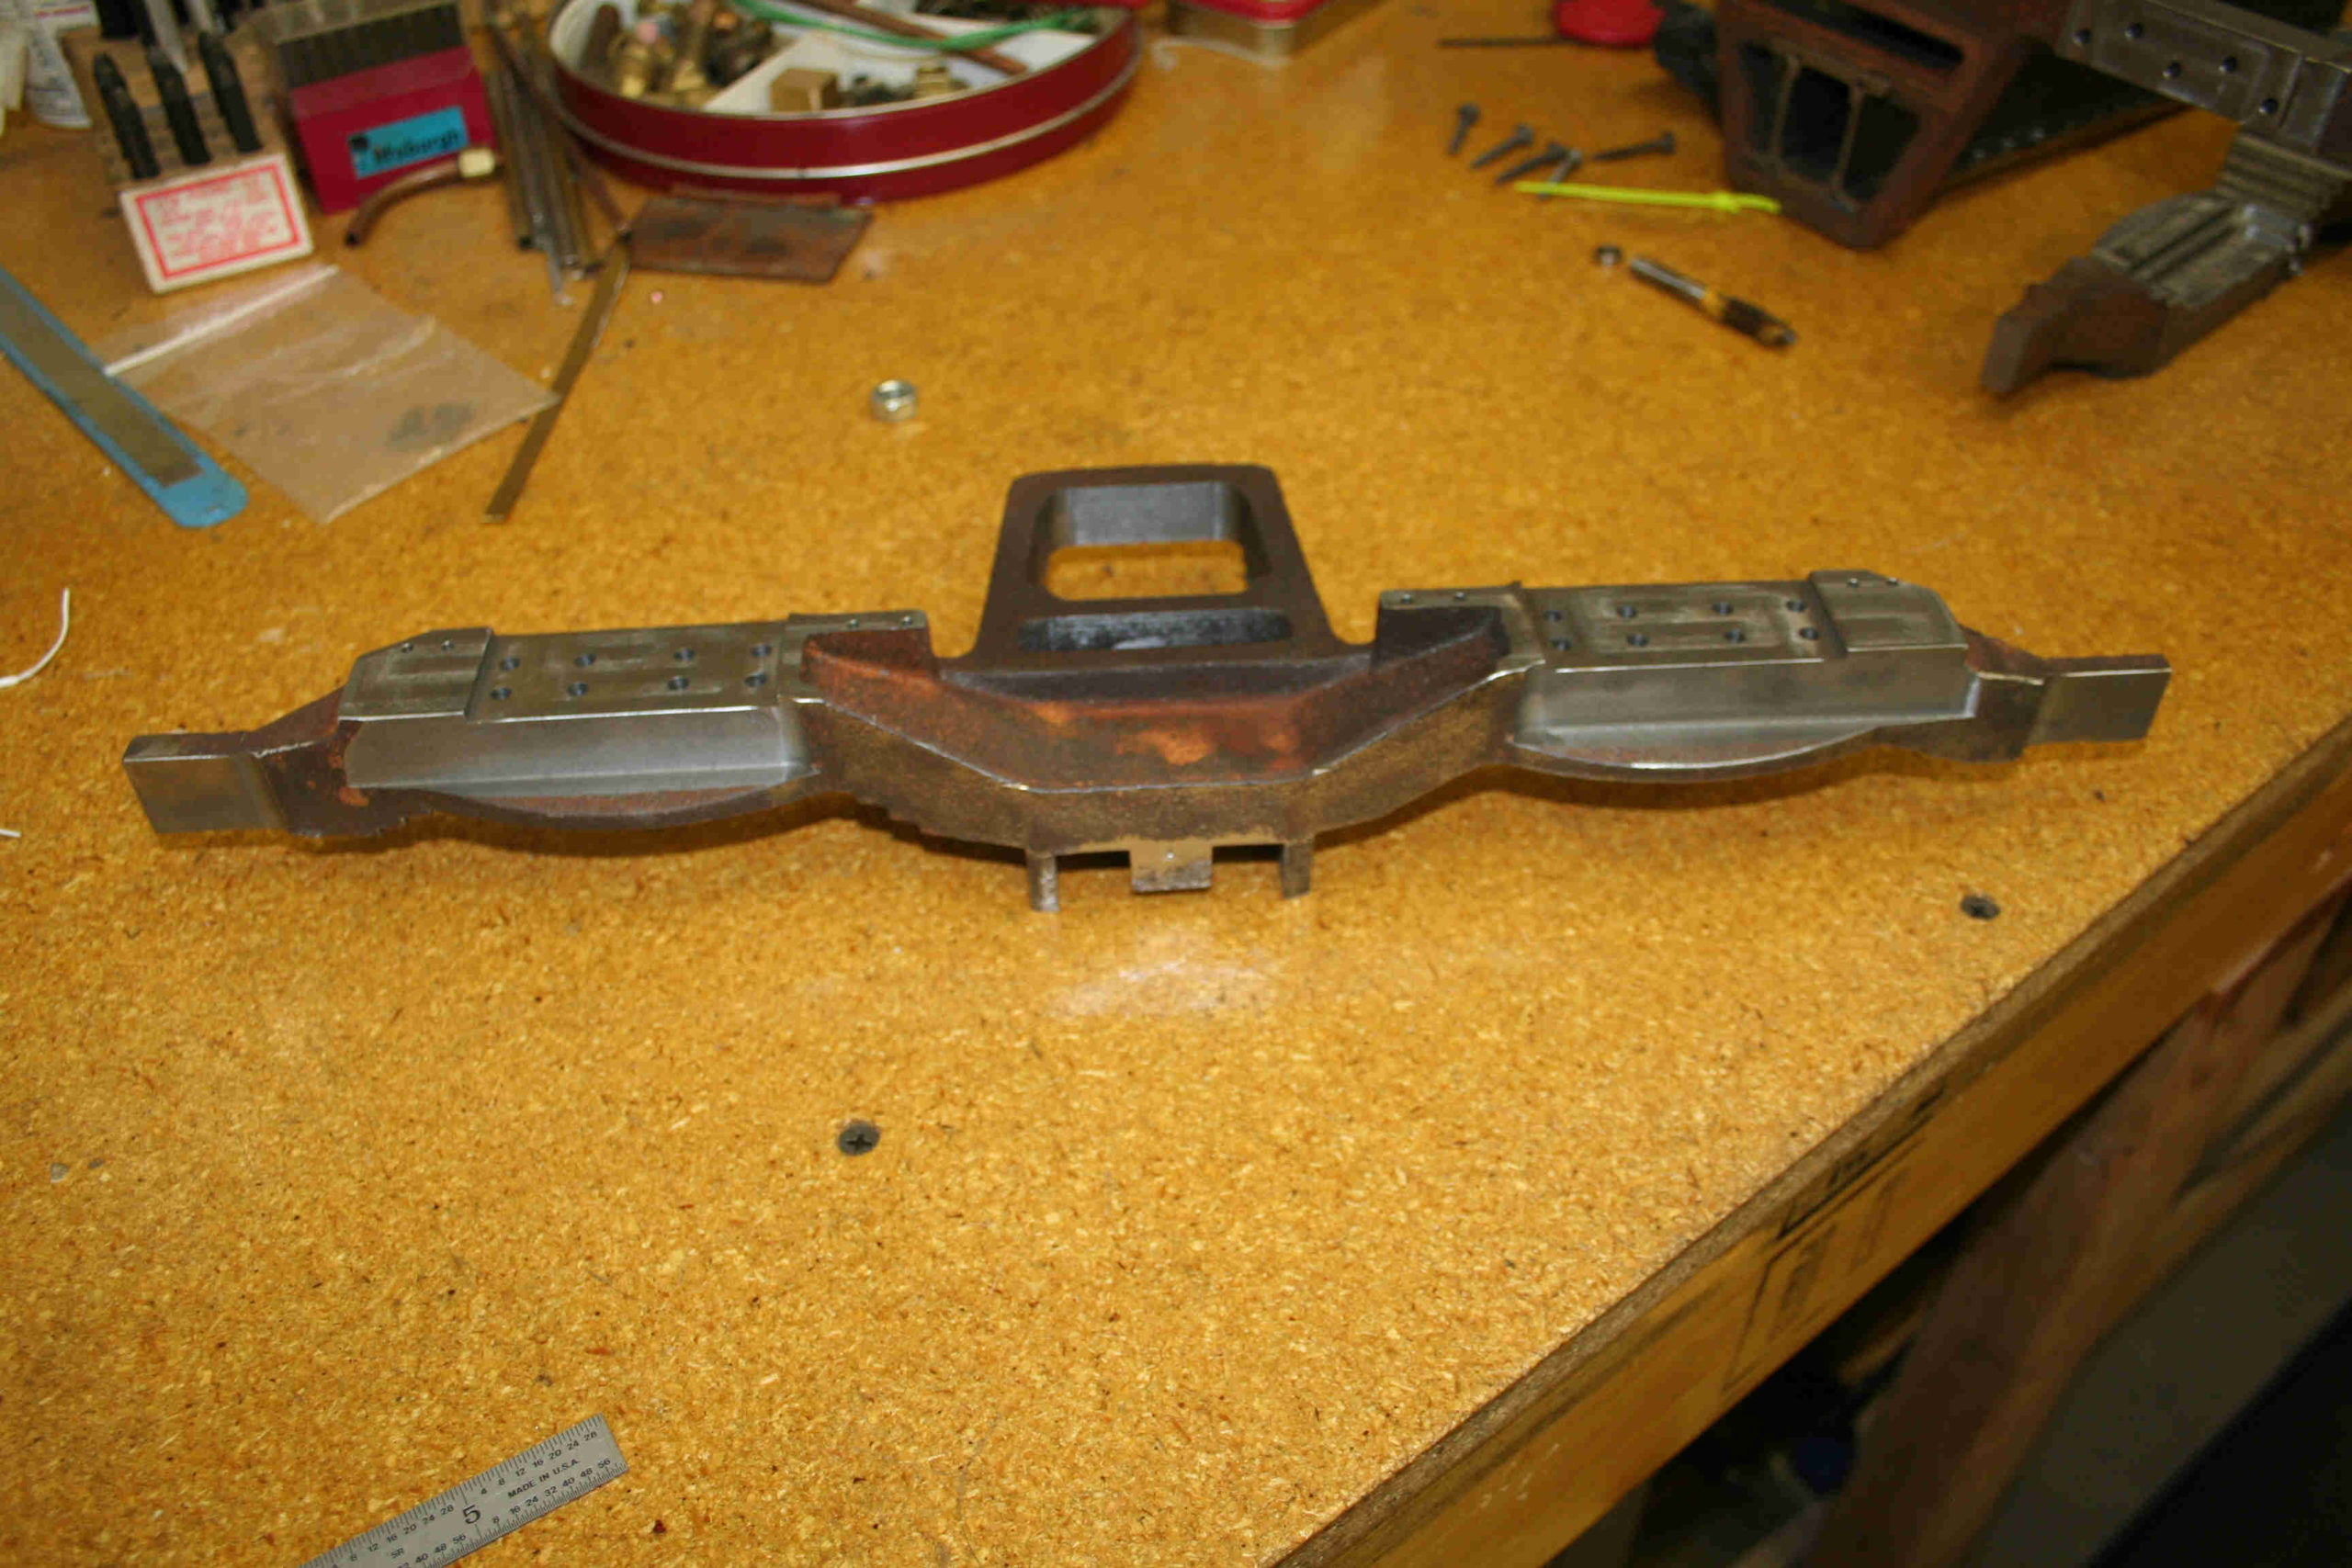
Right-Side Truck Frame (12/5/2011)
Once I finished the left-side truck frames I had very few excuses for not working on the right-side ones. They are a bit more complicated and required quite a few extra machining steps. Once again 2×4 pine mockups were used to test everything and even with that I still managed to ruin one casting. I failed to get the casting mounting correctly and ended up with a slant to it. Needless to say that just wouldn’t work so I had to obtain a new casting to replace it. I now have all three of the right-side castings machined. Like the left-side, the holes for mounting the spring plank have not been drilled yet. I also have a little grinding to do on the concave sections on the back of the castings. It wasn’t possible to easily machine the complex surfaces using conversational commands on the Hurco (or maybe I should say I couldn’t figure out how to do it). So instead, I machined several layers away and used an angle grinder to finish it out. It should work just fine.

Machined left side truck frame 
Right side trck frame – inner 
Right side truck frame – outer

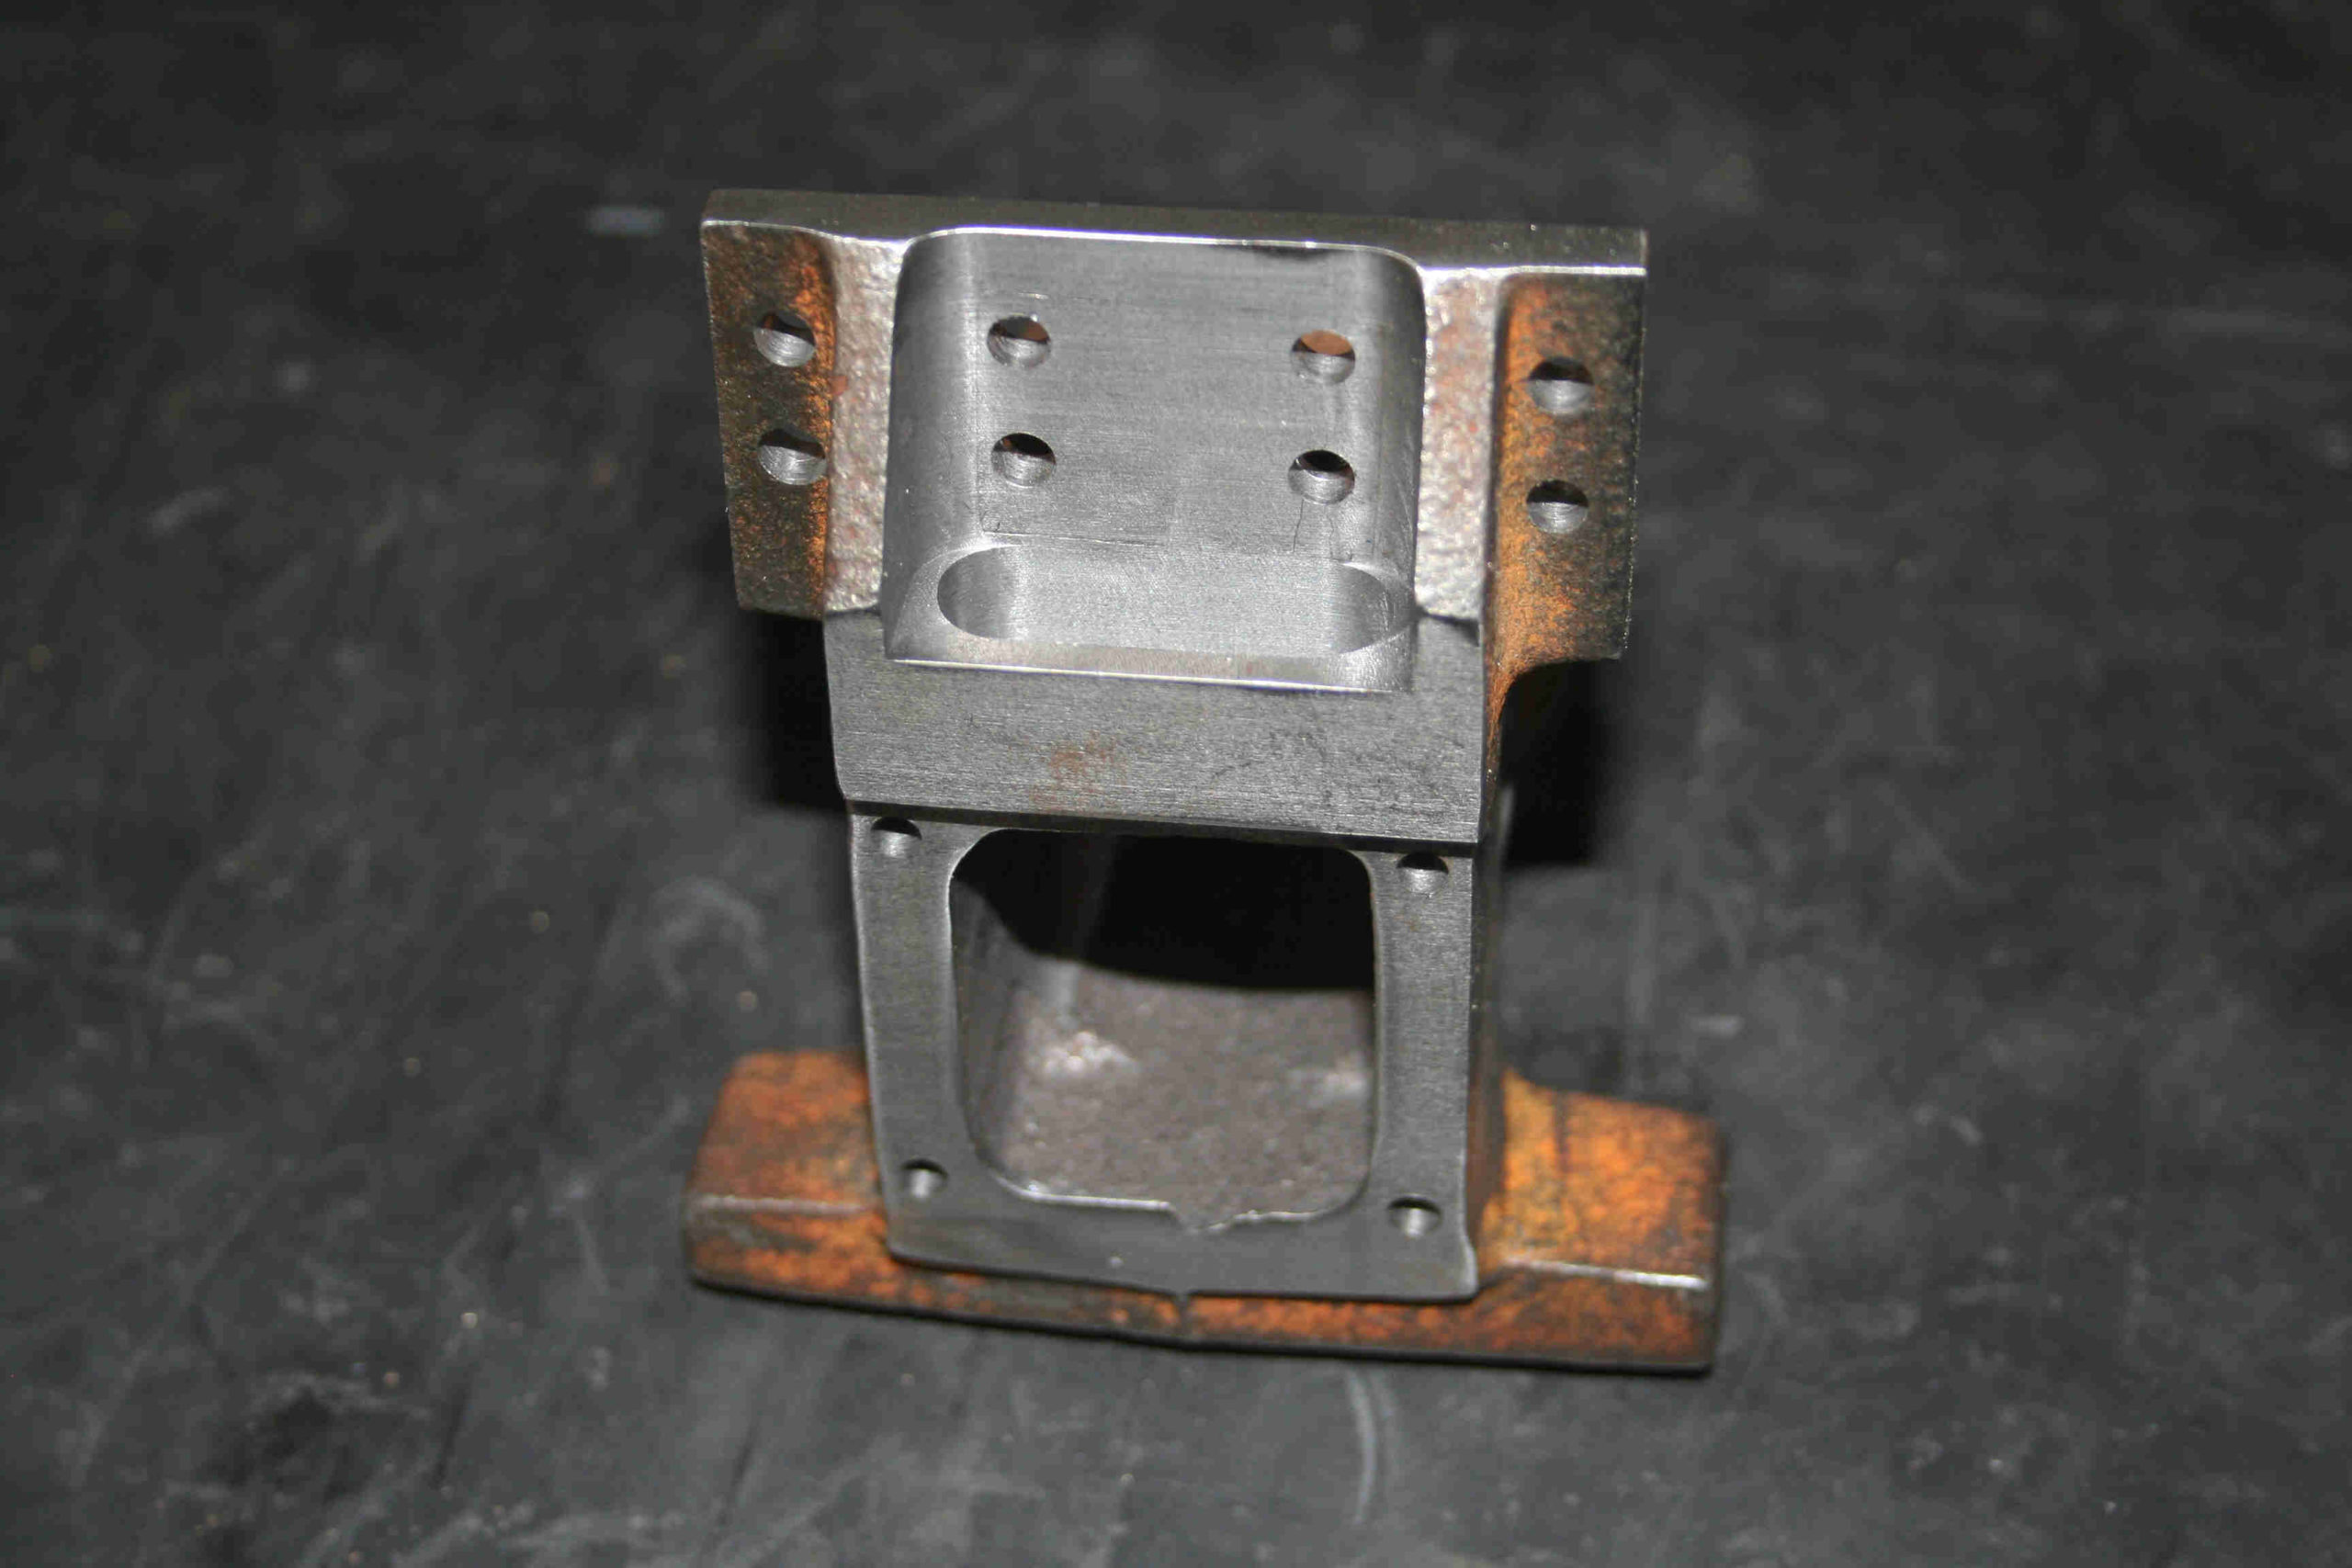
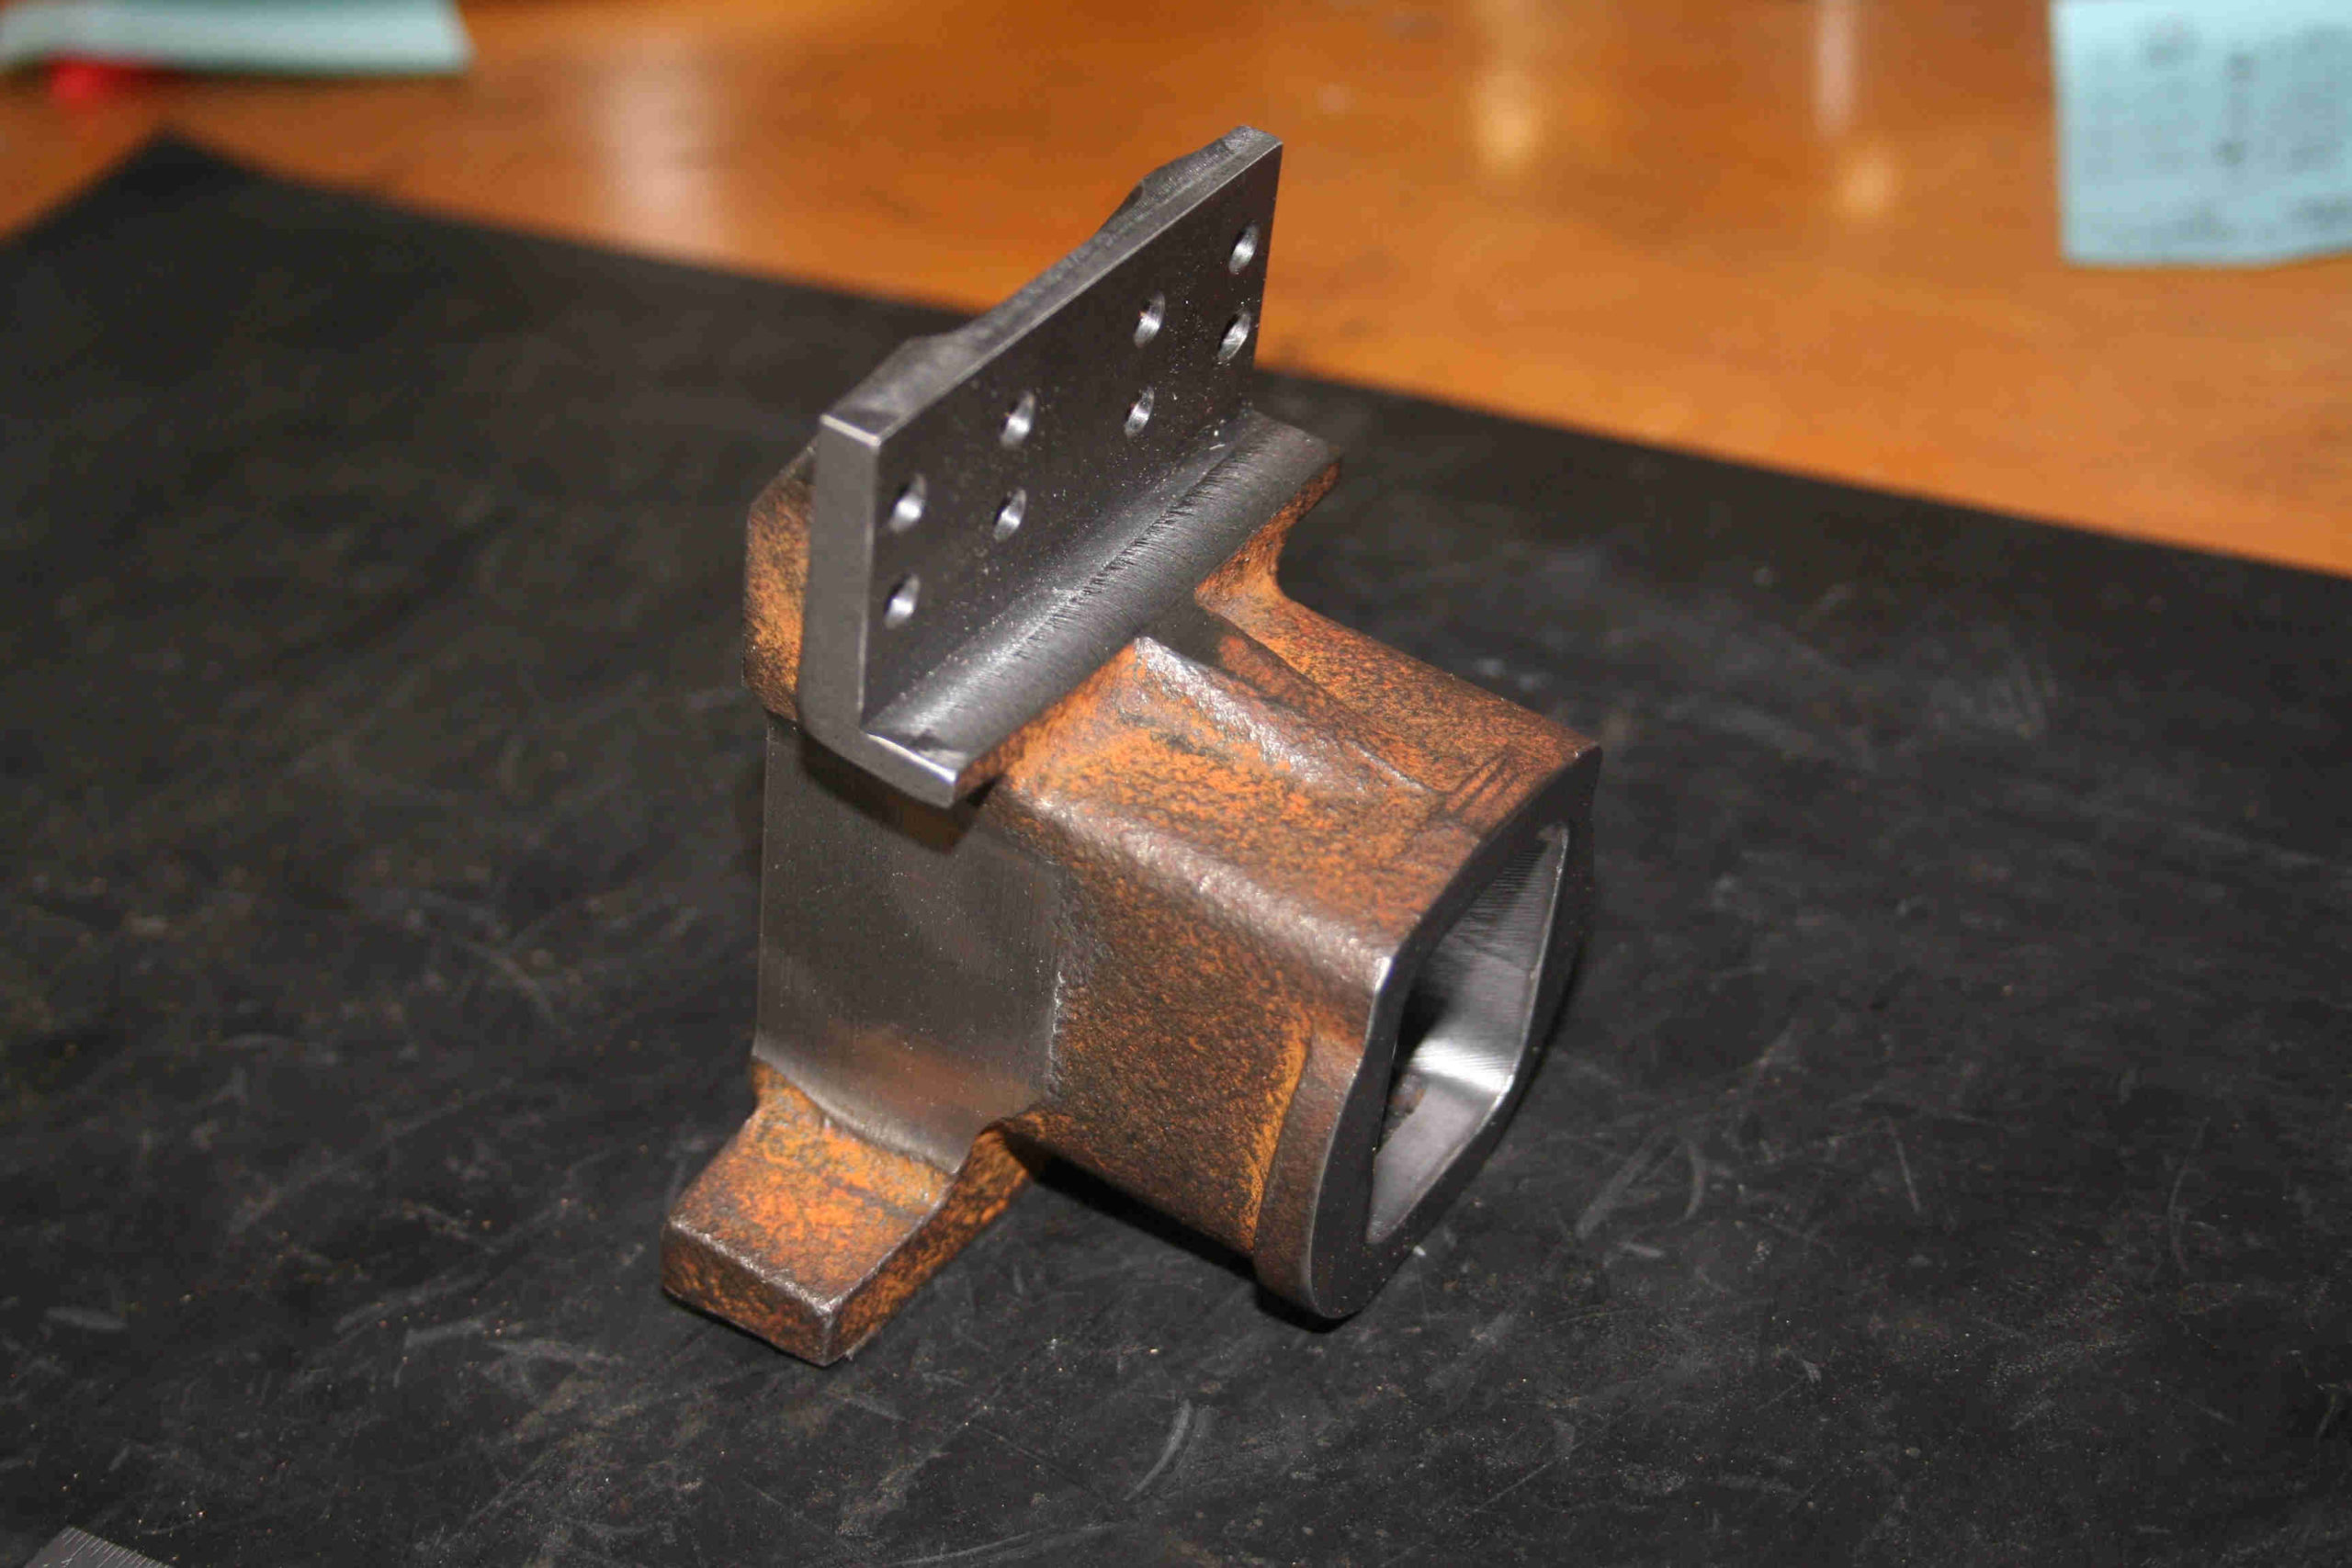
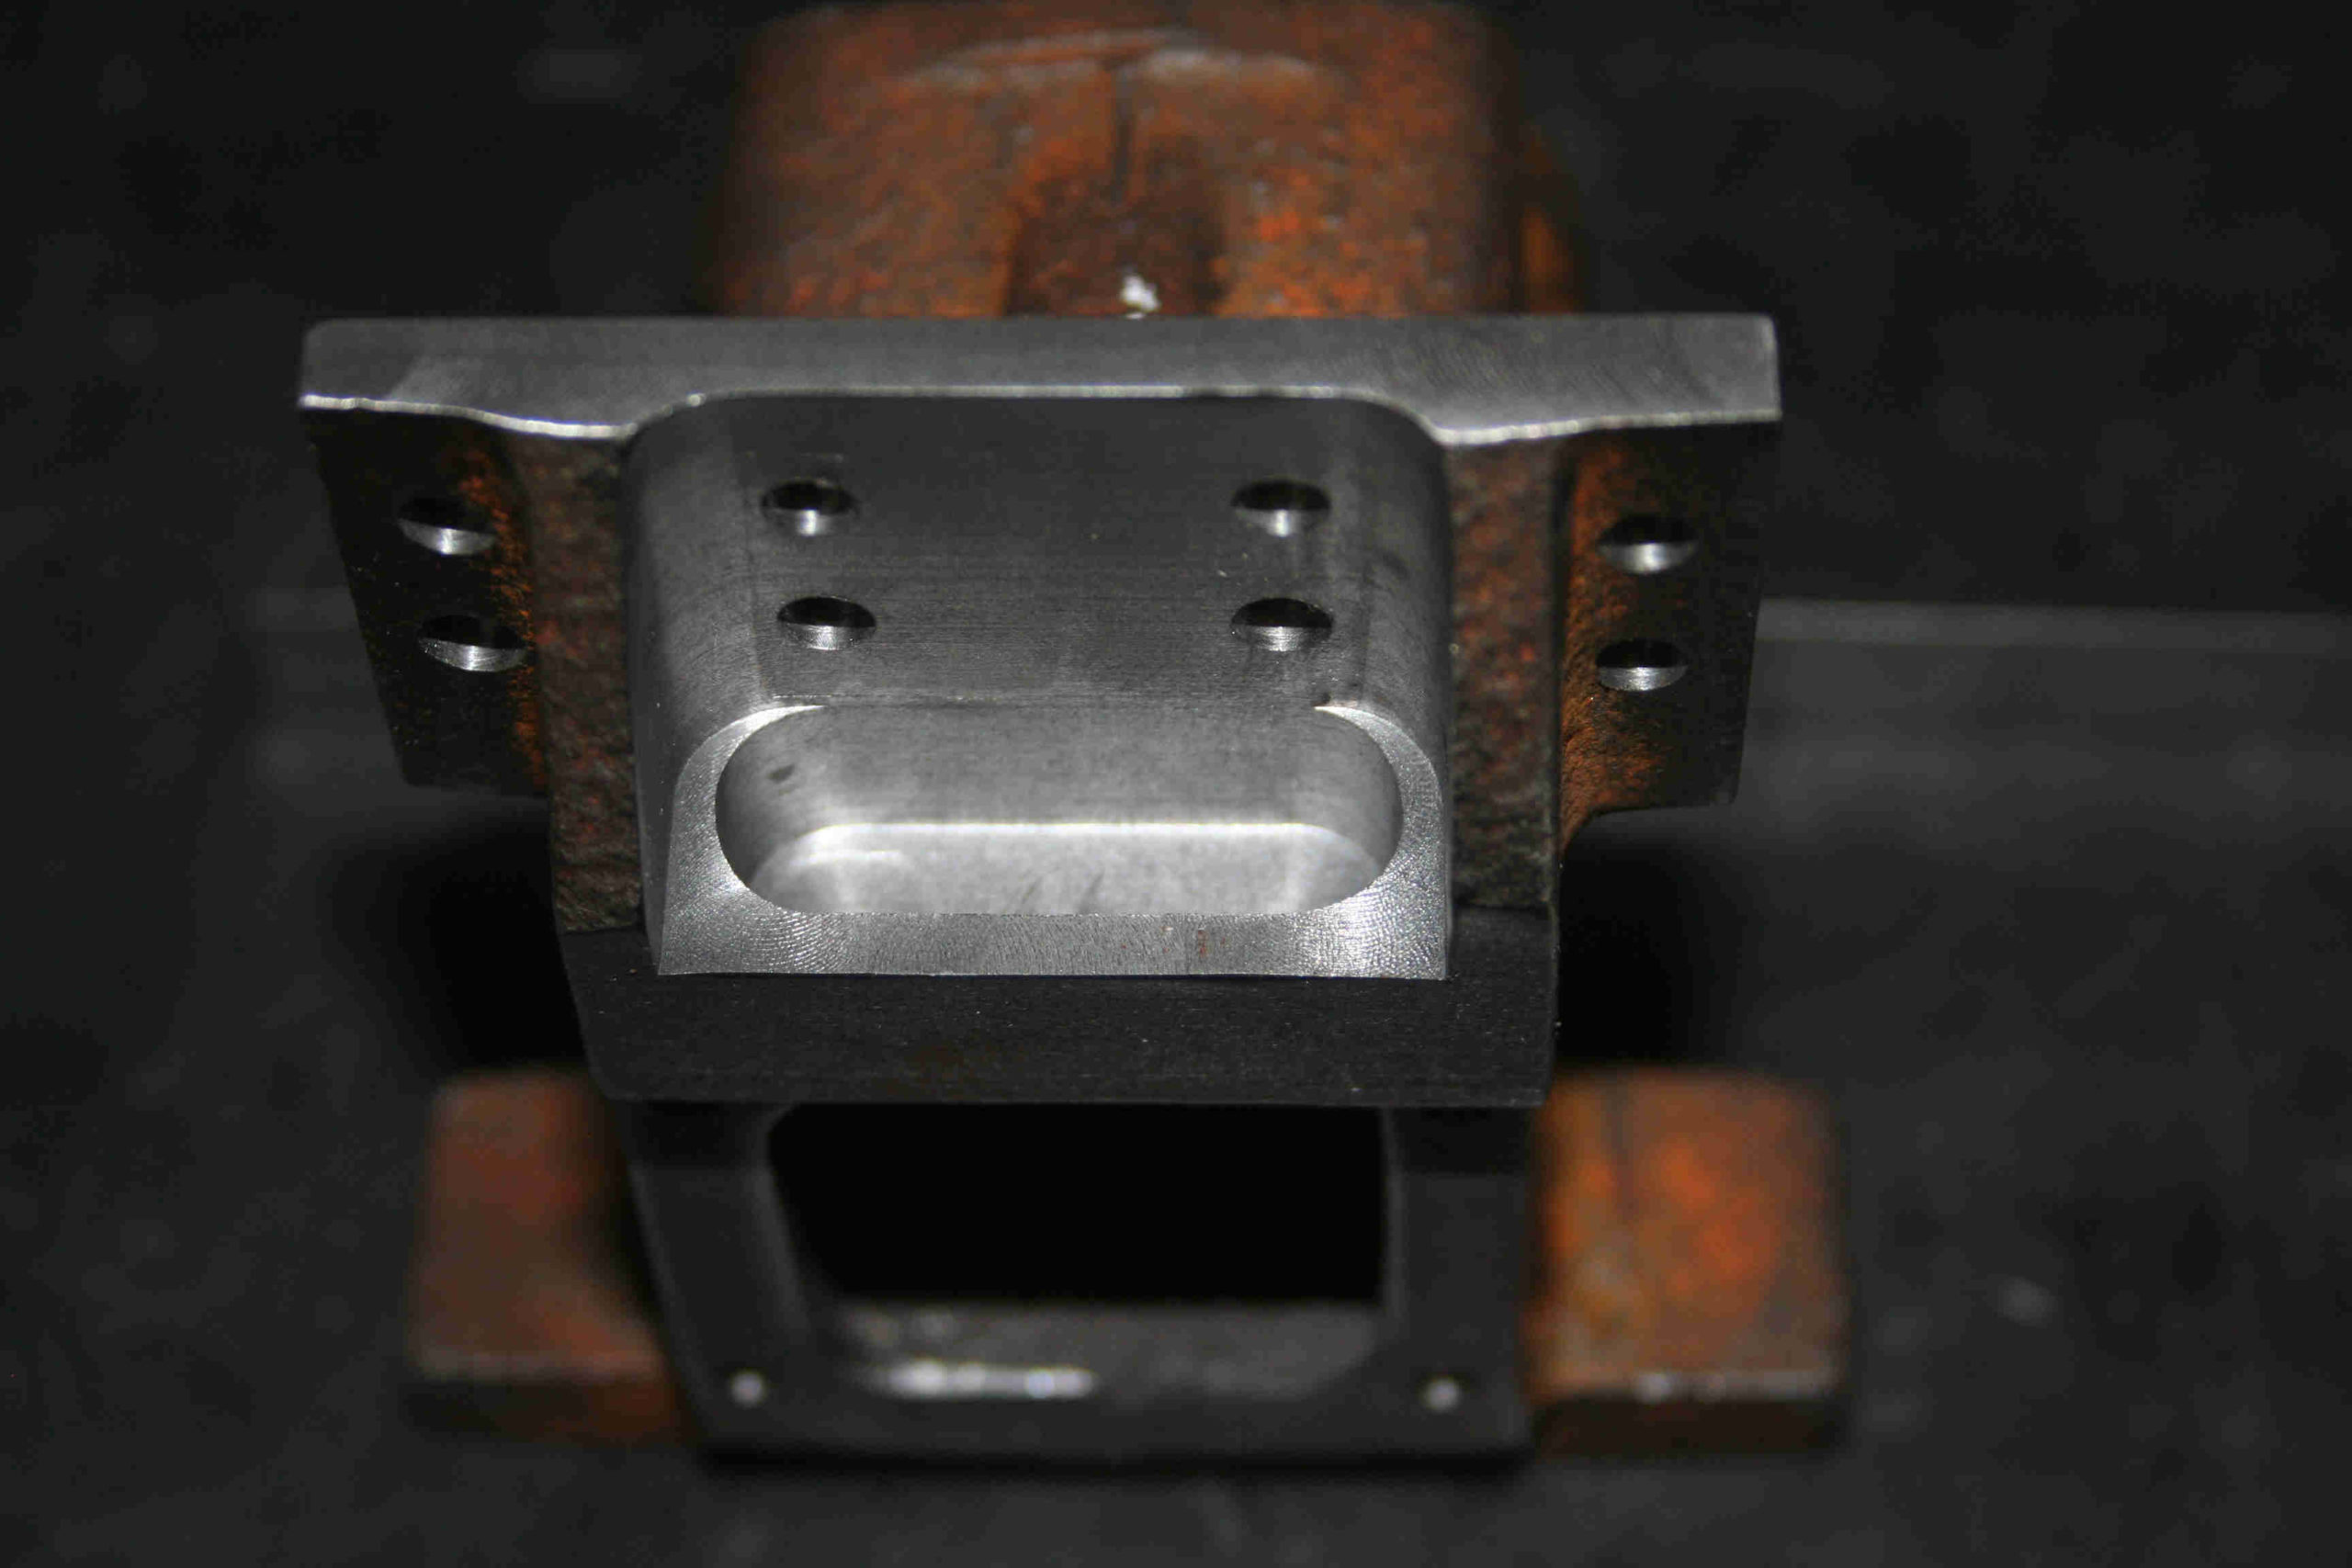
Right-Side Journal Box (12/11/2011)
I have the programs written and tested for the machining the right-side journal box. My grandson (age 4) was my apprentice while I was testing them. He thought the CNC Mill was much fun to watch as it cut out the shapes in the wood mockup pieces. With any luck I hope to have all size of them done in the next few weeks. I should get some serious shop time between Christmas and New Years. At least that is my plan.
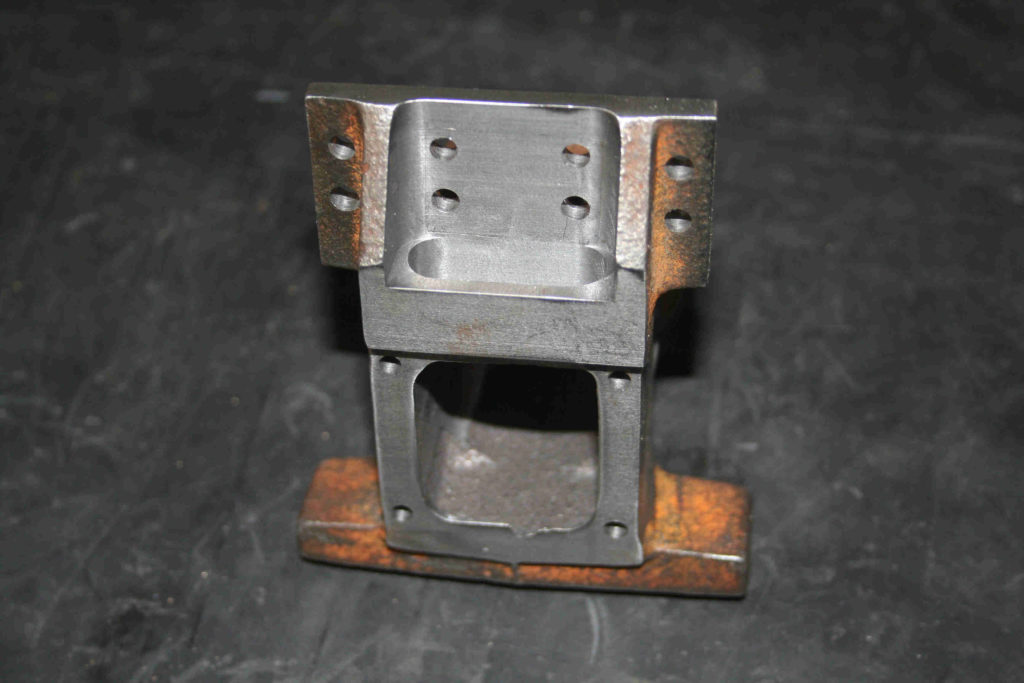
Right side journal box – outer 
Right side journal box – inner 
Right side journal box – outer oil well
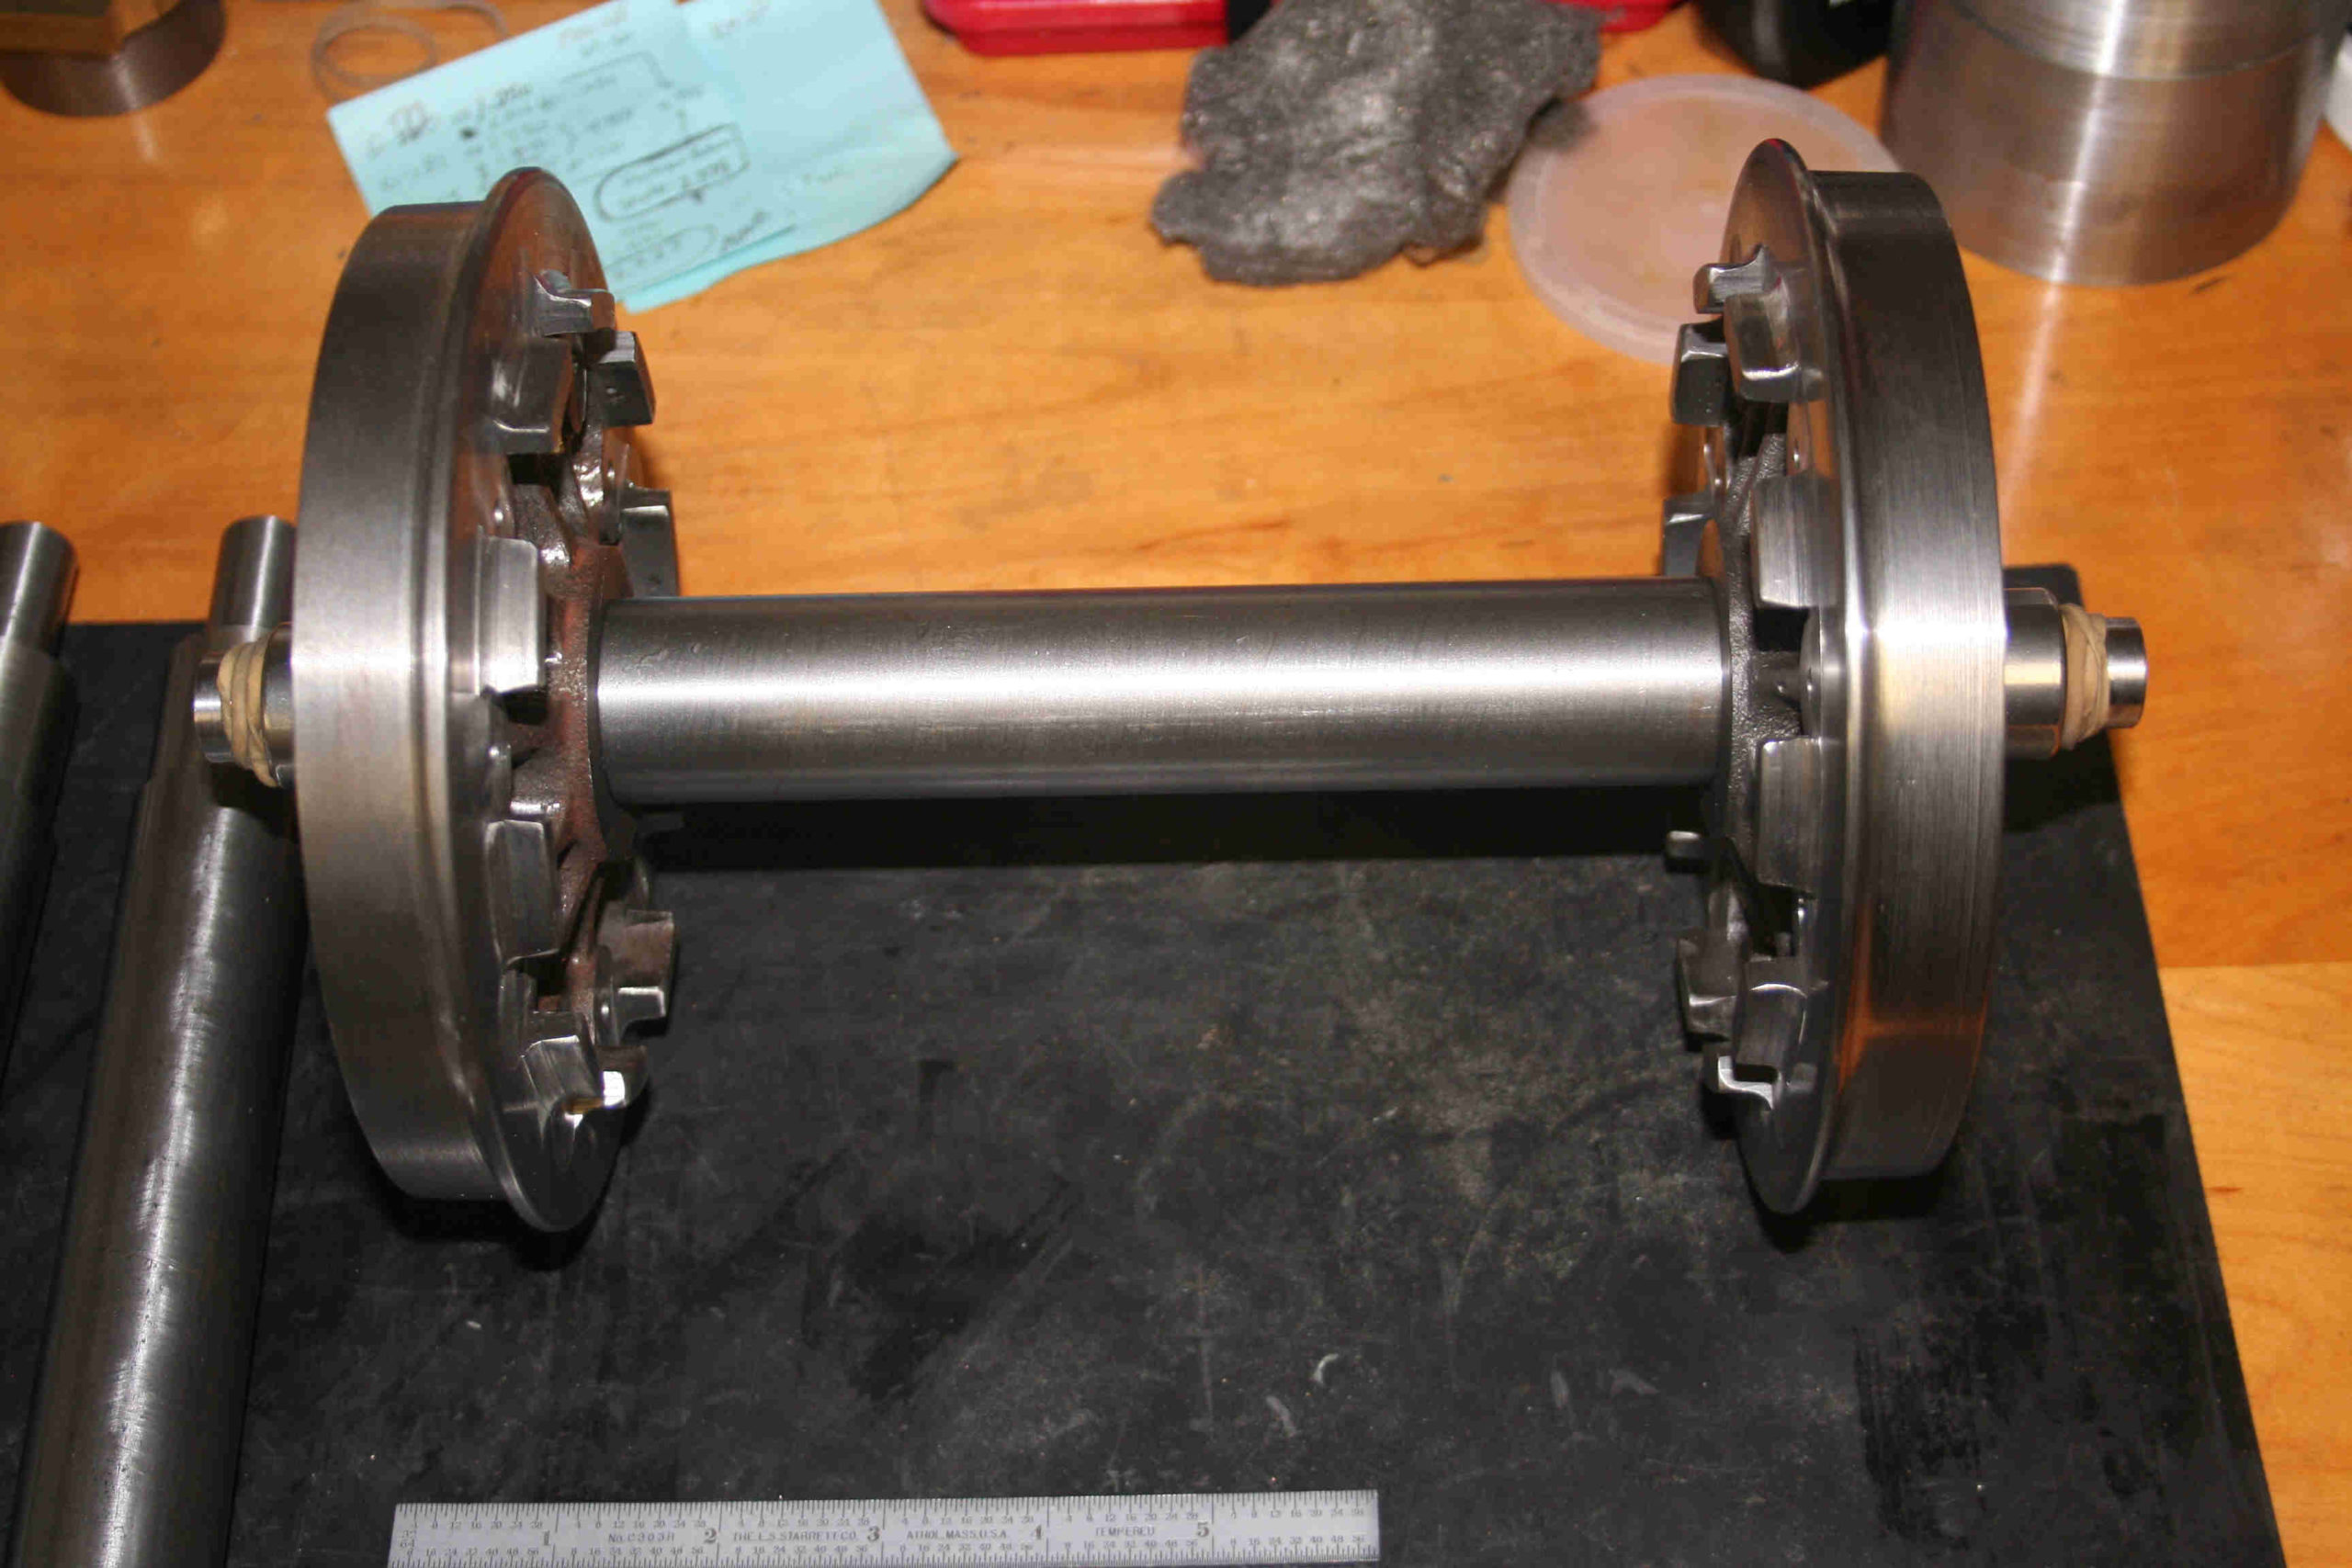
Axles and Mockup (12/29/2011)
The axles have been turned (6 of them). Keyways still need to be cut in the appropriate place on the axles for the wheels. As you can see in the pictures below, I put a set of wheels on an axle along with the axle bearings to see what it will look like.
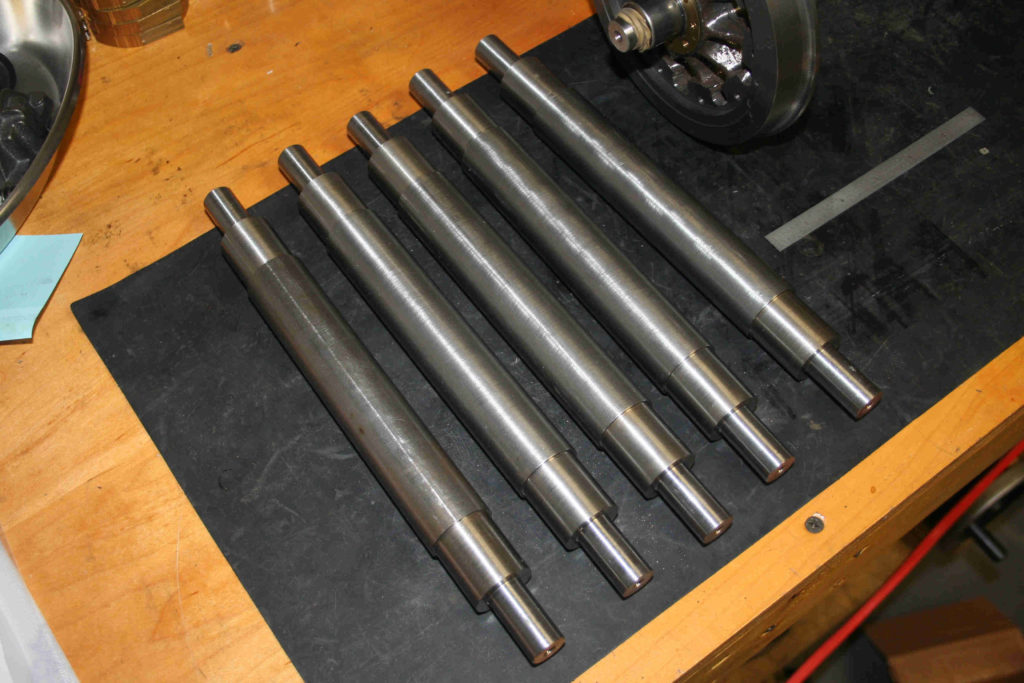
Truck axles 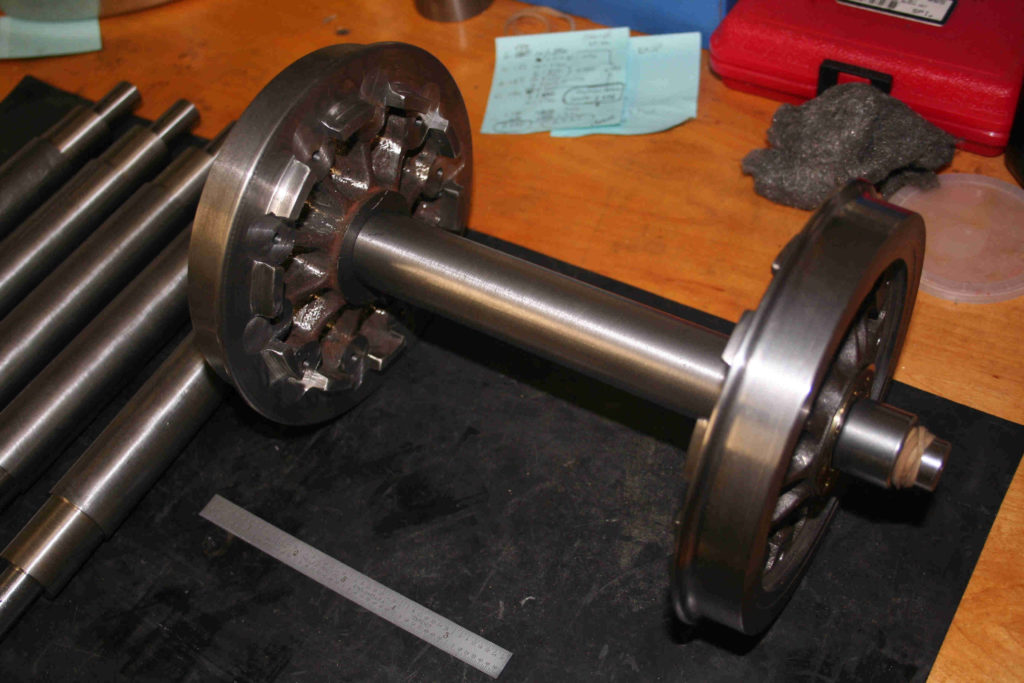
Axle assembly mockup 
Axle assembly mockup – detail 
Mockup