Acquisition and Restoration
Dateline: December 2010
12/20/2010
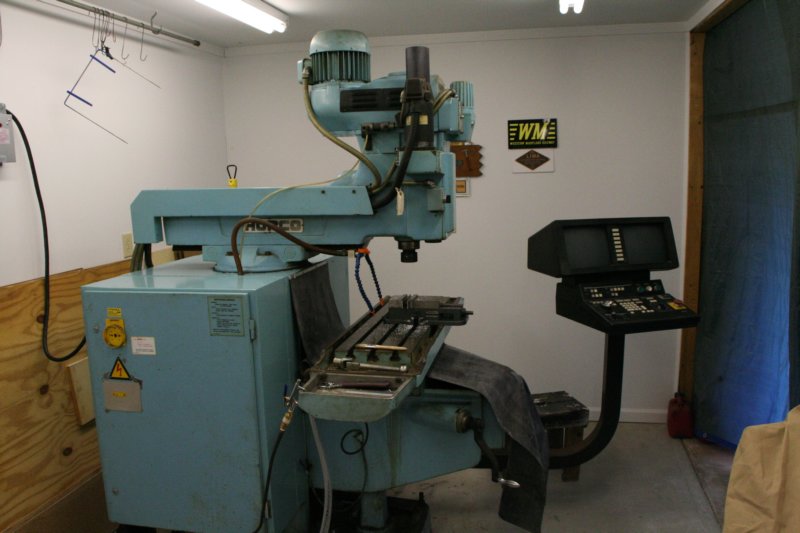
I now have a Hurco KM3P CNC mill on the premises. I happened to mention to a friend that I was wanting to get into CNC machining to maybe make the Western Maryland #6 project go a little faster and as luck would have it, he happened to have a “spare” Hurco mill in his shop that he was wanting to get rid. So, to make a long story short, right after Christmas (2010) he and I and his dad moved all 3,800 pounds of it from his shop to mine. The move wasn’t always pretty but we finally got it moved.
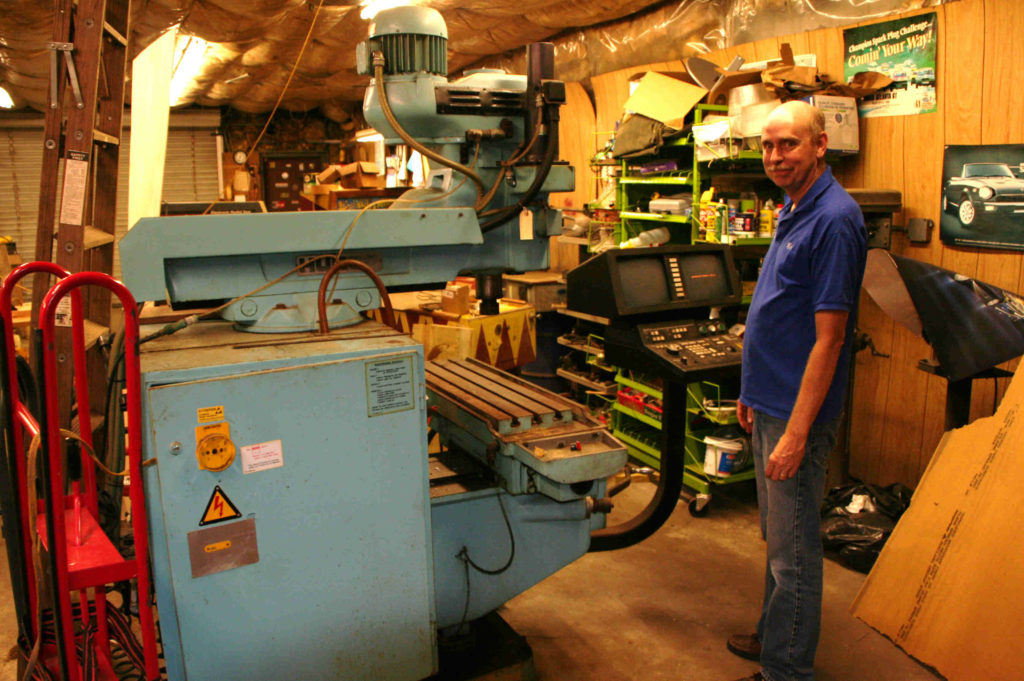
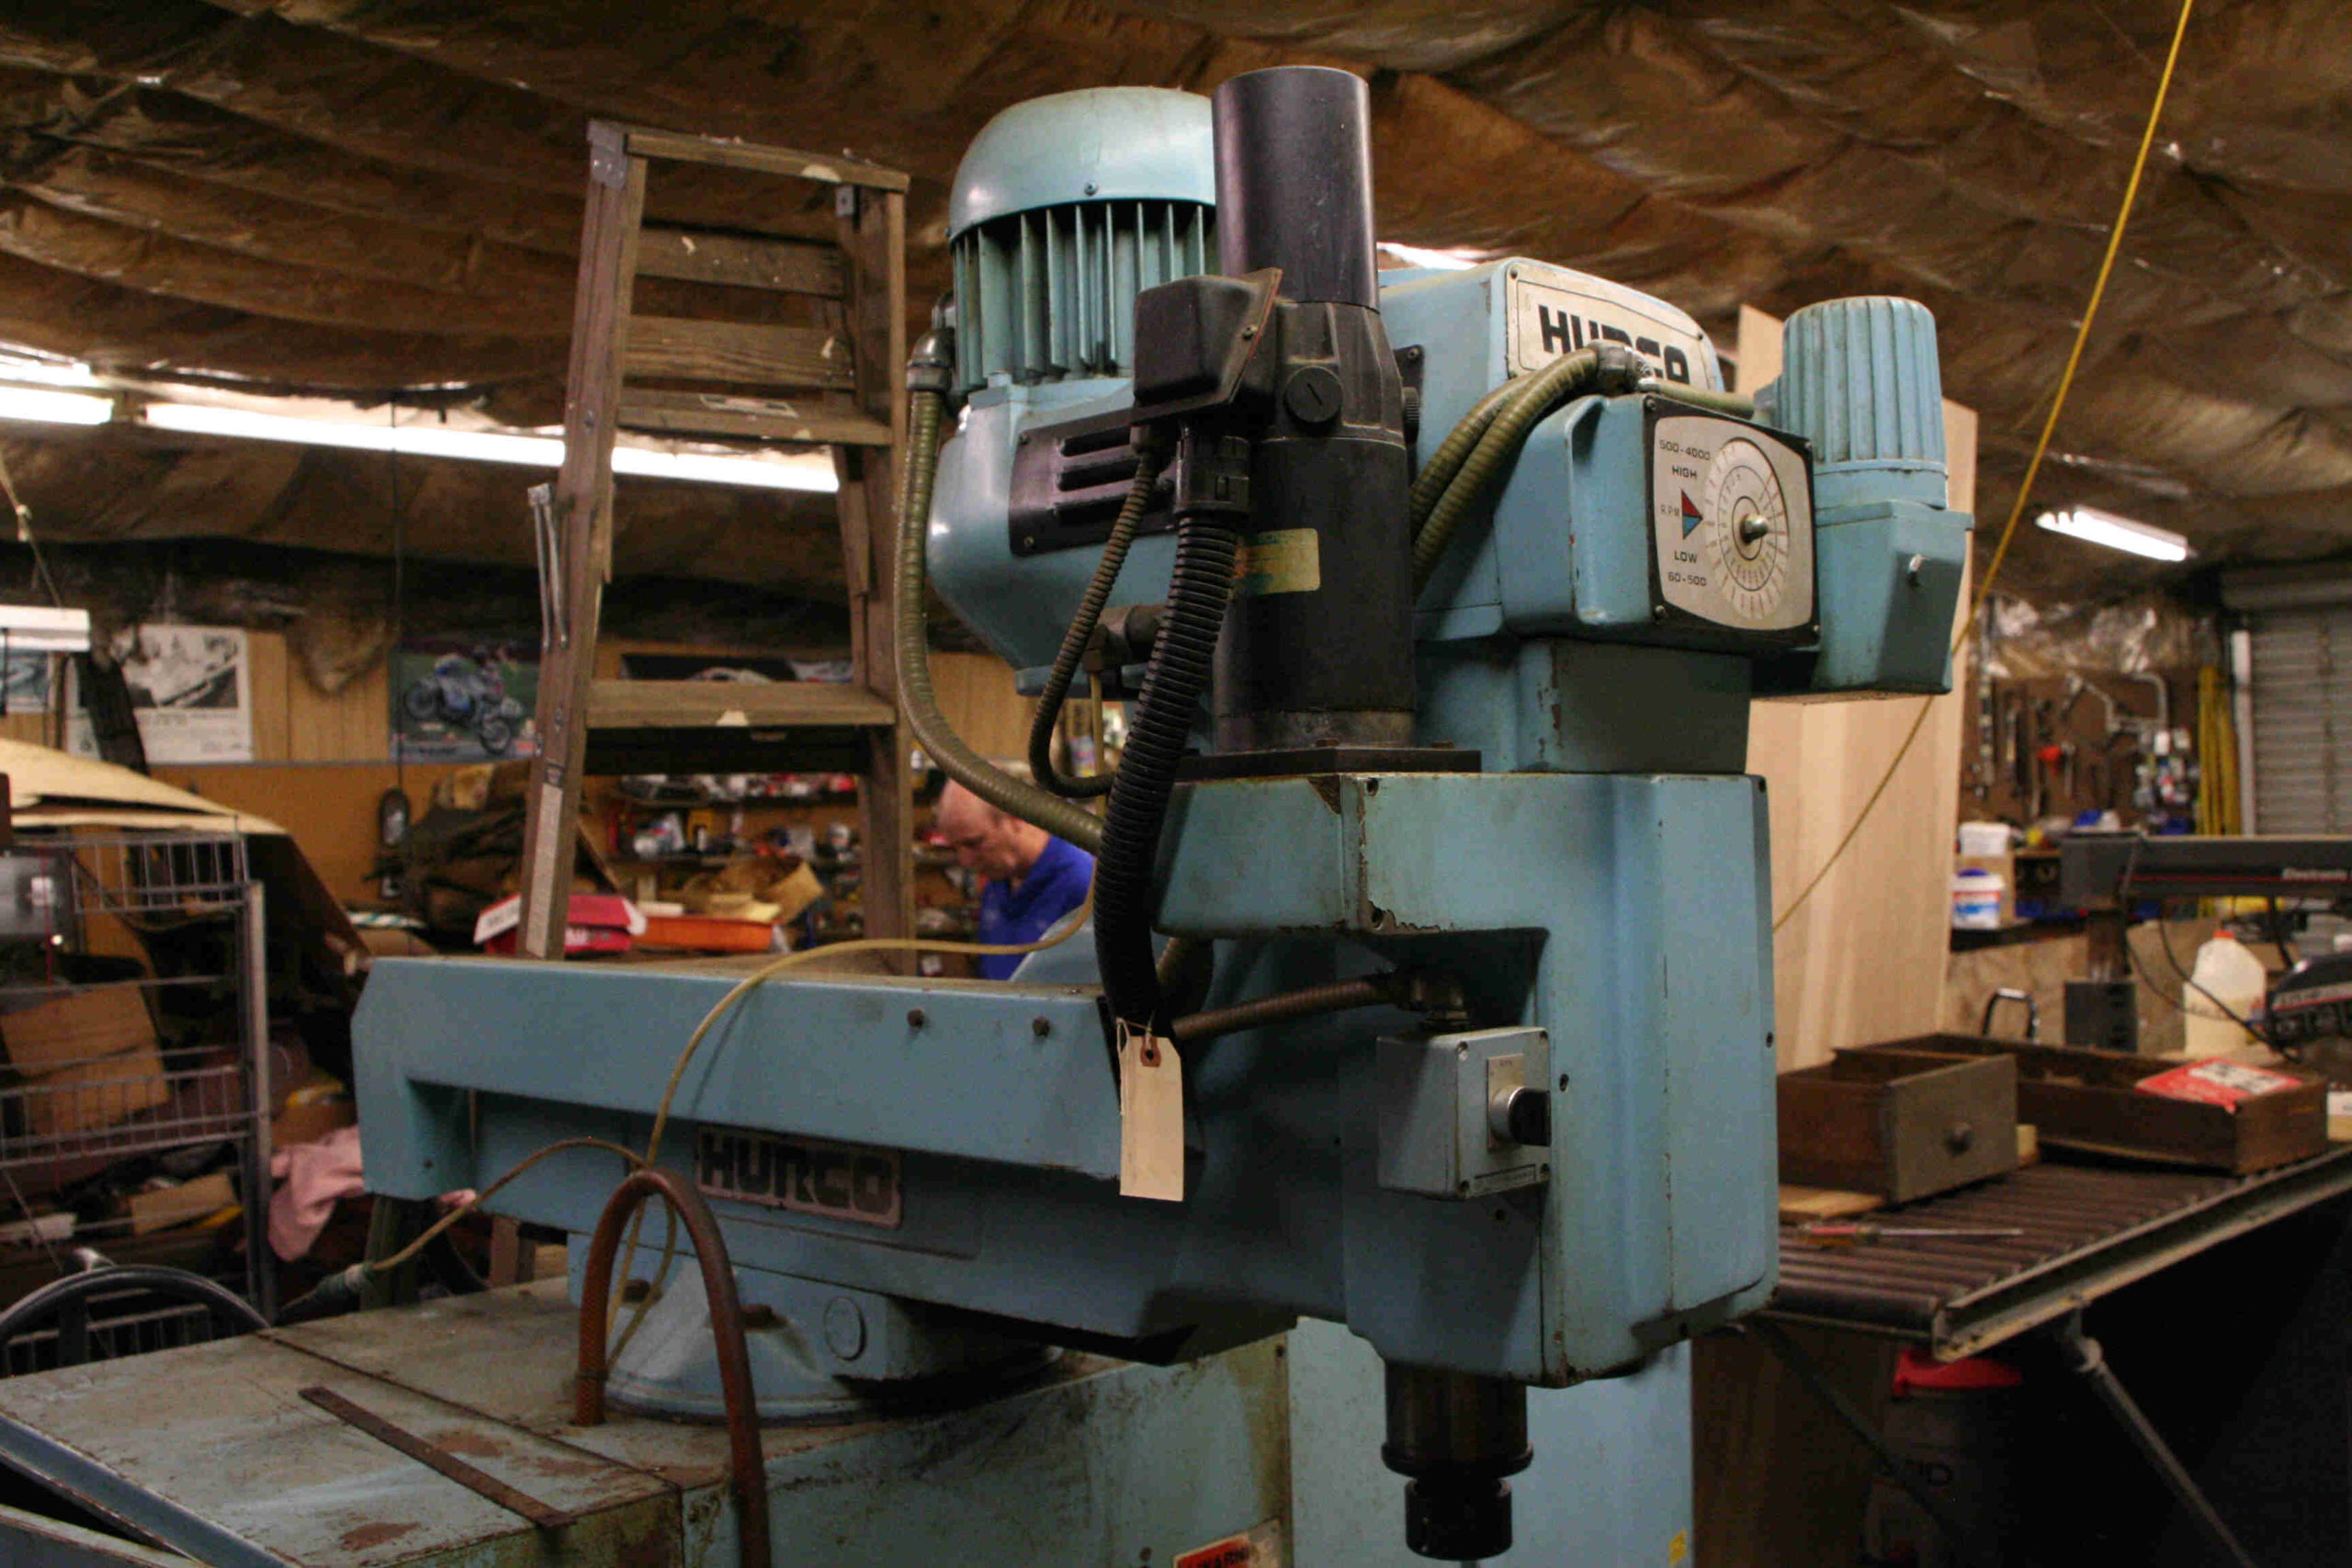
In former owner’s shop 
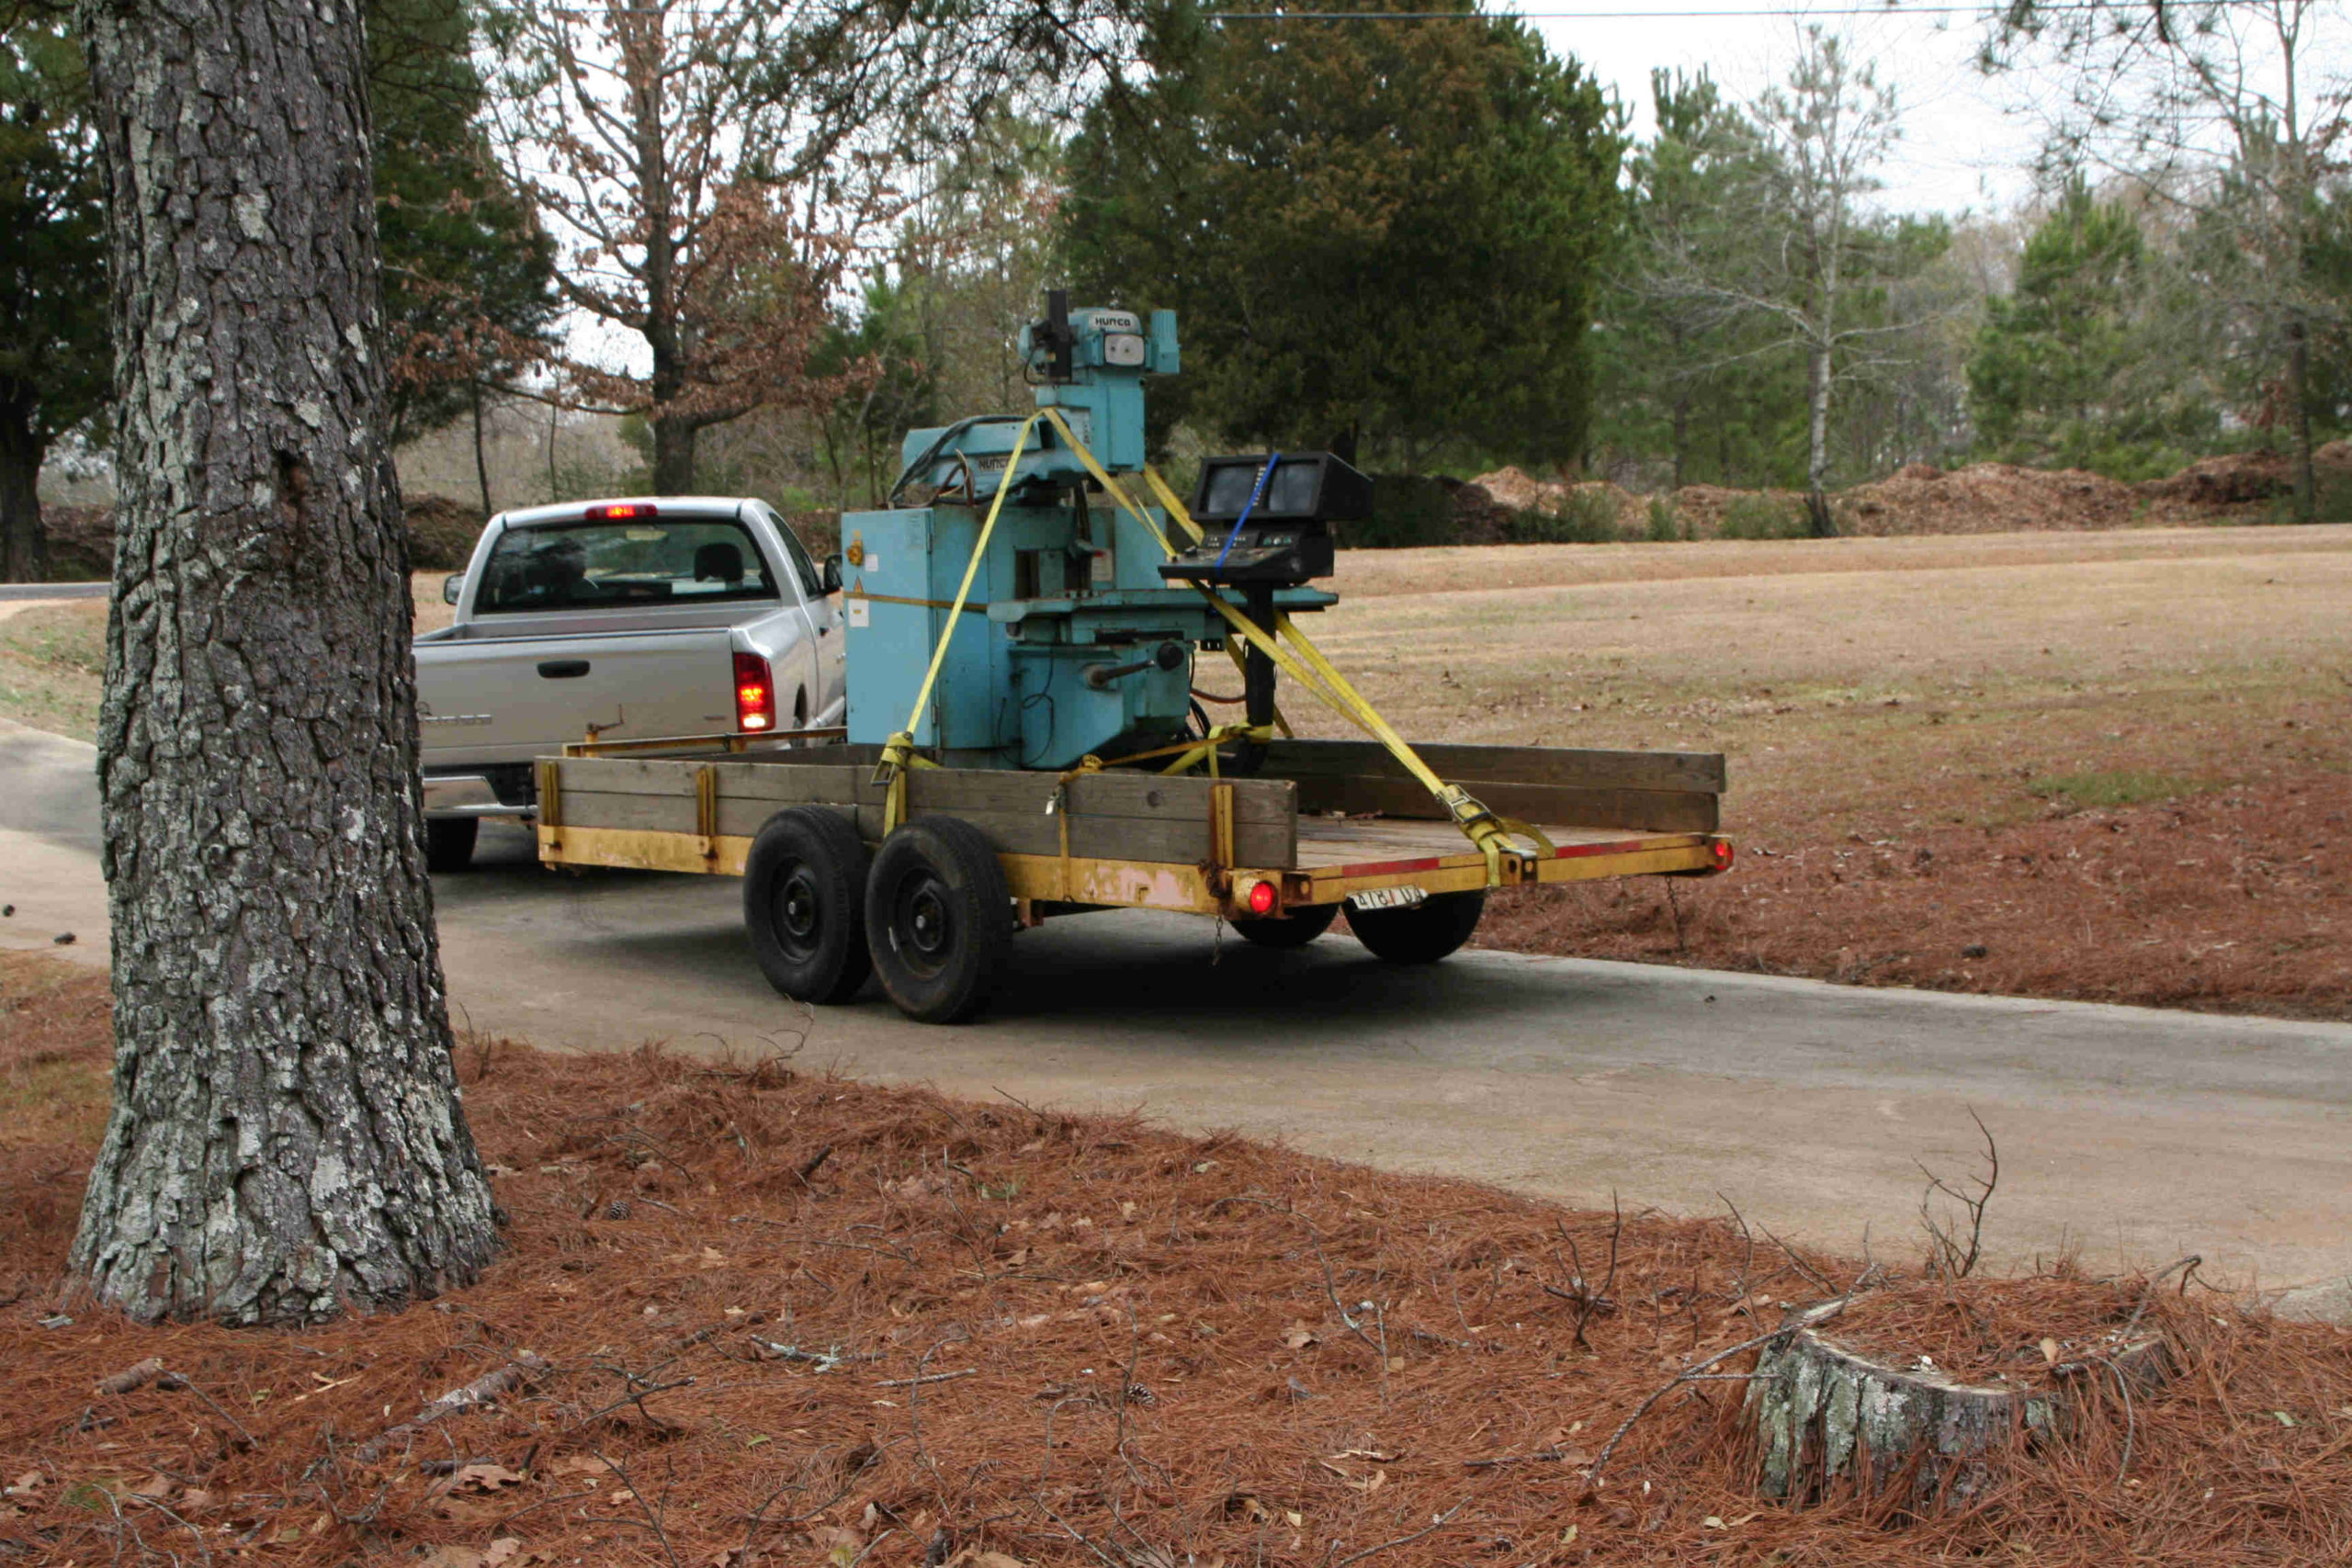
Prep for transport 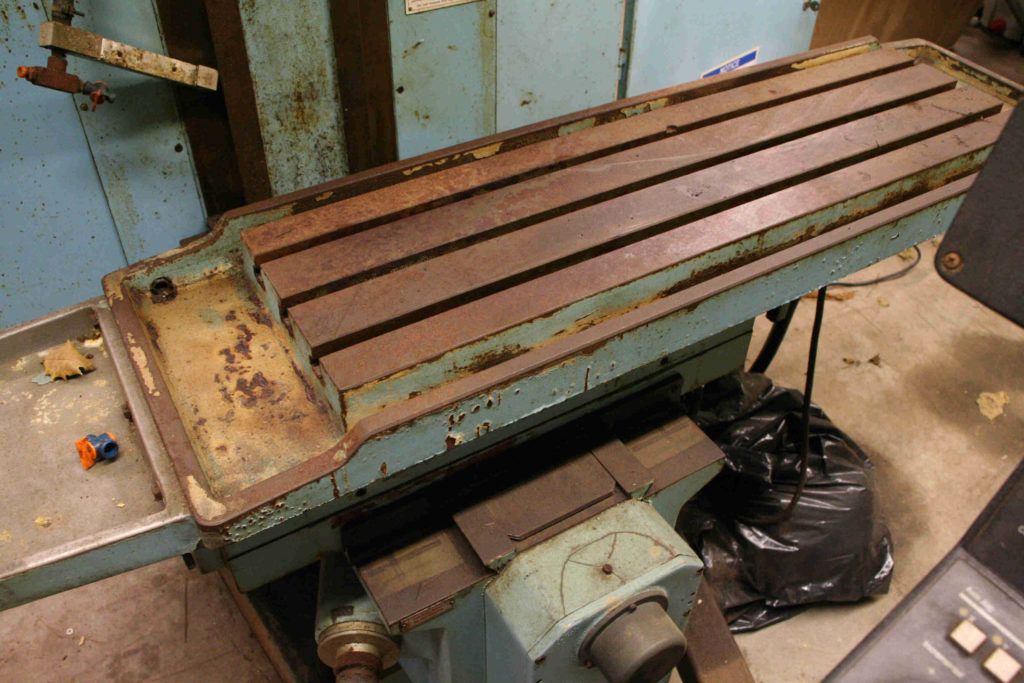
Bed willl need some work 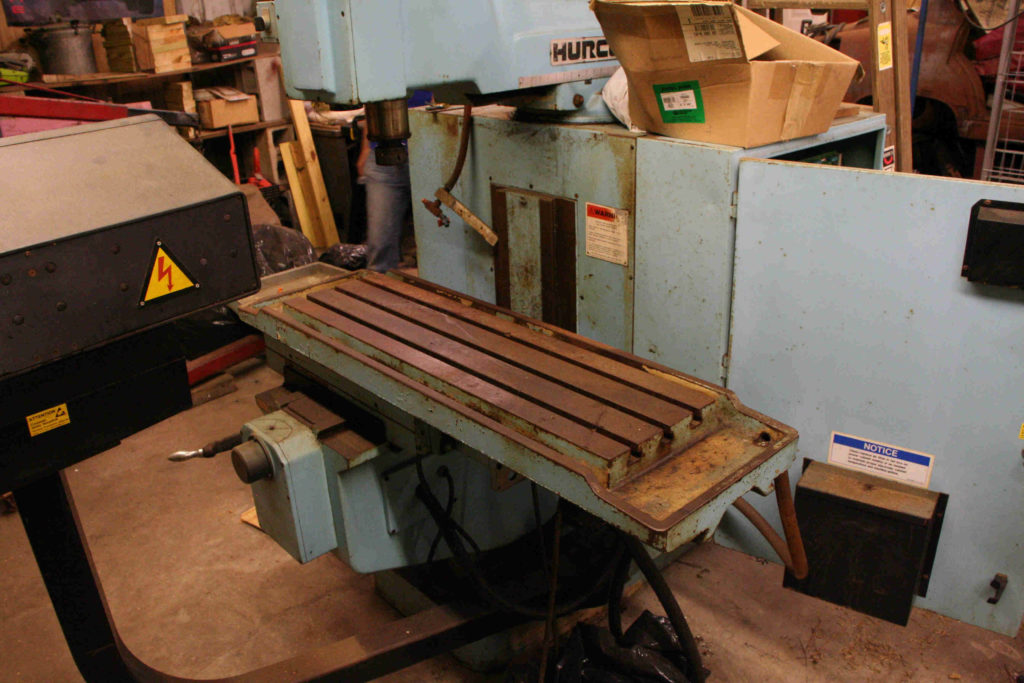
Bed in sad shape 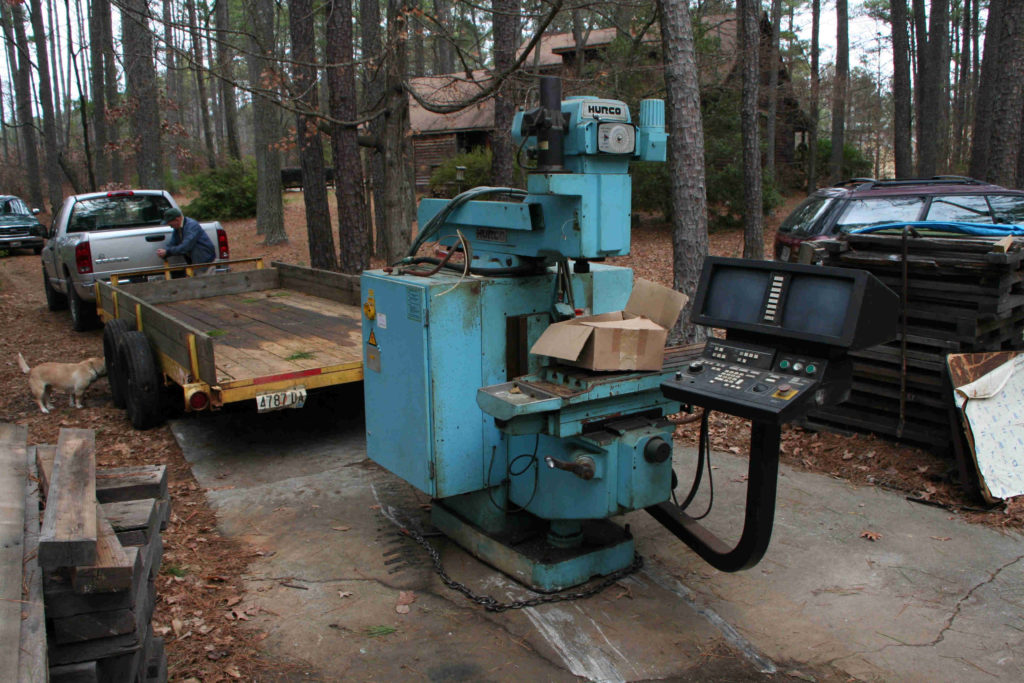
Pulled out of garage 
Loaded for transport 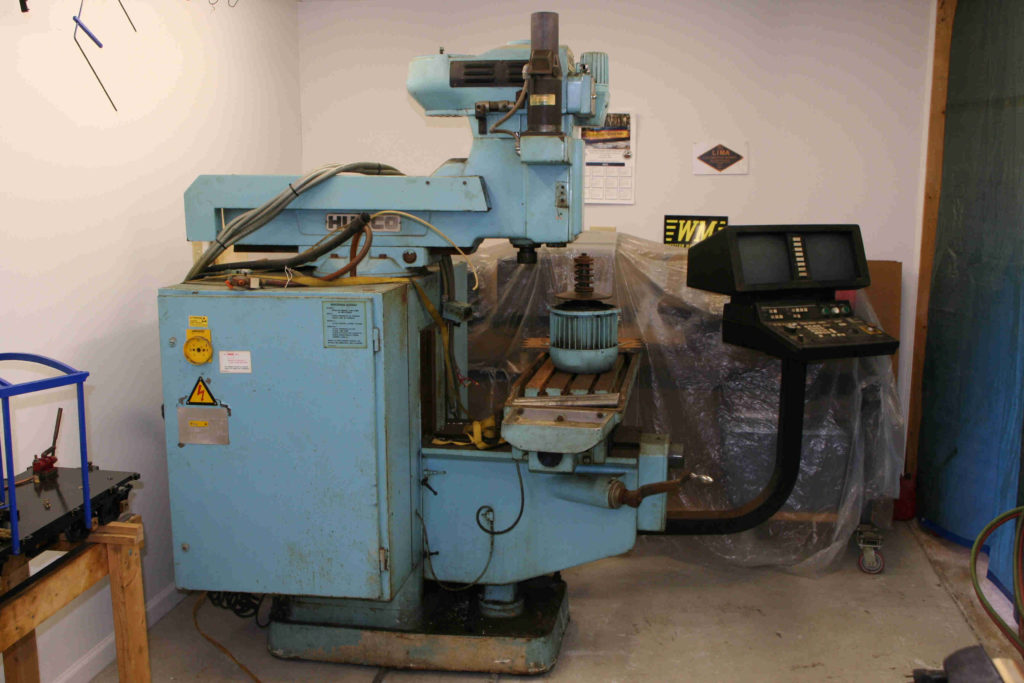
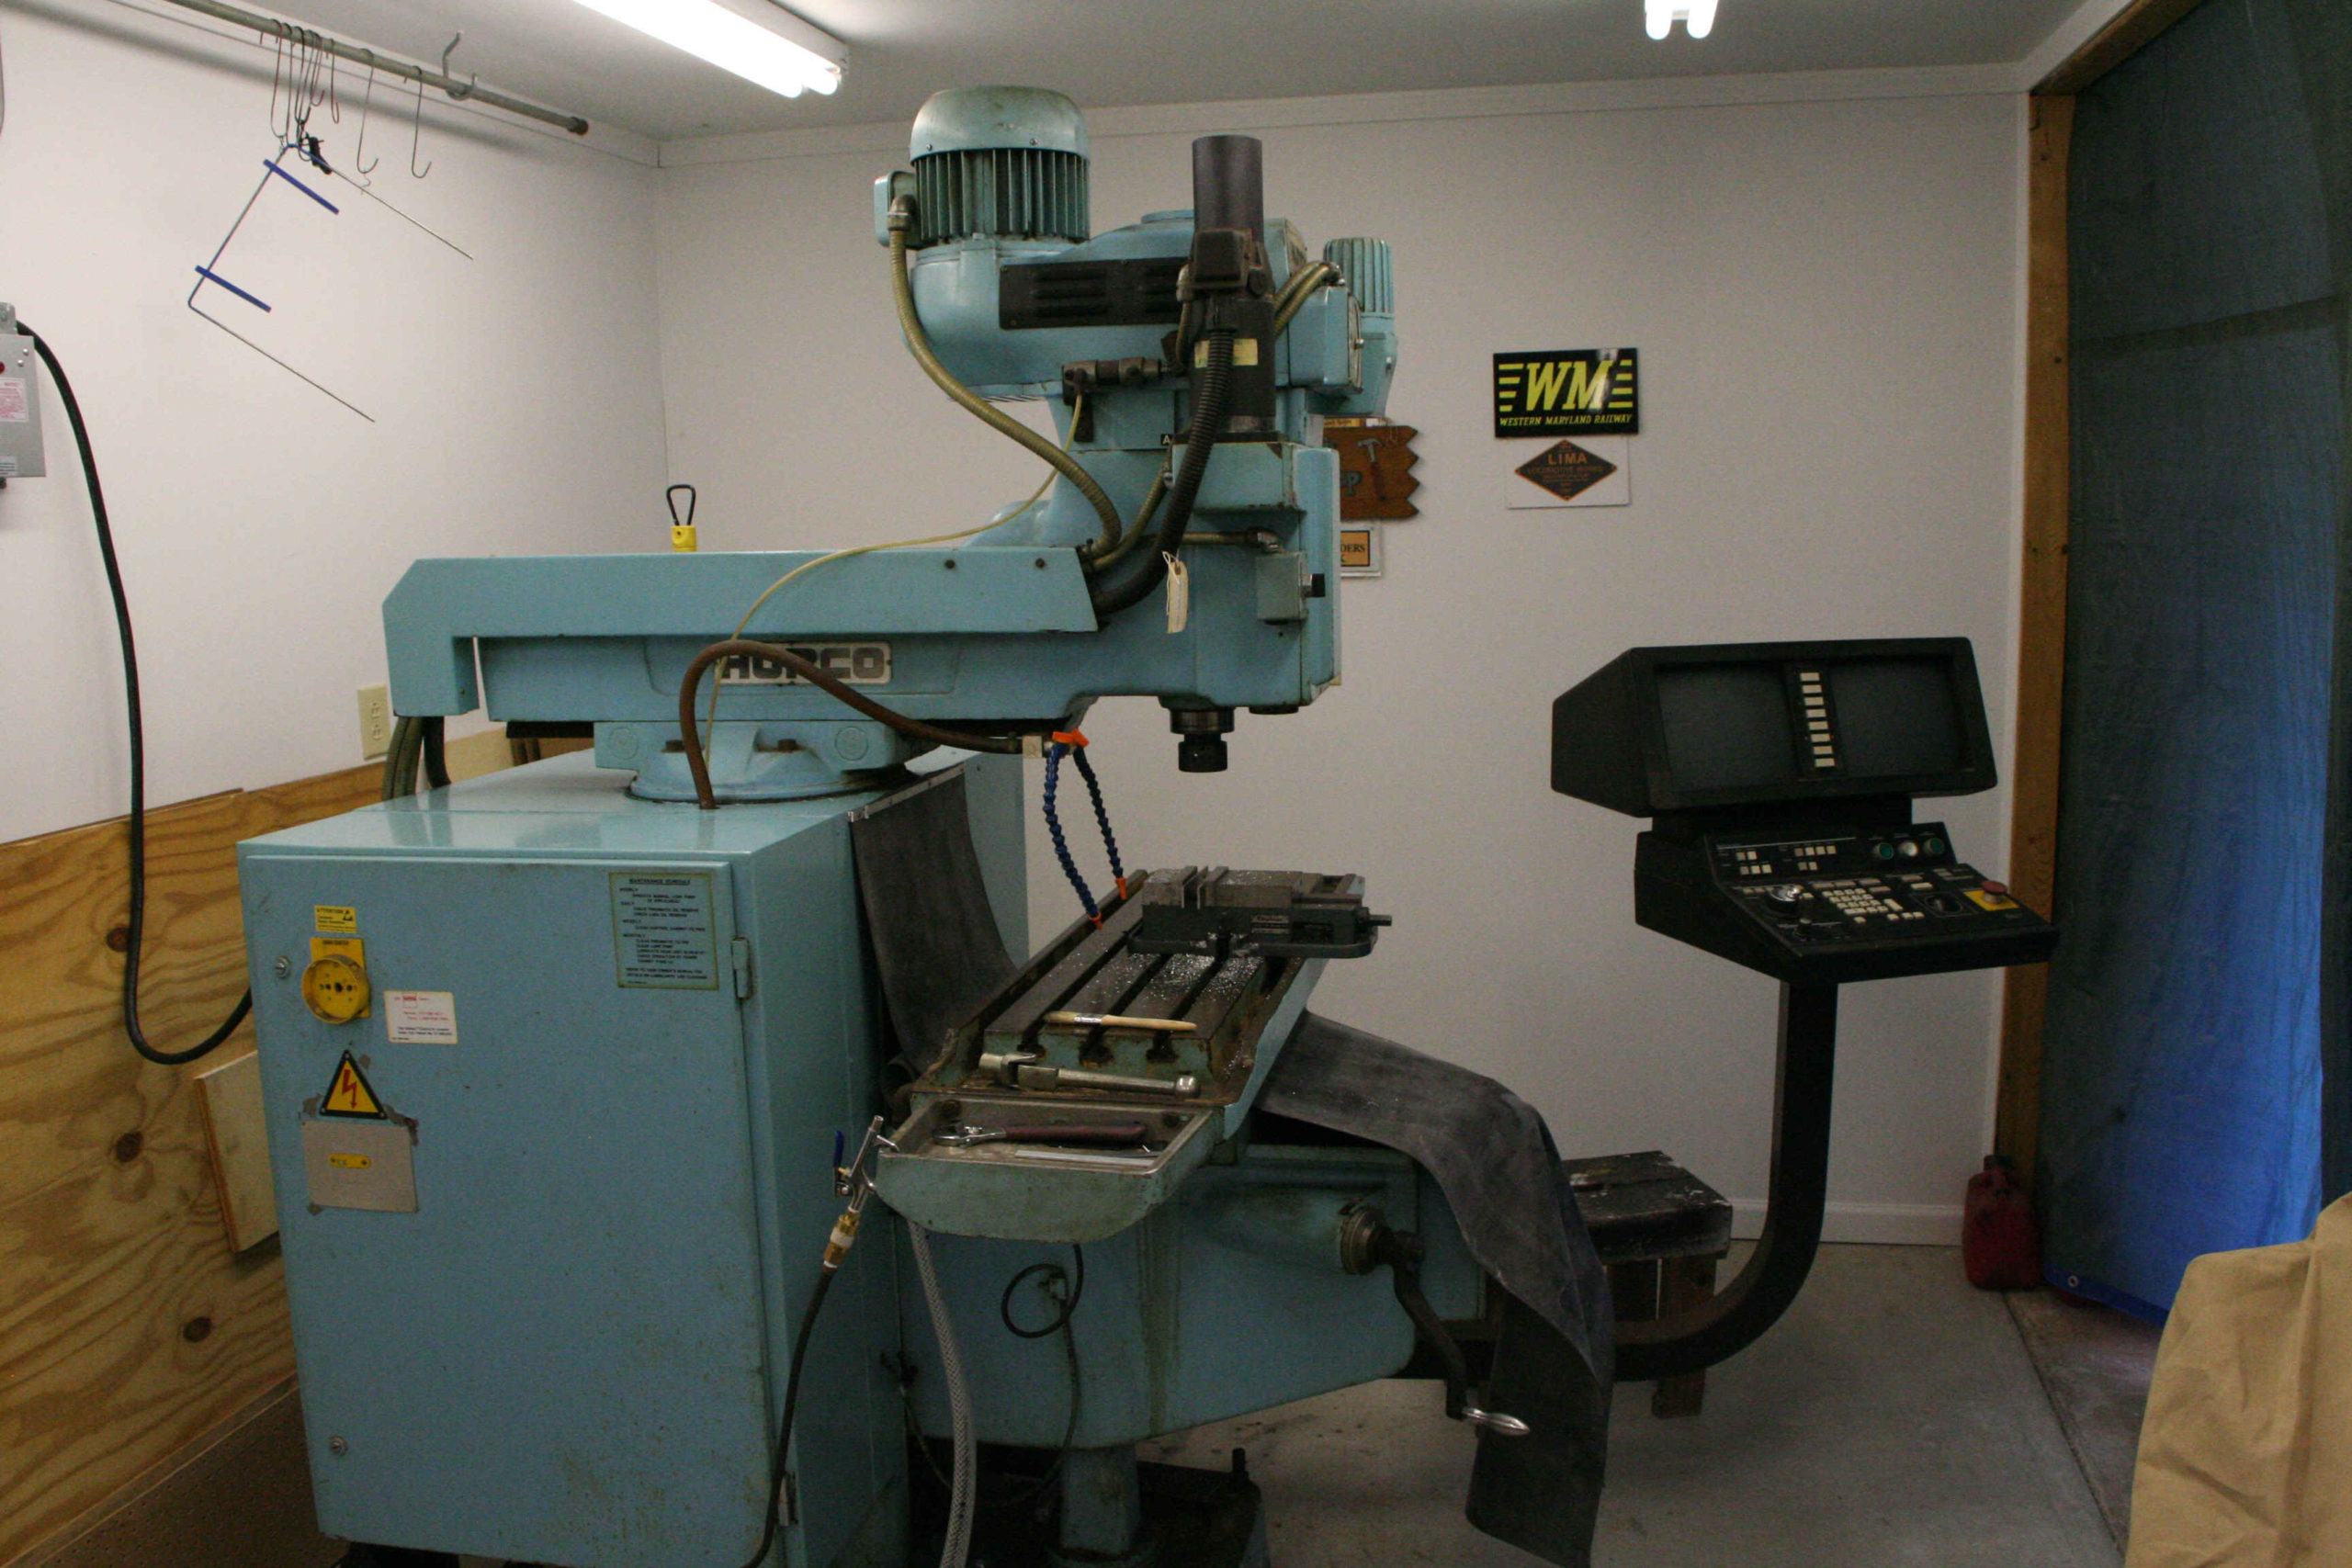
Safely in its new home 
Reassembled for restoration to begin


The mill is not 100% working at present. When my friend got it there was already a known problem with the movement of the Z axis. Where the problem lies is not entirely known at this time. After reattaching all the wiring and air hoses that were either removed for the move or were already disconnected, and after cleaning the mice nest out of the command console and repairing the wiring they had chewed the insulation off of, I was able to power it up and move the bed in the X and Y directions. The Z direction is still failing. The next task will be to remove and clean all the computer boards in the right cabinet and see if that improves anything.
1/6/2011
I’ve been tracing the wiring and trying various tests to try to isolate why the Z-axis will not move correctly. The Z-axis stutters as soon as you try to move it and then immediately issues a ‘motion error’ message on the console. I have ruled out the printed circuit boards (PCBs) as the problem by switching the Z and X leads. When I do that the X-axis successfully moves using the Z-axis buttons. More testing is still needed.
1/9/2011
I think I may have isolated the problem with the Z-axis. It appears to be the servo drive. It is a MAX-400 unit on this mill. I swapped the Y drive wires with the Z axis drive wires and the Z-axis starting moving correctly!! As expected, the Y-axis quit working. I took the drive out and discovered a blown fuse on it. It is a weird little fuse that no one locally seems to carry so I will have to order a few on the internet. I hope that is the problem.
1/15/2011
The fuses arrives but when I installed a new one it didn’t correct the problem with the drive. It looks like something else is still wrong with it. Since the MAX-400 is not longer manufactured I went shopping on eBay and found a used one that is guaranteed to be good and ordered it. That should fix the problem!
1/30/2011
The new drive has arrived and has been installed. The Z-axis is now working correctly although there are still some gremlins to be chased. When I zeroed the Z-axis it went past the limit switch. I manually exercised the limit switch and now it seems to be working. I guess it was just a bit sticky from sitting unused for so long. I can see that the lubricator lines are now full of oil so it looks like it is working now that I added oil to the reservoir.
1/31/2011
I got the X-axis stuck all the way to the left today. The bed seemed to move to the left ok but when I went to move it back to the right it stuck and now it won’t move in either direction. I looks like the ways were still dry and now the bed is stuck to the gib. I’ll have to try to remove the gib (or at least loosen it).
2/1/2011
Finally got the gib out of the bed. What a job that was!! It was dry as a bone and quite a chore to get out. The bed is moving quite freely now on the X-axis. I cleaned and oiled the gib, re-installed it, and adjusted it the best I could. I also manually oiled the ways to get some oil in there until the oilers can catch up. It seems to be working fine now.
2/11/2011
With some help from Wayne we managed to figure out why the coolant pump was not running. It is also 3-phase but it wasn’t getting any power at all. I had already been told that it was likely that it wouldn’t start by itself because I am using a static phase converter but it wouldn’t even run when the spindle was running to generate the 3-phase power. It turns out there is an overload breaker in the wiring for it. Once we discovered that on the drawings we went looking for it and finally found it in the other cabinet from where the relays are. We pressed the reset button and presto! the coolant pump starting working! That was the last of the mechanical things that wasn’t working. The only remaining item to correct is the backup batteries on the memory board. They have died so when I shut of the machine I lose all the tool setups and any programs that I have done. The memory board has what are called DALLAS chips. These are 256K SRAM chips with an imbedded lithium battery. They have a limited life span and, like so many other things on this machine, are no longer made. I’ll need to see about getting the board upgraded to have external batteries. I have no idea what this is going to cost!
2/16/2011
I did some fooling around with the memory board over lunch today and got the memory working. It now appears to retain Tool Setup information and I can Write programs to memory and Read them back after a power off/on. Turns out some of the DALLAS chips I had still had good batteries.
Using the 4 DALLAS chips I have that came on another memory board (called OLD chips in the narrative below) that I bought off of eBay I did the following:
- Put the 4 OLD chips on the memory board and booted. Result: machine lost its config info and I was stuck on config screen. Conclusion: at least one of the original chips still had working batteries such that it was still saving the machine config.
- Numbered the chips 1-4 (top to bottom) on both sets (one set in red and one set in black!) and then put OLD chips 1-3 on the board along with ORIG chip 4 and booted. Result: machine had no config info. Conclusion: Chip 4 does not hold config info.
- Put OLD chips 2-4 on board along with ORIG chip 1 and booted. Result: machine HAS config information. Conclusion: Chip 1 holds config information.
- Using setup from #3, I stored 3 tools and wrote small dual bolt circle program. Saved program using Auxiliary WRITE and turned machine off and let it set for 5 minutes. Restarted the machine. Result: machine config still intact, all 3 tools are still there, and using READ I retrieved the program successfully and saw it on the graphics display.
So it looks like at least one of the OLD chips has good enough batteries to save my tools and programs. I don’t know if it uses the memory serially, i.e. chip 2 then 3 then 4 but, if it does, then I can only vouch for chip 2. If, however, it uses chip 2 for tools and chips 3+4 for programs then maybe chip 2 and 3 have good batteries but then I can’t vouch for chip 4. In any case, it seems to be working and I still have, in reserve, the 4 new DALLAS chips I bought in case more batteries fail. I will retest again this evening to insure the batteries are still holding.
Now I have very few excuses to not start using the machine. Hopefully this evening I can machine the coupler slots so the new couplers will fit my old blue gon and I can, now that I have my replacement end mill, machine some more of the universal joint parts for WM6. Wish me luck!